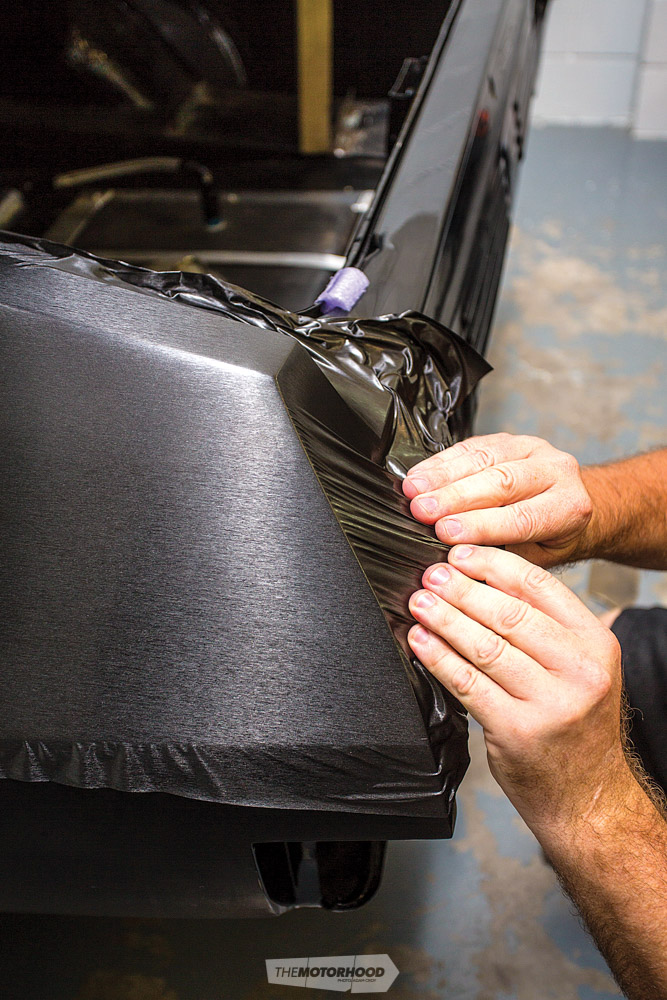
The year is 2016, and vinyl wrapping of entire cars has gone from being a signwritten business tool to a popular means of car customization. Here’s how it’s done

If you’re a regular reader of NZV8 magazine, or a regular attendee at North Island car events, you will probably recognize the names Ryan and Liz Gracie. They’ve built a number of tough cars in which they regularly attend these events. If you don’t know their names, you’ll probably know their cars — most likely the matt black, blown ’69 Camaro in which Liz is frequently seen destroying tyres.
The Gracies’ latest project is a Ford Fairmont XA coupe, which has been built as more of a street driver, and the Gracies have decided to liven up the finish by getting the body vinyl wrapped. They’ve given the job to signwriter friend Paul Black.

While vinyl wrapping has been around for well over a decade, predominantly in the signwriting industry, it’s only recently begun to catch the attention of vehicle owners who want a point of difference. The idea of vinyl wrapping a car is something that is growing in popularity, and considerable work goes into ensuring that the job is done well. To see how a professional does it, we follow Paul as he wraps the Falcon.
Cleaning
The first step in having a vehicle wrapped is the most important. It is imperative to have a totally clean working surface. “I can’t stress enough the importance of cleaning,” Paul says. “On a car like this, with those huge panels, a giant sheet of vinyl will be covering the entire side of the car, and any imperfections will show.”

Most cars can be given a thorough once-over with wax and grease remover, to remove tar, dirt, insects, and assorted road grime. A ‘normal’ car will probably take around four hours to prep. As Paul puts it, “If your hands aren’t black by the time you’ve finished cleaning, you haven’t finished cleaning.”
The entire car is also given a wipe-down with isopropyl alcohol to remove any trace oils or grease from external factors such as skin contact. The body is also cleaned with wet rags and given a thorough vacuuming — with this car having come from the painter, there may have been soda-blasting residue left inside the doors and other cavities that, for painting, would not pose a problem. However, when the sheet of vinyl gets dummied in place on the body, static electricity and vacuum caused by its movement could draw these particles onto the vinyl’s adhesive surface.
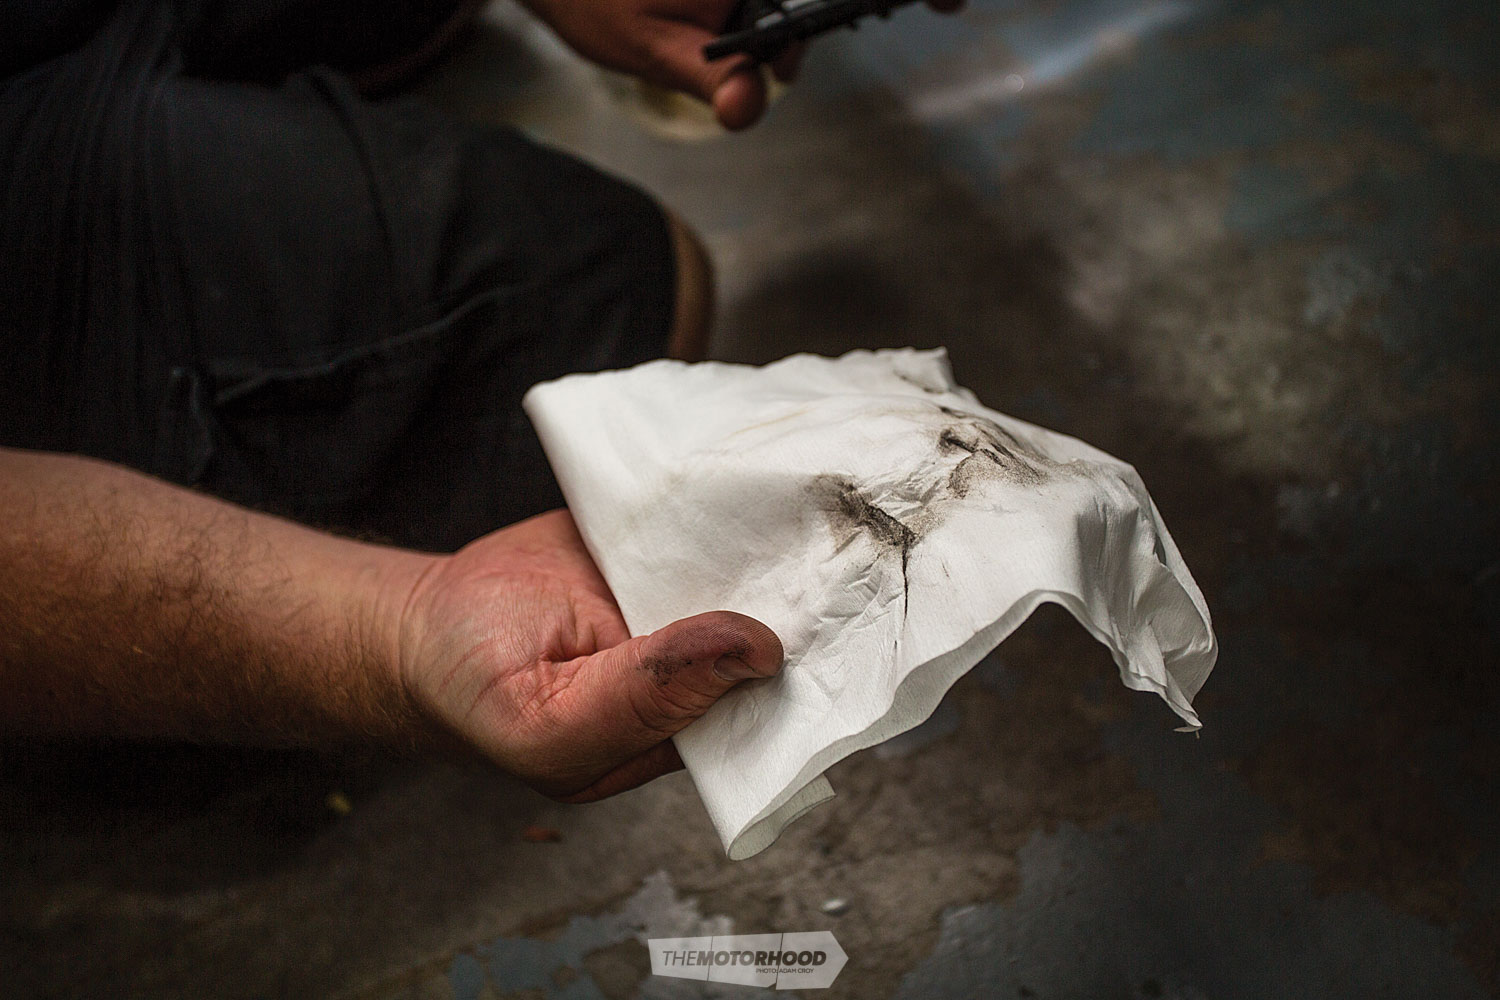
“I vacuum the walls and the floor of the workshop before the car comes in for wrapping, so there are no loose particles in the wrapping area,” Paul says. “Once the car is in and cleaned, I’ll vacuum the floor once again — any contaminants from people coming in, or from under the door, could cause problems later on.”
Application
Bonnet and boot
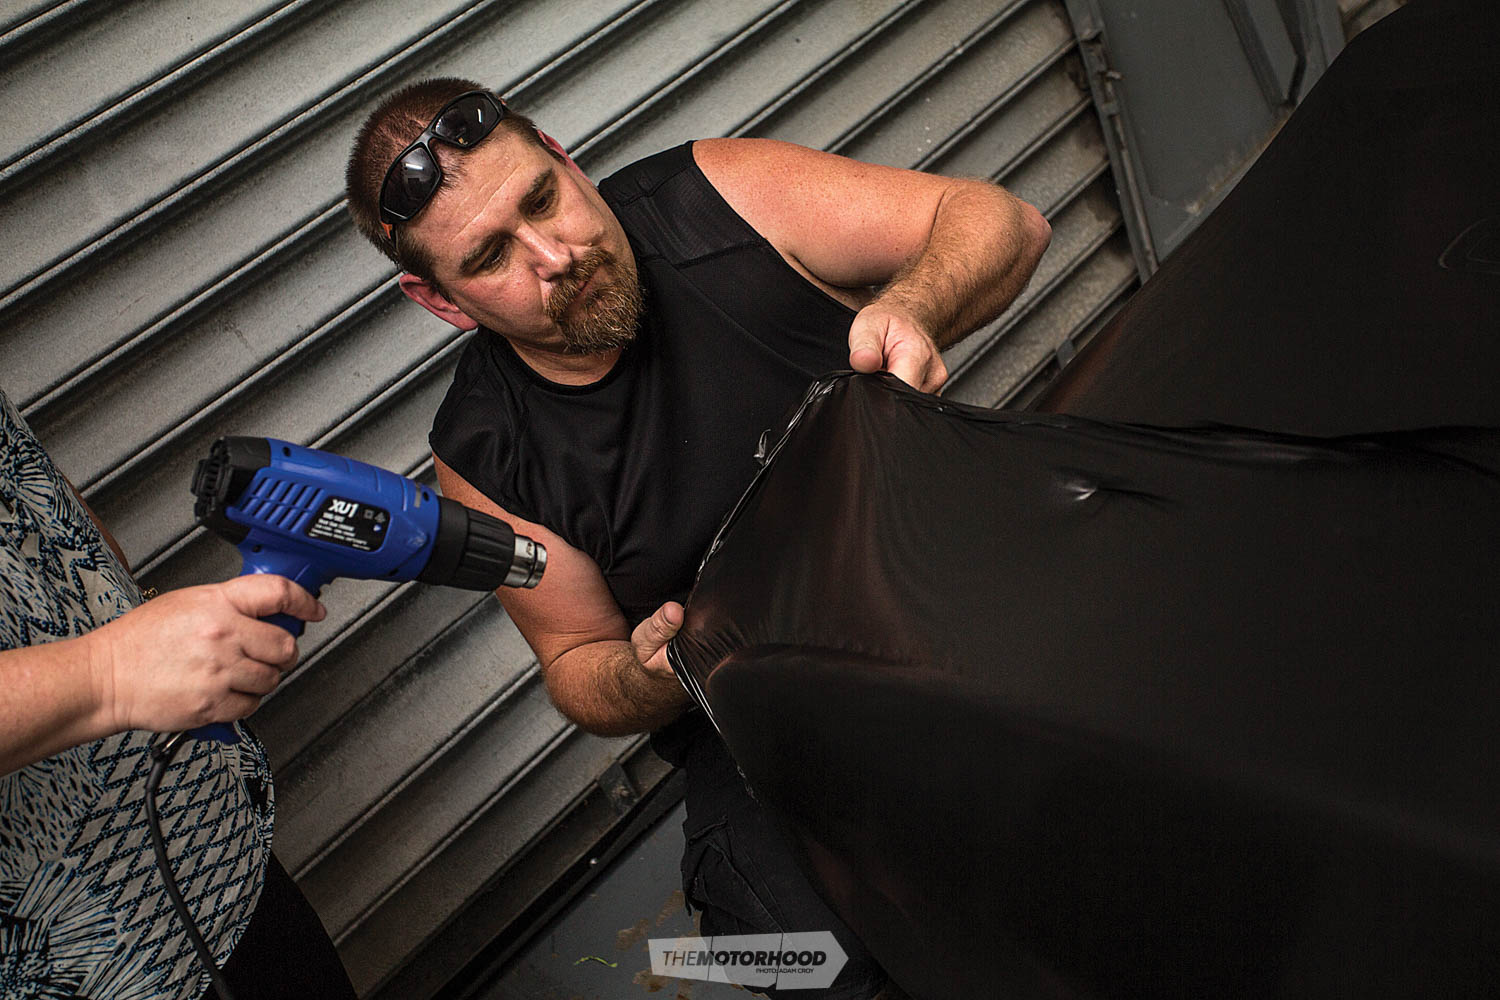
The easiest panels may as well be taken care of first, before the hard parts are got into. On a car such as this, the easy bits would be the bonnet and boot. Each panel is measured, and an appropriate-sized sheet of media is overlaid, held in place, then attached with a squeegee and post heated with a heat gun. Paul then uses a craft knife to cut out the holes required for the bonnet scoops, bonnet pins, cowl grille, and wiper.
Roof
The XA coupe body throws a somewhat unusual problem at Paul. While many cars have ‘gutters’ running lengthwise along the edges of the roof, which would allow three clearly separate vinyl sheets — two sides, one roof — the Falcon’s slab-sided body panels continue unbroken right around the car. This means that each side requires a vinyl sheet, in addition to one running through the centre of the roof, to take up the vacant space in between.
The centre piece is applied to the roof first. This allows the edges to face inwards — that is, the extreme edges of the vinyl sheet along the driver and passenger sides of the roof will be able to be tucked beneath the main vinyl sheets for the sides.
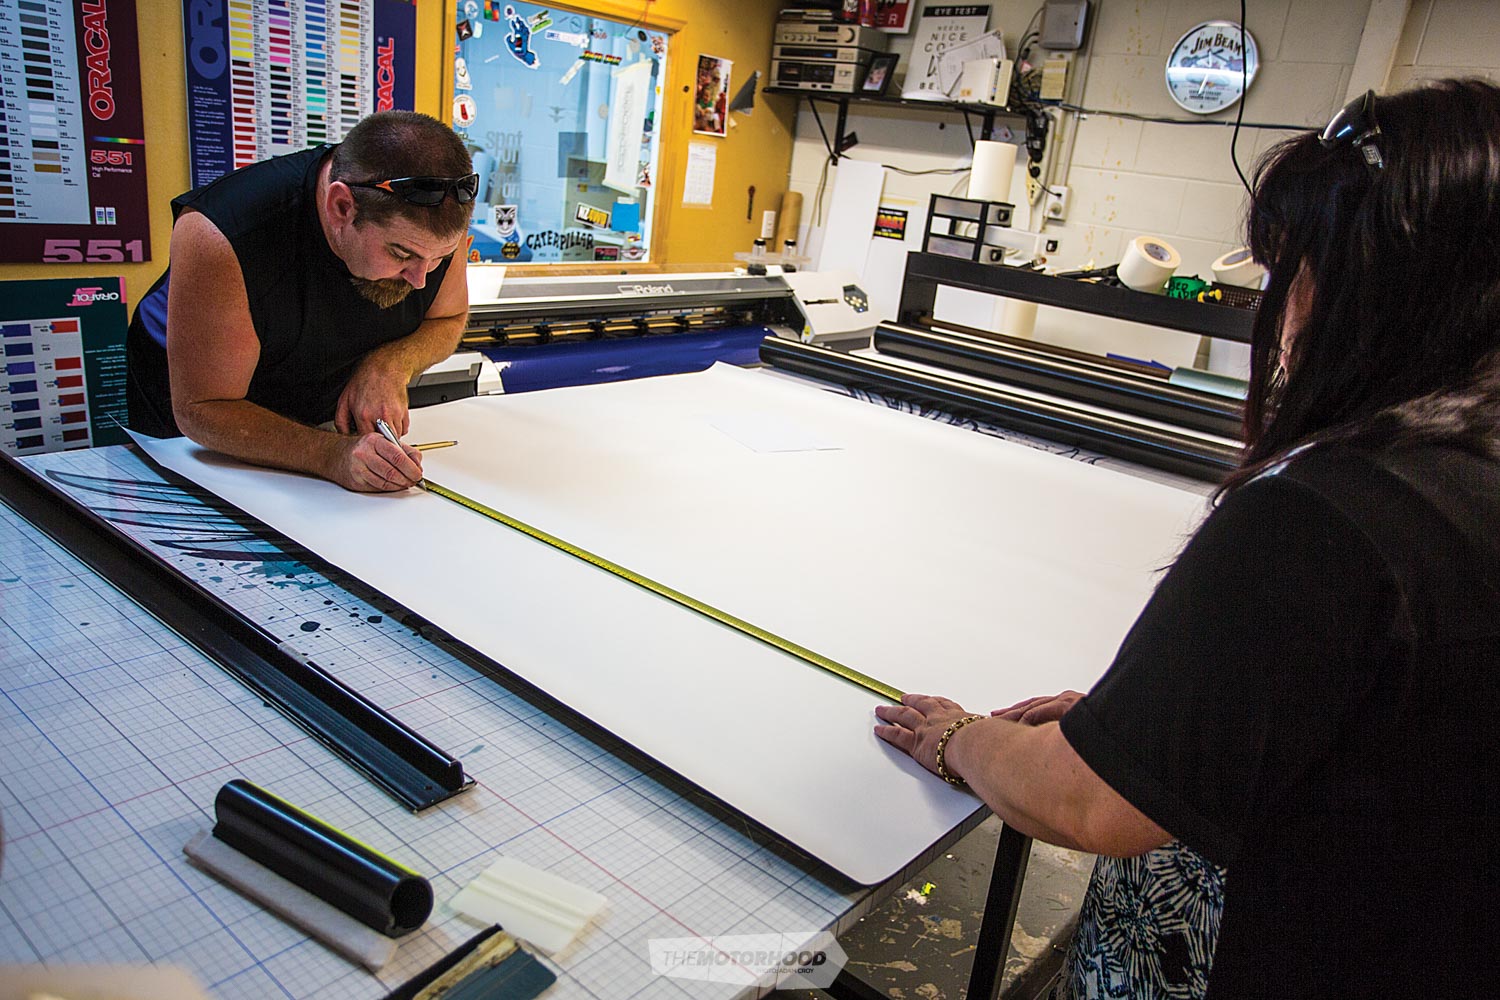
Before the vinyl is applied to the roof, Paul identifies exactly where it is to be positioned and marks this position by laying down lines of what is known as ‘knifeless tape’. This tape functions like a knife when it comes time to trim the vinyl down, allowing a clean and precise cut that doesn’t damage the panel.
With the vinyl held steady by a magnet, Paul locates the sheet on the roof, and, when he is satisfied with its position, peels the adhesive side from the backing sheet. The vinyl is folded over itself, and the exposed backing sheet is cut away, allowing the adhesive side to be dummied up on the panel. The other end of the media is then lifted, and the remaining backing sheet is peeled away, before the entire vinyl sheet is laid in position. Paul uses a squeegee to force any air pockets out from beneath the vinyl layer and activates the adhesive to bond to the paint surface before commencing the post-heating process, whereby the media is moulded to the roof using a heat gun.

Because the XA will have flush-mounted windscreens, Paul must allow for this in his finishing of the roof wrap. The edges of the vinyl are trimmed along with windscreen edges to suit the look of the car, while allowing a ‘solid’ surface for the windscreen glue to adhere to.
Throughout the wrapping process, Paul stops periodically to vacuum the working area and maintain the most debris-free workspace he can.

Sides
Paul mentions that the rear quarters might be tricky, due to their almost box-like nature. Rather than deciding how he’d tackle it when the time came to do it, he decides on a trial wrap on the rear quarter using a smaller sheet of vinyl (01). Stretching it to fit around the multi-edged panel, Paul ends up with a result he is satisfied with, giving him a clear idea of how he’ll wrap the area with the full-sized sheet of vinyl.
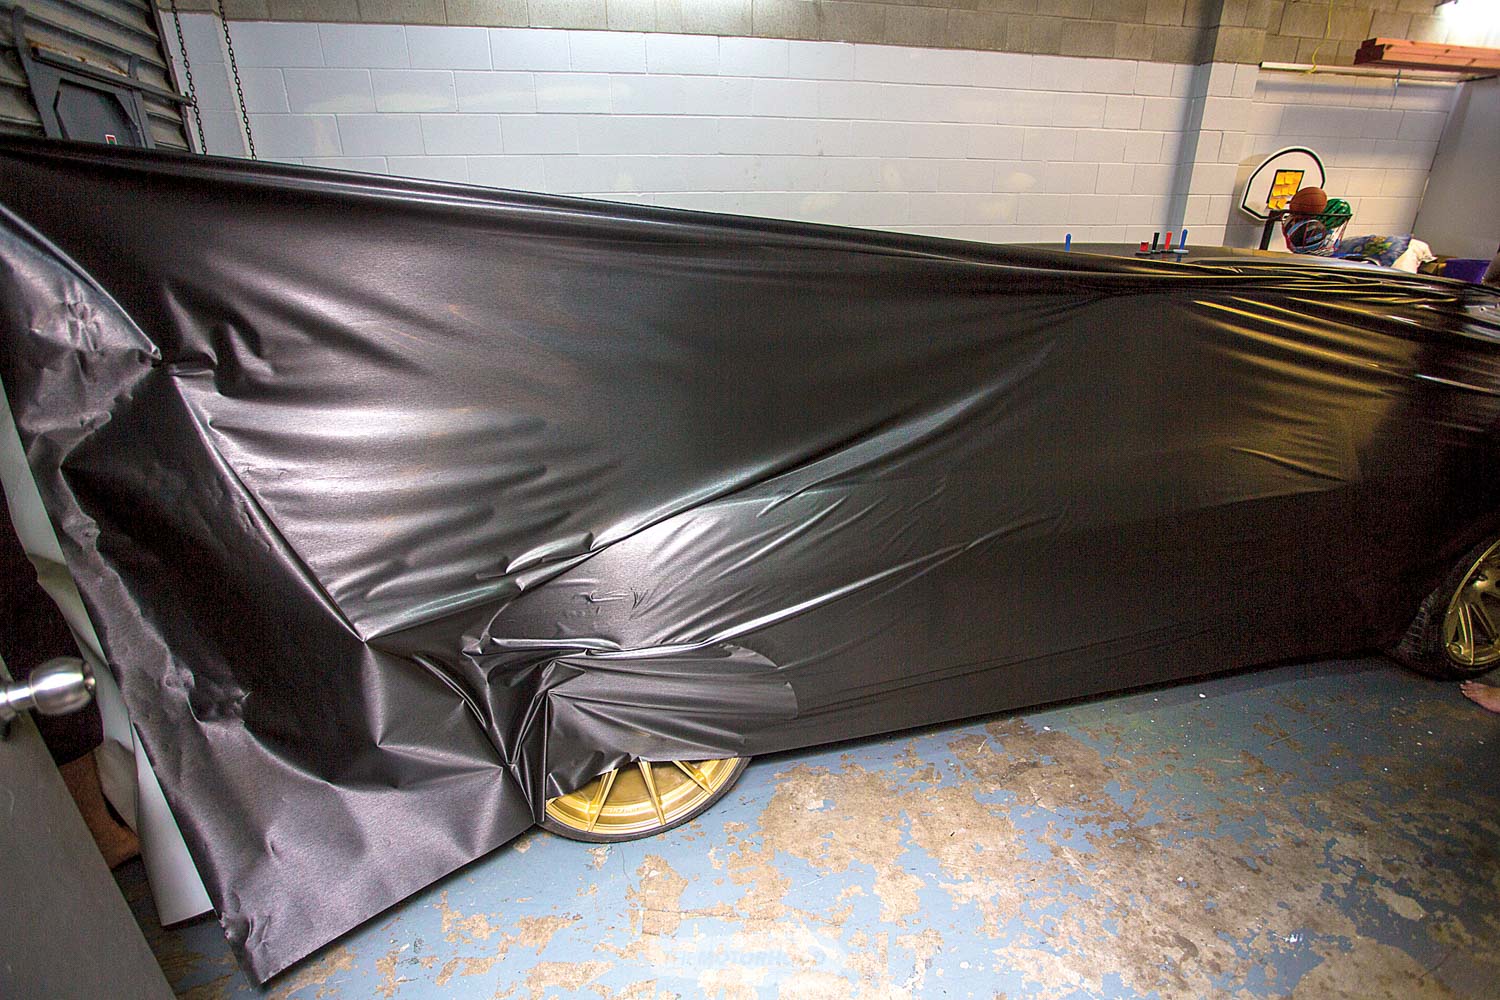
When it comes time to apply the enormous sheets of vinyl that will cover each side of the car, Paul can’t stress enough the importance of getting a good starting point. Once the best starting position has been sorted, the sheet is held in place through the use of magnets.
Paul then cuts out all the areas of vinyl that are not required, such as within the wheel arches.
It is important to place the vinyl as well as possible. This means moving the media up and down to identify where it sits best in relation to the body’s swage lines and contours. In this case, with the vinyl’s clear grain pattern, this step is extra important. On the side of the car, Paul works lengthways, starting at the front and working his way rearwards.
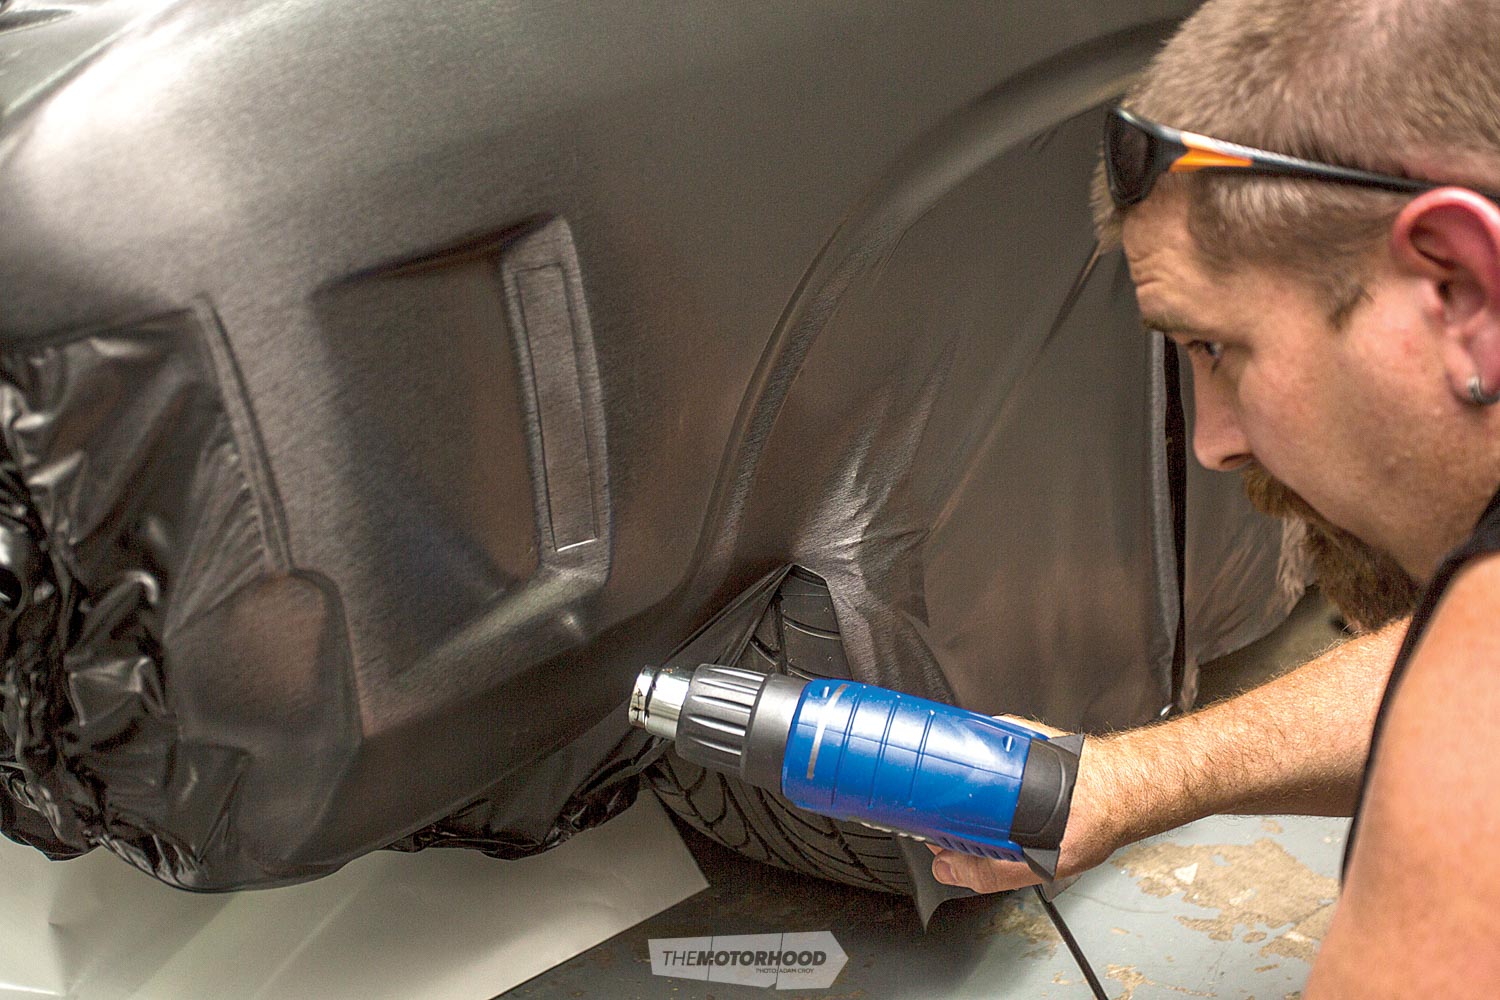
Paul uses a conventional heat gun to apply heat to the difficult areas, such as corners, holes, and the swages around the wheel arches. The media has to be correctly applied throughout, even in areas such as this. “Even though the trim will cover the edge, it needs to be sealed properly,” Paul says. “If the wrap lifts or splits at any point, it will allow air to enter the space between the media and the vehicle surface, which will dry the adhesive and shorten its lifespan.”
With the side taken care of, Paul moves his attention to the extreme upper edge of the side wrap. The same process is repeated on the other side of the Falcon, and, by the end of it, the Gracies have a uniquely finished Falcon that will be good for the open-road driving that they’re planning on doing.
Maintenance

Just as it is extremely important to get the preparation for and application of vinyl wrapping just right, so the final aspect — maintenance — is equally important. If you got a brand-new paint job, and didn’t bother to clean it for two years, it would deteriorate very quickly. The same goes for a vinyl wrap, and it’s essential to maintain it with the right stuff.
Paul explains to us: “While you can use a cutting compound on paint, you can’t do that to vinyl. You can’t use carnauba wax, either — its petroleum base attacks the PVC wrap. Vinyls need to be waxed with silicon or Teflon waxes, preferably the Avery Dennison wrap-care products.” These products include a cleaner, power cleaner, and sealant. “The power cleaner is what you’d use to remove the real tough grime; the cleaner you’d use to finish it; the sealer is like your wax for regular paintwork — it basically seals and protects the wrap,” he says.
While vinyl will never be a replacement for paint, Paul points out that it is a viable alternative for achieving a truly standout vehicle finish, and this car is proof of that. As a final confirmation of this, Liz and Ryan’s unveiling of the car at Repco Beach Hop 16 resulted in continually wowed onlookers, who couldn’t believe the XA’s finish was, essentially, a giant sticker!
This article originally appeared in NZV8 magazine issue No. 135 — to get your grubby mitts on a print copy, click on the cover below:


