
We’ve all been tempted to buy a motor that hasn’t turned over for years, but how hard is it to get one running? We gave it a shot with nothing more than some commonly available tools and products.
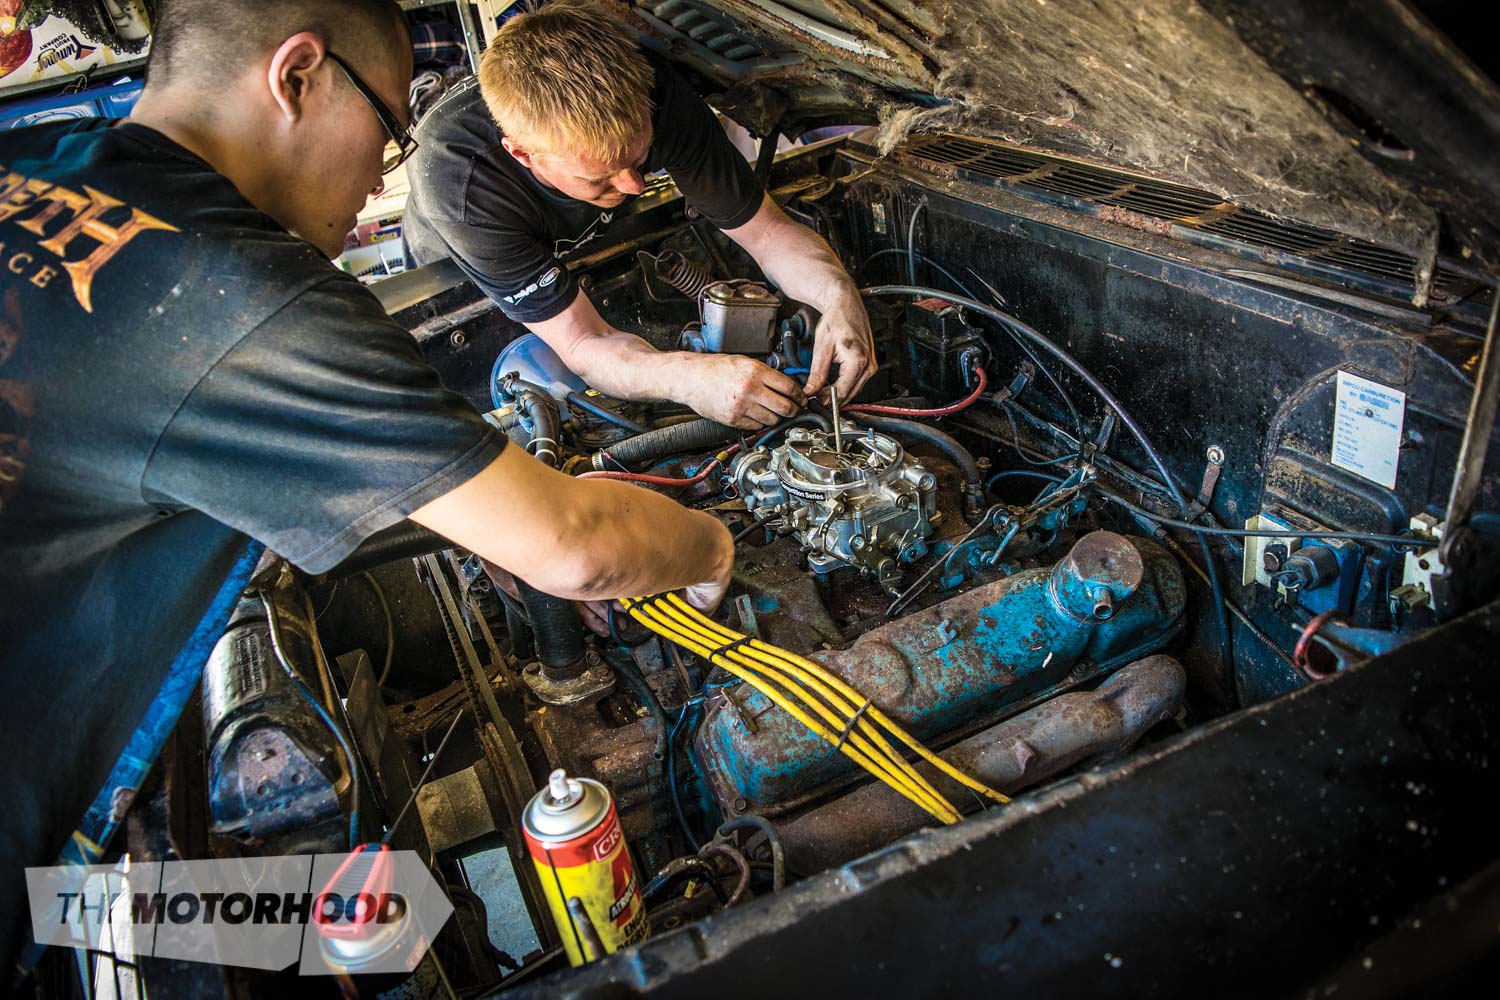
We’ve all seen a motor for sale that the owner claims was running when the car was parked just a few months ago. Although it’s tempting to take the seller at their word, especially if we really want that motor, we know it’s not always accurate. If you do front up with the cash and purchase a motor that’s been sitting around, it’s important to make sure you go about firing it up in the right way so as not to aggravate any existing damage.
The obvious potential problem is if the engine has seized, so getting a ‘barn-find’ engine running is really about ensuring proper lubrication within the bores, bearings, and ancillaries.
The engine you see here apparently last ran around five years ago; however, before that, it was sitting for an extended period of time, so it’s unknown how long it was truly static for — let’s just say that it was long enough for it to need to be started correctly. Thankfully, all you should need to fire such an engine into life is a bunch of readily available tools and products — something we had on hand, thanks to CRC recently sending us a heap of different products with the aim of showing people that there’s far more to its range than the 5.56 with which the CRC name is commonly associated.
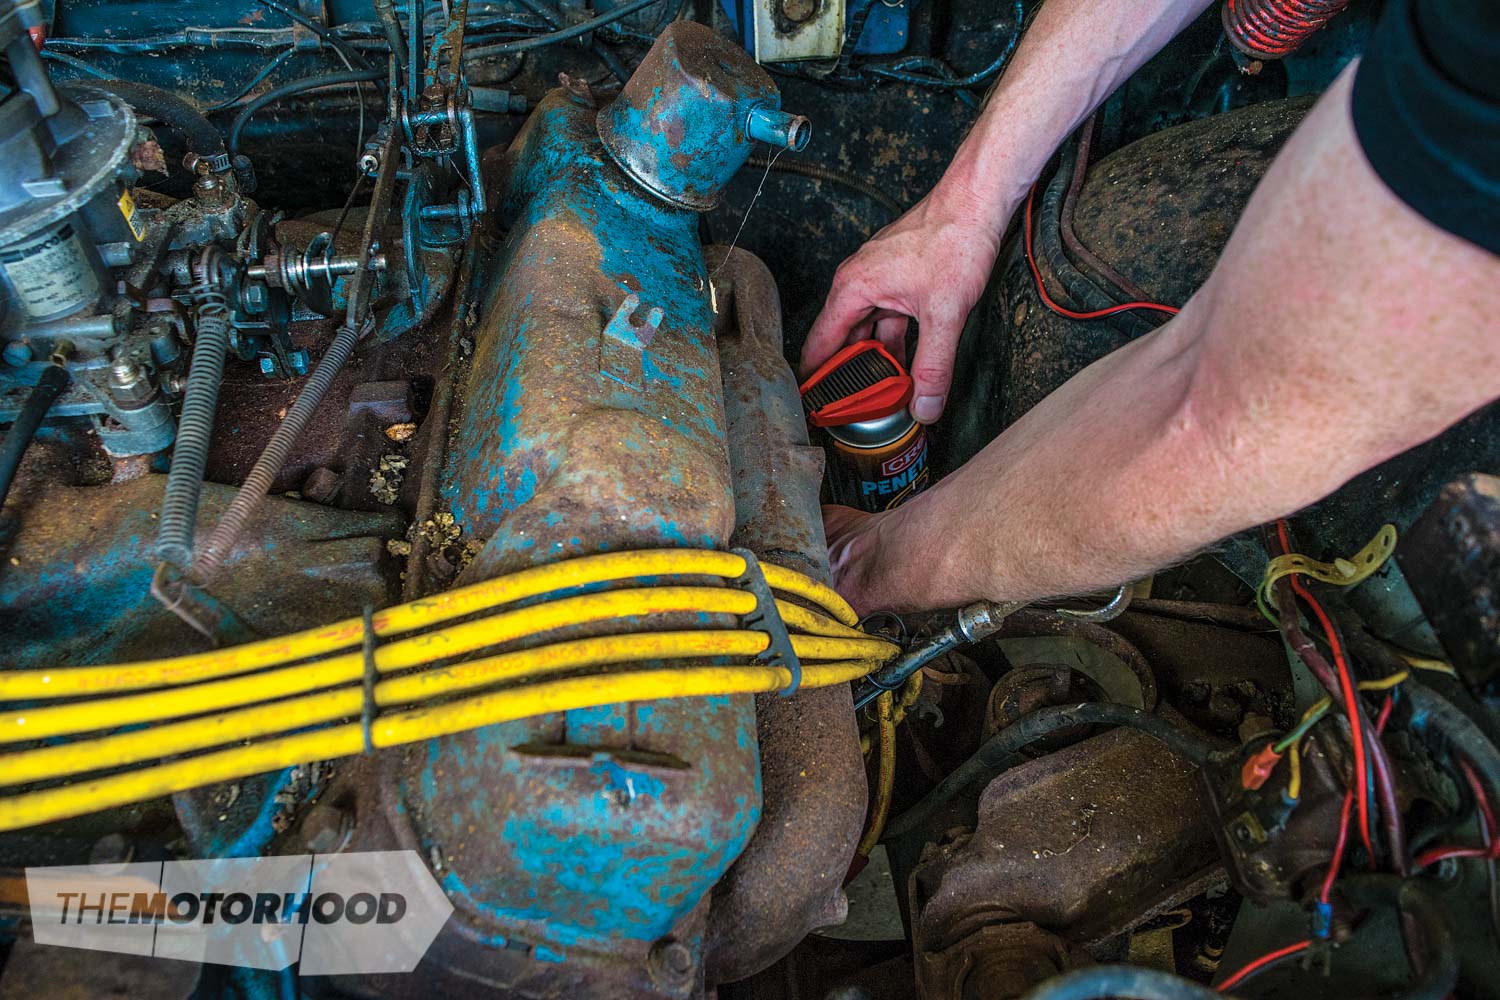
One of the biggest issues with an engine that hasn’t turned over for some time is rust forming on the rings or within the cylinder bores. Even if the engine hasn’t seized, spraying a decent amount of penetrating oil, such as CRC Penetr8, is a great way to form a barrier of lubrication within the bores and help to free any seized components. While doing this on an engine removed from a vehicle is relatively easy, doing it with the engine in is a touch harder, thanks to the tight confines of the engine bay. Fortunately, Penetr8 has a long built-in flexible nozzle. Not knowing whether or not our engine had seized but being prepared for the worst, we decided to spray it with Penetr8 a few times over a 48-hour period prior to attempting to turn it over. We also sprayed a fairly decent amount each time, to ensure it got right around the edge of the pistons.

Spark
With the spark plugs still removed from the engine, we then attempted to turn the engine over by hand using a breaker bar attached to the crankshaft front pulley; it worked. Rather than aiming for a full revolution, the best practice here is to turn the motor backwards and forwards, increasing the distance with each turn, and that’s what we did.
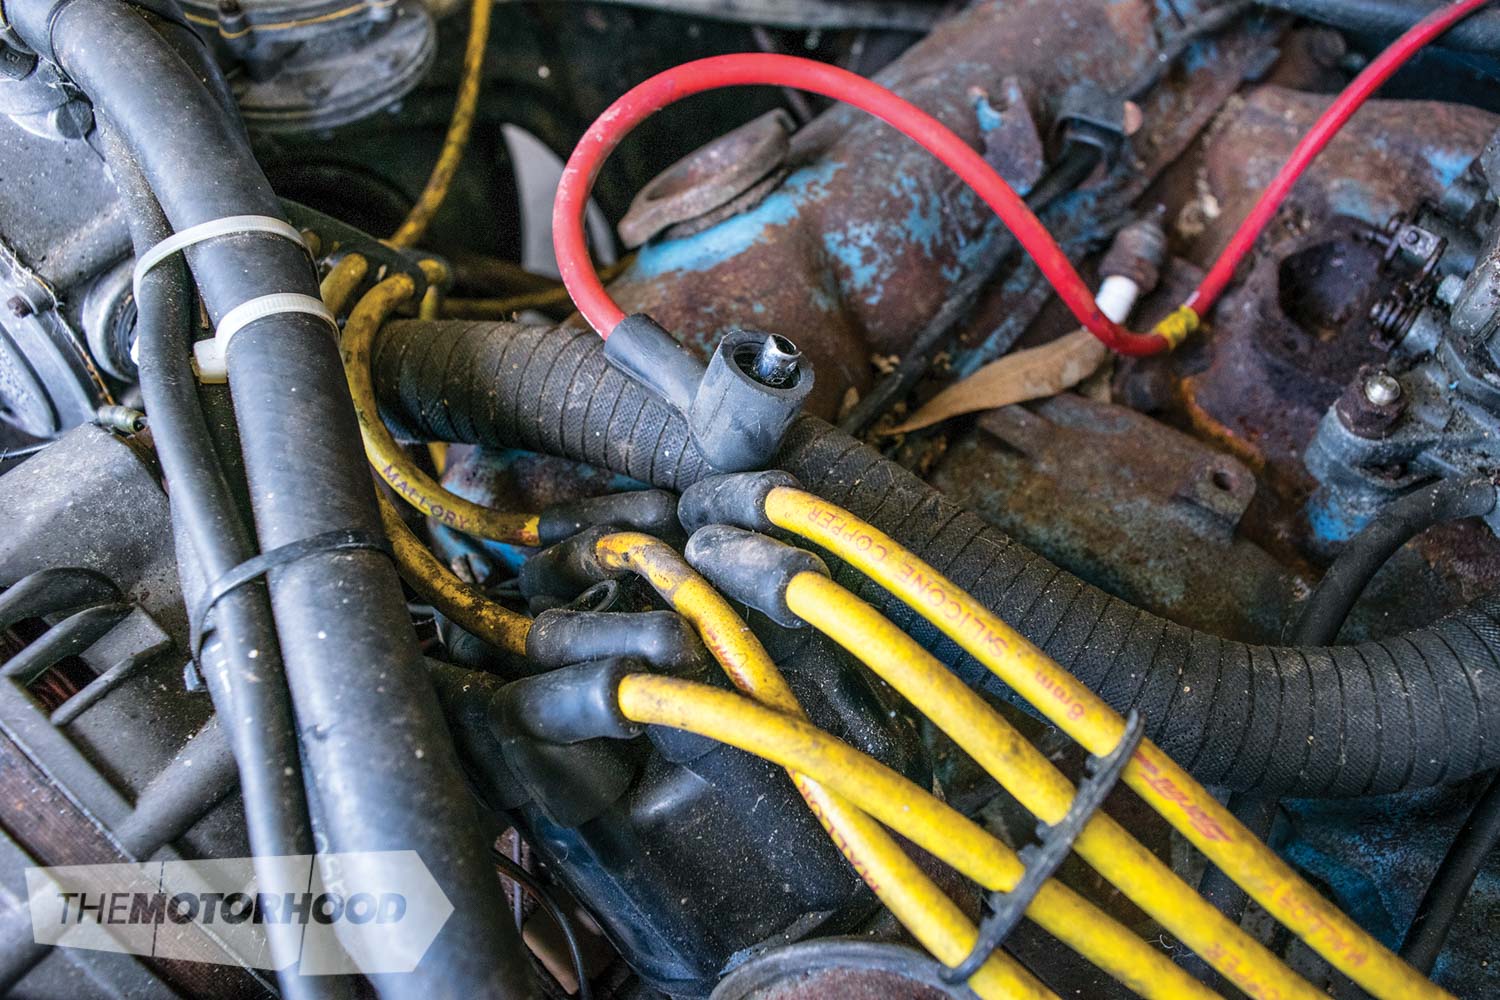
While the spark plugs taken out of the engine didn’t look too bad, we gave them a quick tidy-up with some fine-grit sandpaper and CRC CO Contact Cleaner before popping them back in the hole — just to be sure maximum spark would be achieved.
Charge
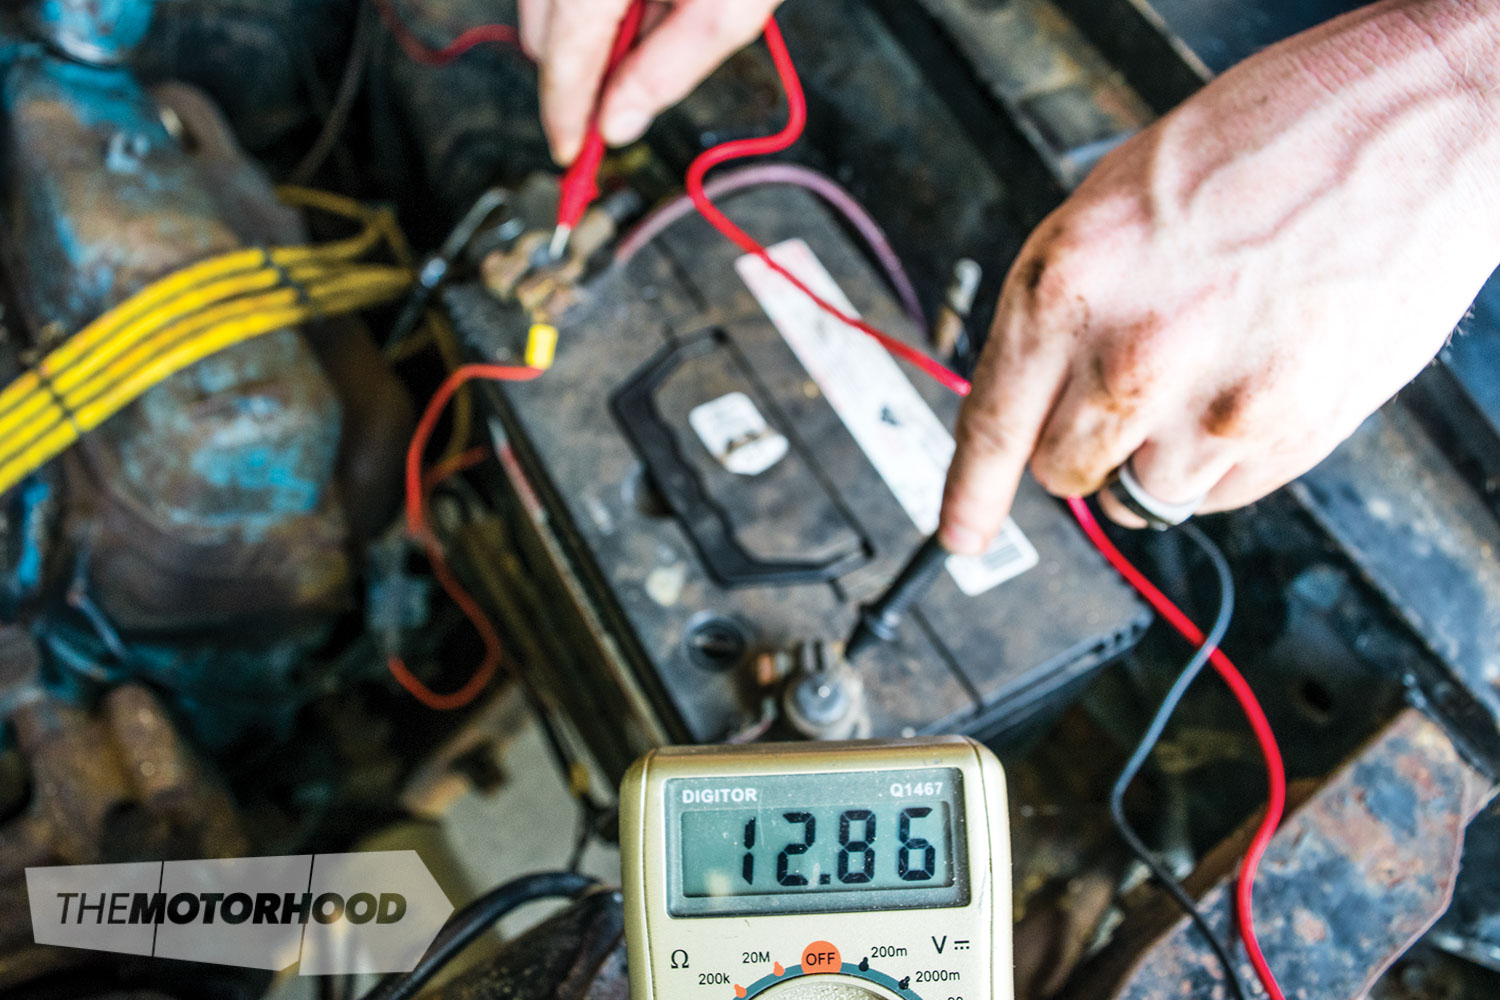
After connecting a battery, and waiting to see if smoke would escape from the wiring — thankfully, it didn’t — we checked for voltage at the ignition coil. It showed up as 12.8V — a great sign that the electrical system might work. That said, to be sure, we left a spark plug out of the hole but attached to the ignition lead, and attempted to crank the engine over. Much to our delight, not only did a twist of the key coax the starter motor into life, but the spark plug also quite clearly ignited.
In cases like this, it’s advisable to check that the ignition timing is roughly correct, and a timing light is necessary to do this. However, since this engine was only being fired up to ensure it could run ‘as is’ — without opening it up — and spark was being generated, it wasn’t deemed necessary to fine-tune the ignition timing. If the engine did not run after we added fuel, the ignition timing would have been the first thing to look at.

Firing
Even so, it was still decided that we should at least check certain things were OK.
Knowing the big block Mopar firing order to be 1, 8, 4, 3, 6, 5, 7, 2, and bearing in mind that the distributor rotor spins counter-clockwise on these engines, we checked the ignition leads before reattaching them to ensure they were at least in the correct order.
Oil
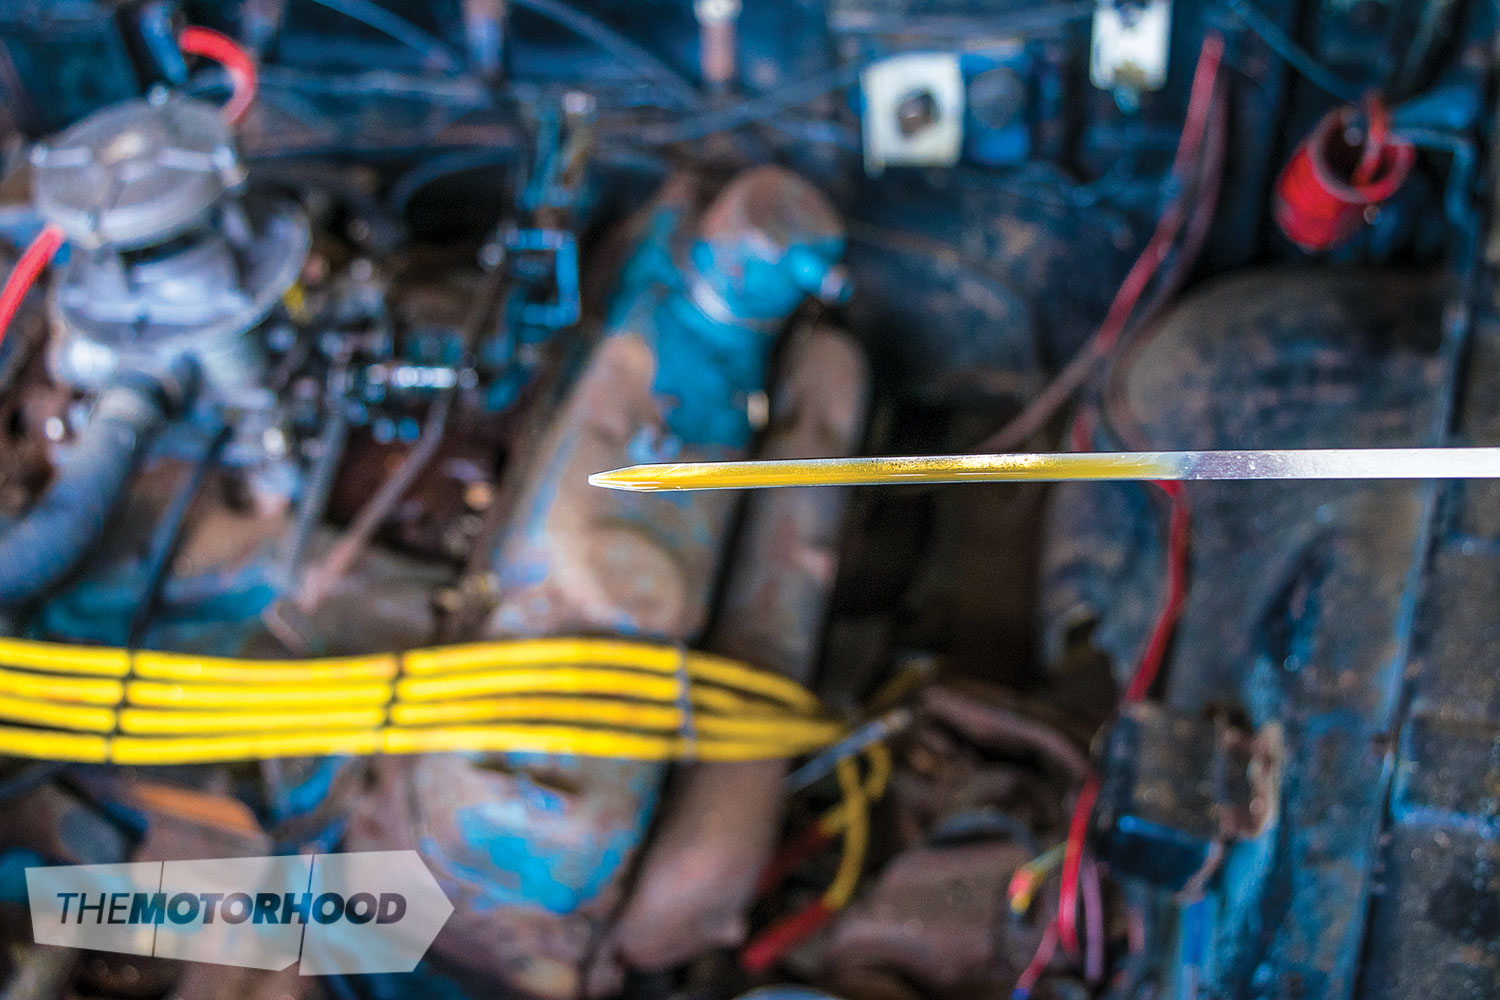
The next step was to build up oil pressure — we had previously checked that there actually was oil — so the coil lead was disconnected from the distributor before we attempted to crank the engine over by turning the key. After 30 seconds or so of solid cranking, we were confident that enough pressure had been built to lubricate the bearings. Ideally, we would have run an oil-pressure gauge on it — and this should be done, just to be sure — but we took the risk that the oil pressure was OK.
Fuel
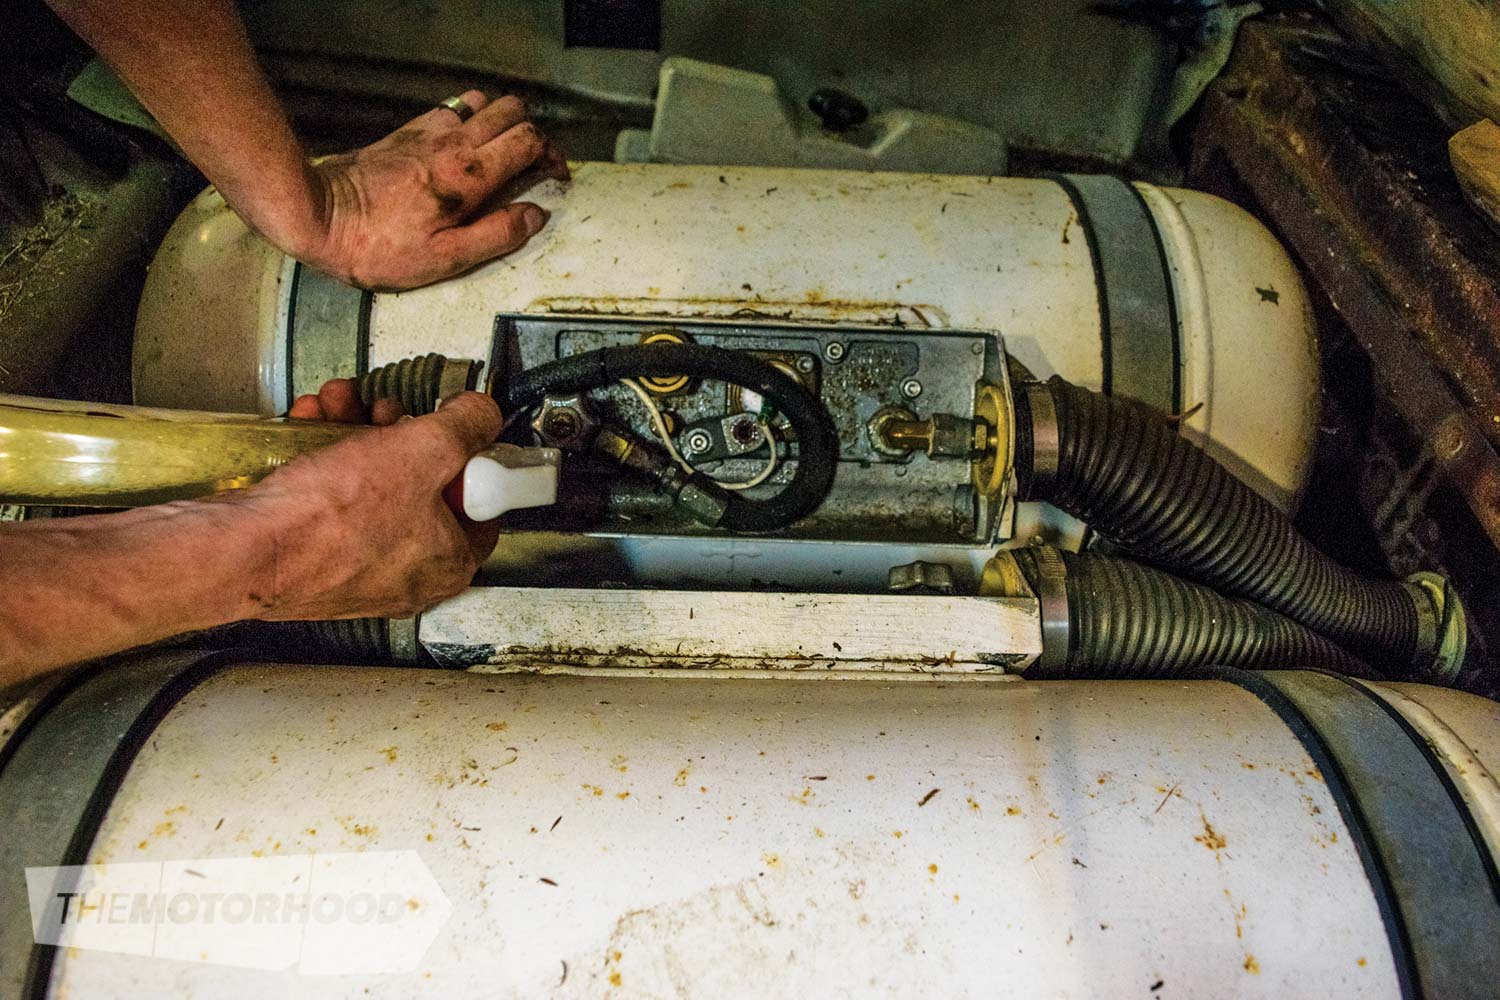
With a normal carburetted motor, it’s easy to see whether fuel is present at the carb by depressing the throttle linkage and watching/hearing the atomized fuel spray into the venturis. However, the motor we were attempting to start had been converted to LPG many years before. Our lack of experience with LPG left us a touch in the dark here, although the principle is fundamentally the same.
With the taps for the LPG system turned on, we could hear gas filling the lines. We did a quick check for any leaks, using soapy water in a spray bottle, before deciding to kick it in the guts. A quick spray of CRC Engine Start into the LPG carburettor while we cranked the engine over was to no avail; while gas was present in the lines, it clearly wasn’t making it to the carb. We did consider trying the CRC Clean R Carb we’d been given, but figured that the problem was more terminal than just a clean-up.

Fuel supply
The easy solution was to to pull a petrol carburettor off a working engine and set up a temporary fuel supply involving a funnel and some fuel line — a gravity-feed fuel system that can’t go wrong.
Of course with the motor and car sitting for so long, there’s a whole lot more work required to make it driveable than just getting the motor running. As expected, the throttle assembly was seized, so liberal amounts of CRC 5.56 were sprayed into both the throttle cable sleeve and onto the throttle assembly, which soon solved the issue.
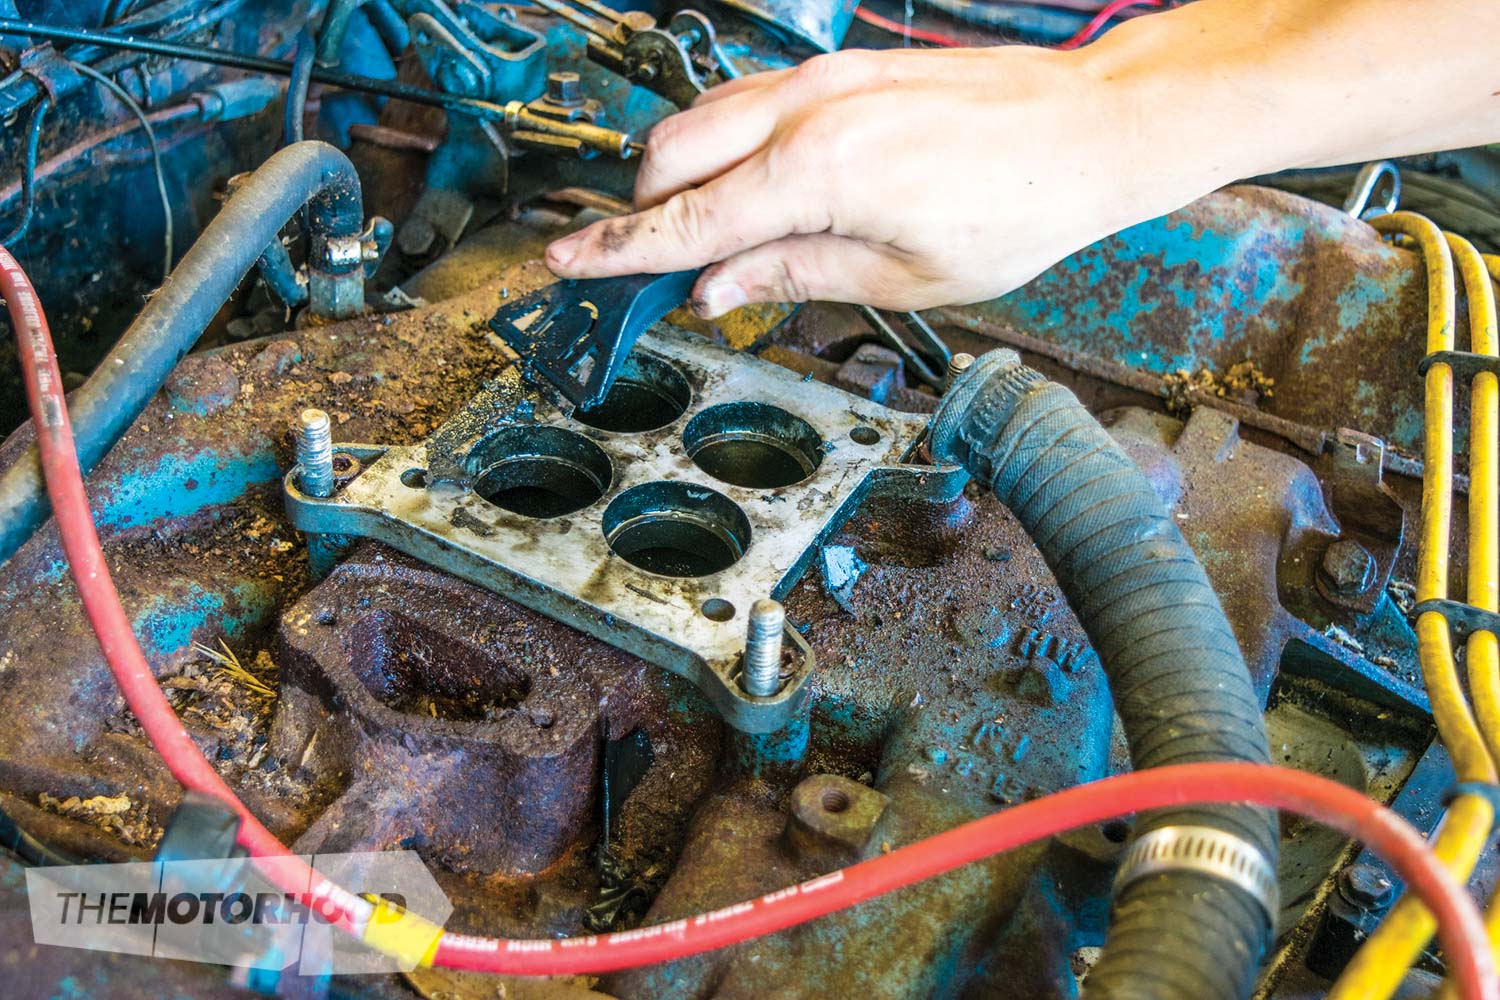
Ironically, removing the LPG carb was a harder task than expected, due to the amount of rust on the bolts. We used Penetr8 again to help free the rusted up fasteners, and, thankfully, with a paint scraper and CRC Aeroclean Engine Degreaser, the intake manifold’s surface was soon clean enough to mount a carb to.

What is a penetrant?
A penetrant, or penetrating oil, such as CRC Penetr8, is a lubricant specifically designed to free corroded parts. Its low viscosity allows it to permeate rust, grease, and grime to get into the smallest of cracks, seams, and threads. When working on an old vehicle, a high-quality penetrant is invaluable.
C-bomb
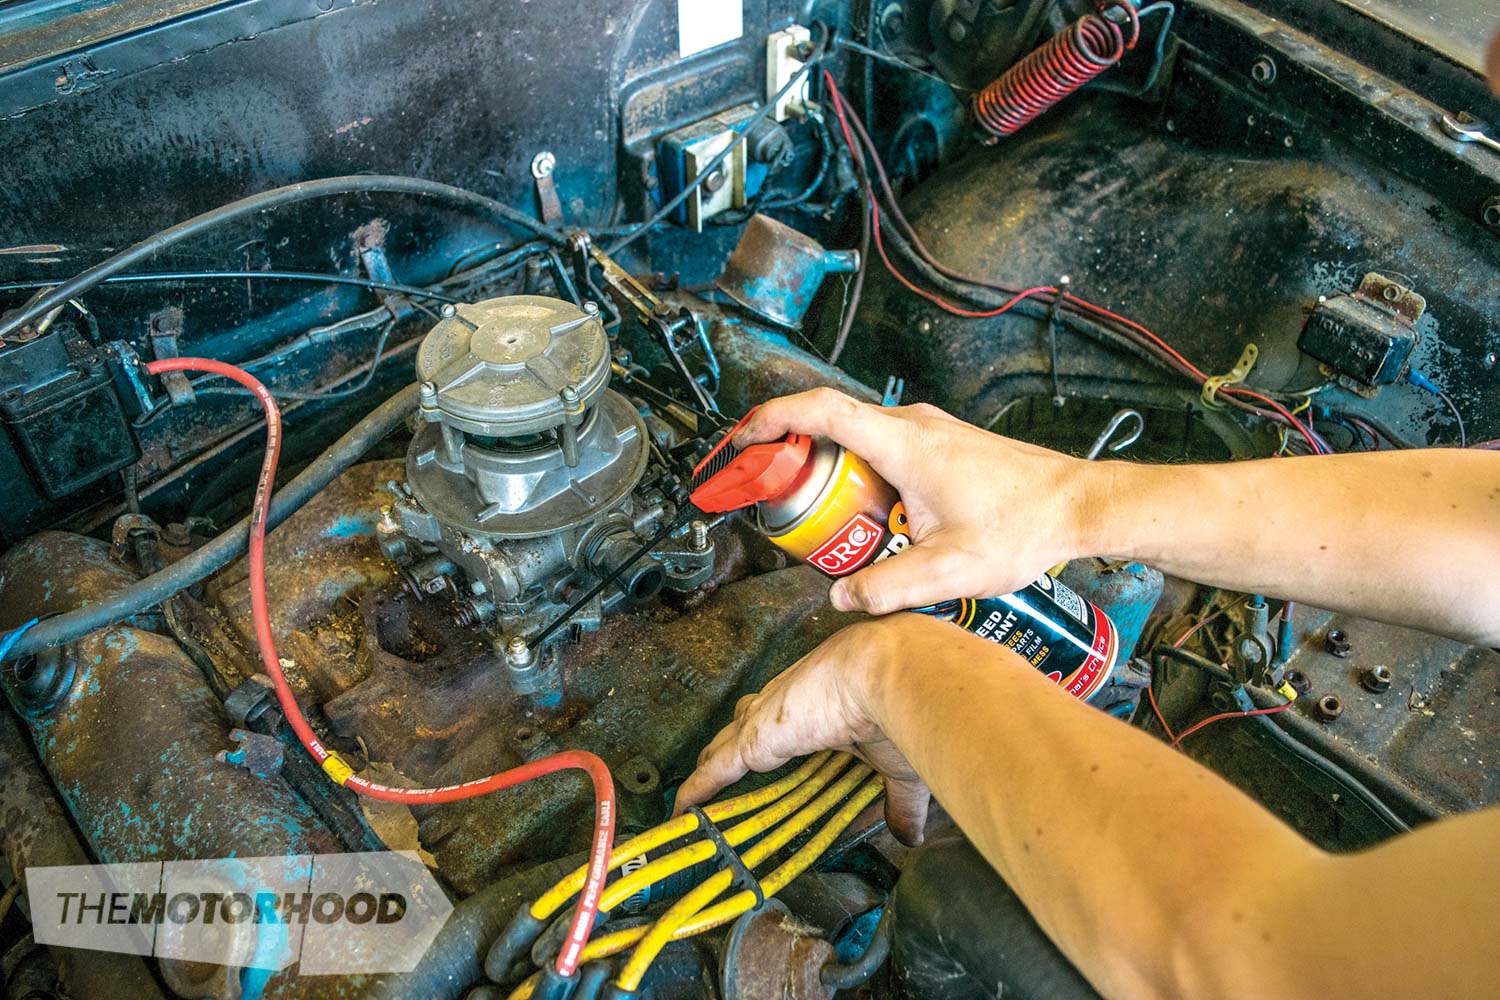
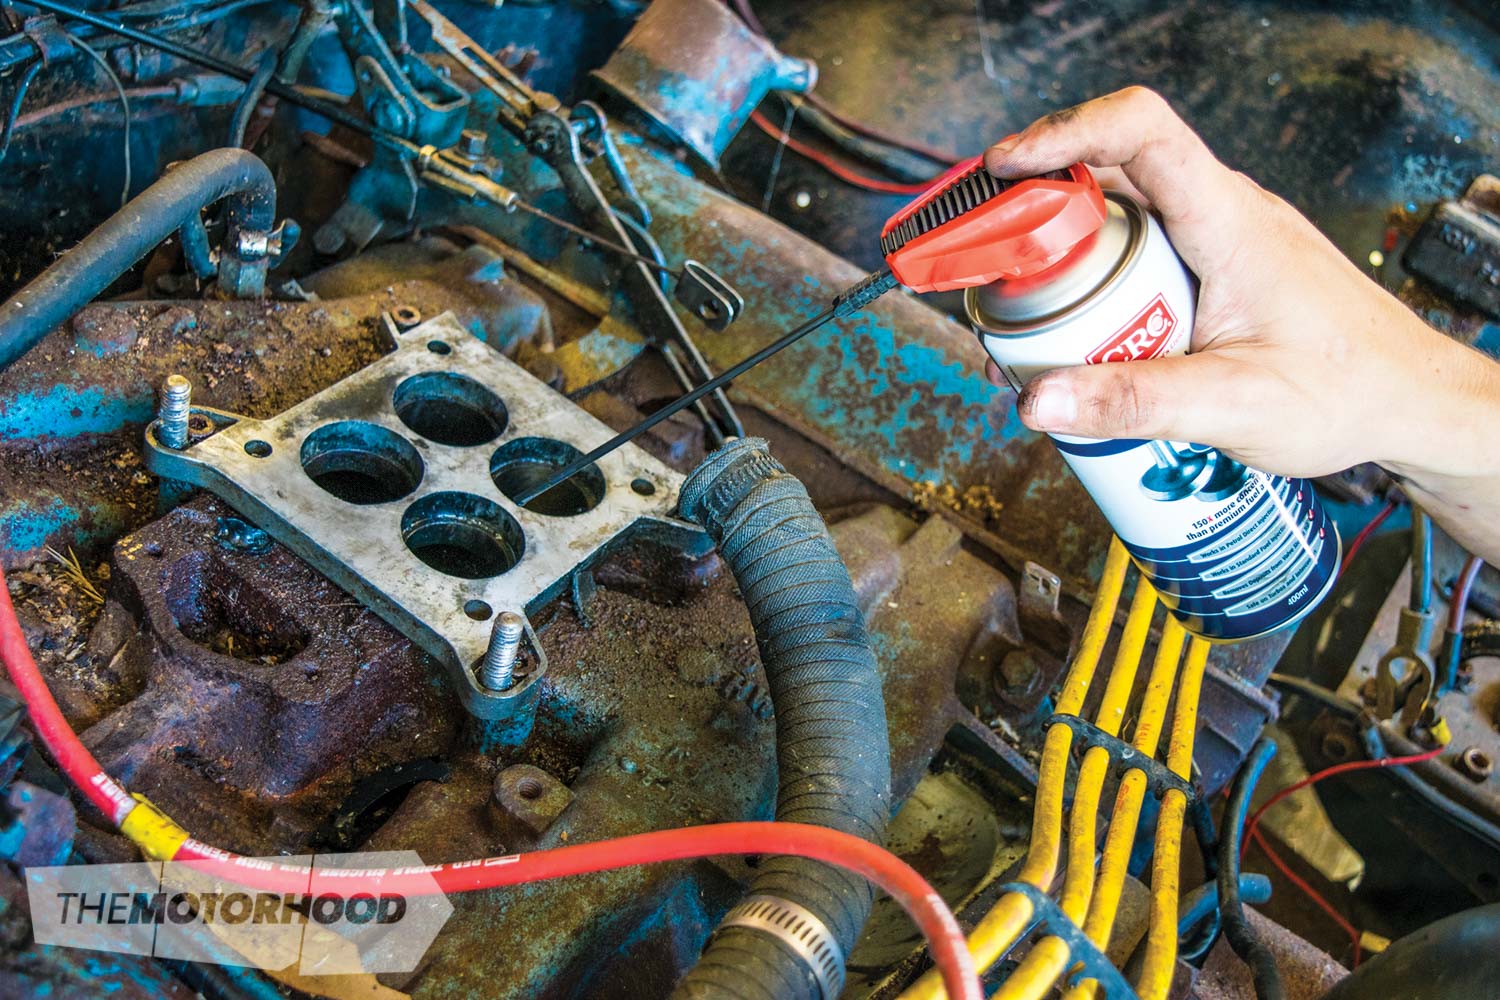
While the carb was off, we took the chance to spray some CRC GDI Intake Valve Cleaner down the hole. Sure, the engine isn’t direct injected — or fuel injected at all — but we’d heard how well GDI [gasoline direct injection] cleaner cleans up the intake valves and valve seats of a running engine and had some on hand, so figured it was worth a shot.
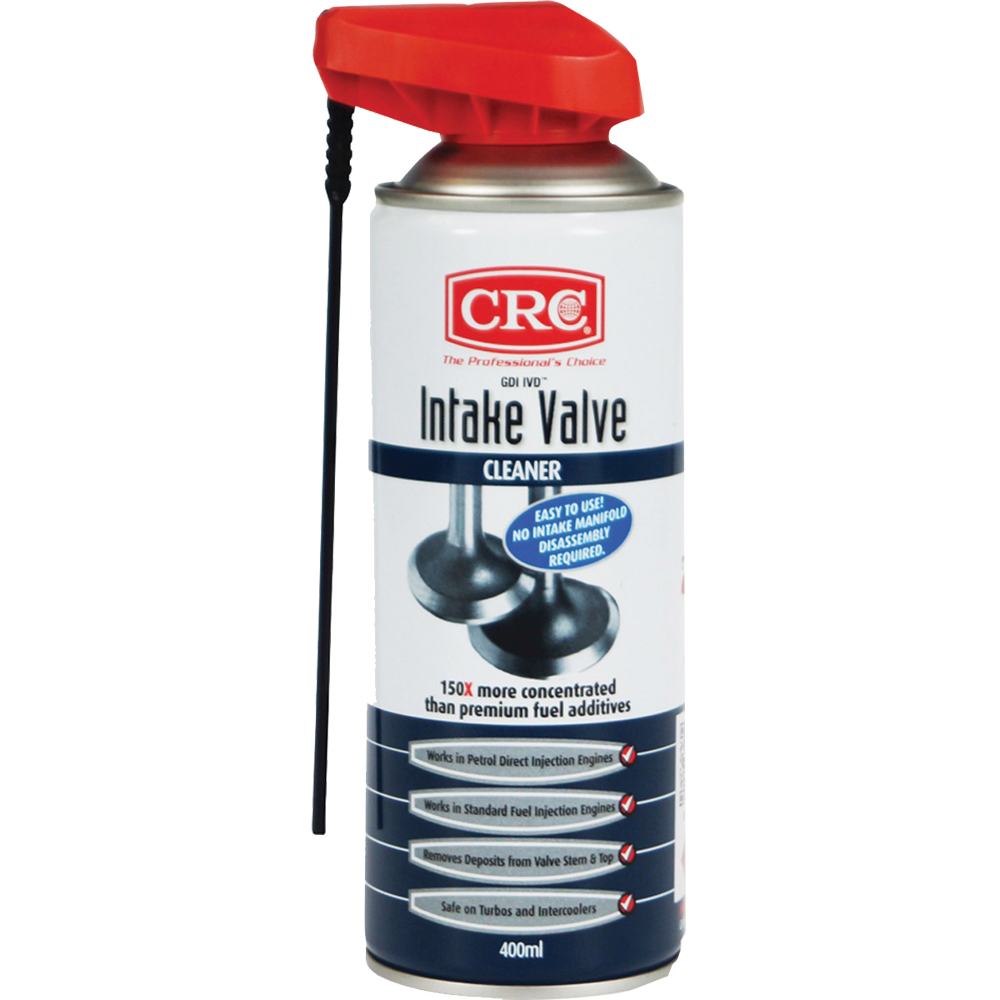
Intake valve cleaner
Although designed with late-model direct injection in mind, CRC’s GDI Intake Valve Cleaner is a product that we think would also come in very hand on an old carburetted vehicle. It is designed to clean the back of intake valves to remove carbon deposits, thus helping the engine to run more smoothly. In a direct-injection engine, in which the fuel injector sprays directly into the combustion chamber rather than into the intake tract, it’s common for build-up to occur on the valves, as there’s no petrol to wash it away. With our test motor having sat for so long and having previously run on LPG, a dry gas, we felt that the product would help to clean the intake tract — although, obviously, there was no way for us to view the results without pulling the motor apart.
All fired up
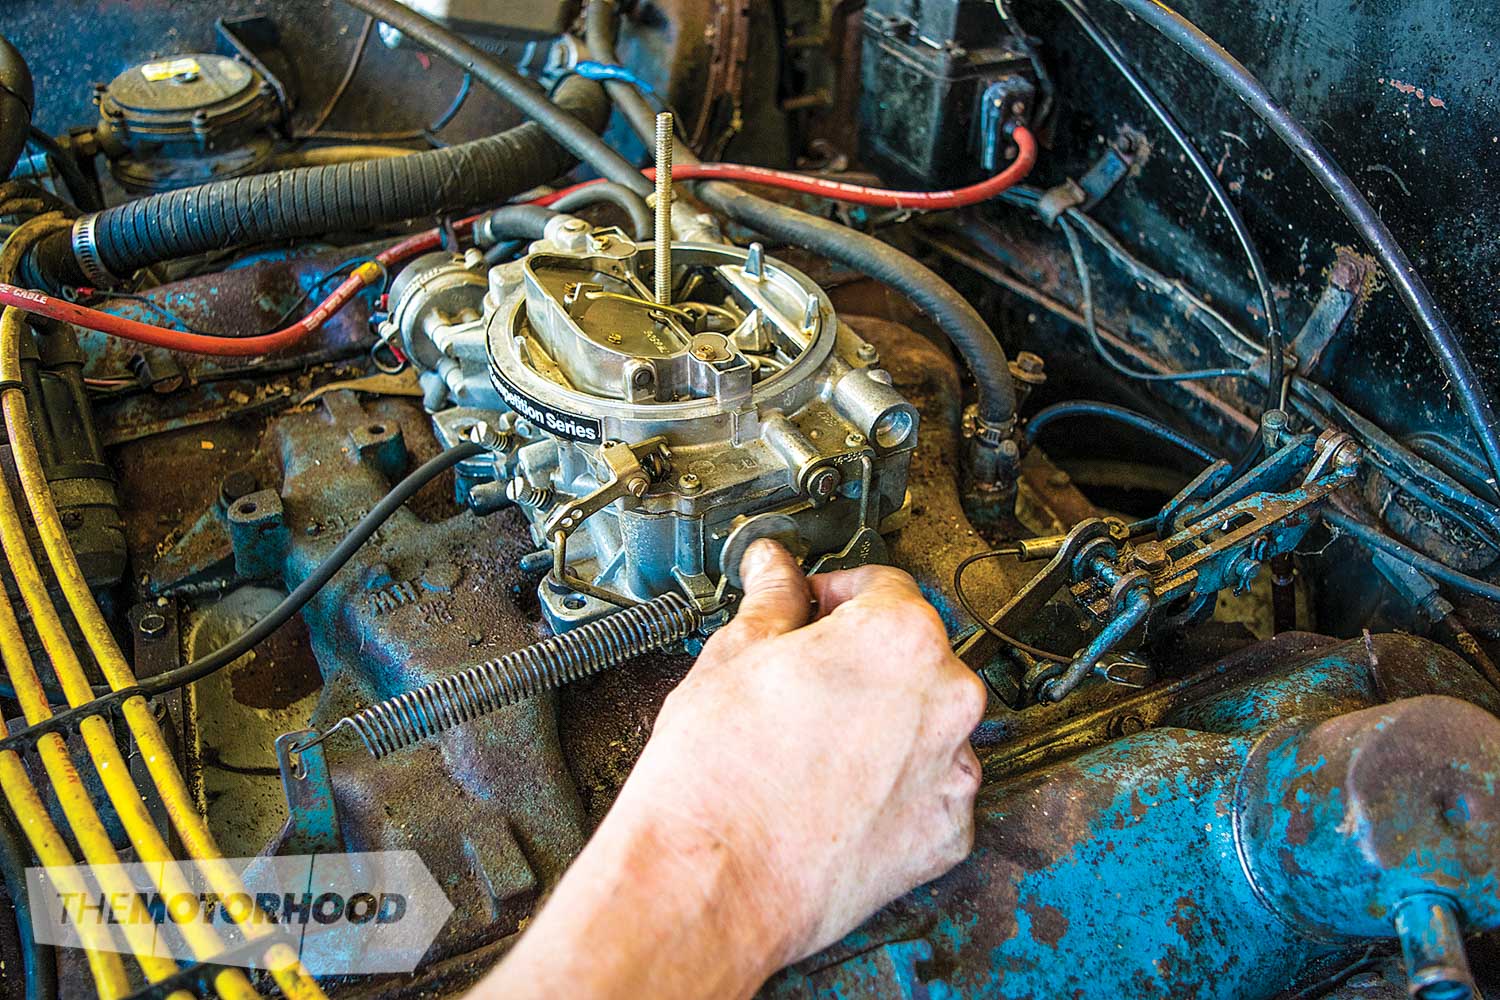
We did not replace the carburettor gasket, as the plan was only to try and get the engine running, not drivable, and the Carter AFB four-barrel was going to have to be returned to its donor engine. The gravity-feed fuel hose was hooked up to the carburettor, and a new line for vacuum advance hooked up.
It was here that we discovered the throttle cable wouldn’t quite work with the Carter AFB, meaning it would need to be controlled by hand.
No problem — with a more hand-friendly throttle pawl borrowed from the LPG carb, and a shot of CRC Engine Start in the carb, the engine was cranked again, and after several cranks, the engine fired with zero drama. Success!
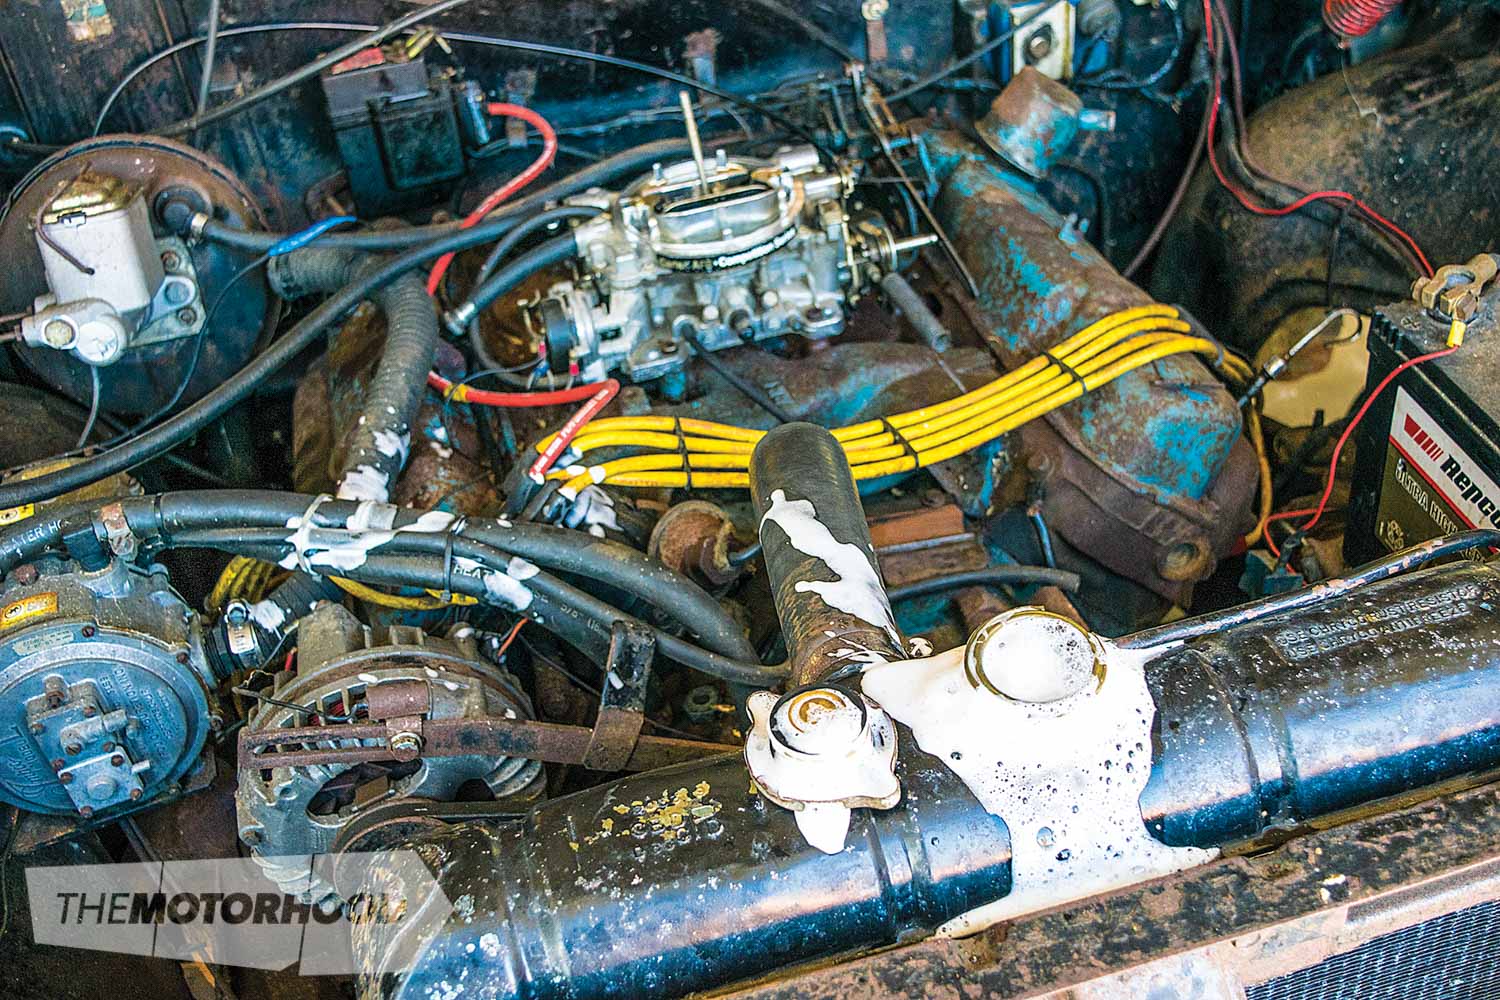
With the engine now running, the plan was to change out the oil and fine-tune the ignition timing — something we’d resisted until we knew that the engine would actually start and run, and until we could get the oil warm enough to drain properly. We’d planned on using an oil flush — CRC Fast Motor Flush — to ensure that all the old oil that had been sitting in the engine came out, but, as happens, we hit a snag.
Kaboom!
After we checked the cooling system to ensure it’d be able to run long enough for the engine to get up to operating temperature, it became apparent that the engine had a blown head gasket. We’re guessing that’s why the car got parked up all those years ago. So, while our goal of getting the engine started was successful, the outcome wasn’t the best-case scenario — such is the joy of chasing and working on a barn-find.
A big thanks to CRC for the help with this article. To check out the full range of CRC products, visit crc.co.nz.