

The ability to check your engine’s initial ignition timing is one of the most important ‘basic’ abilities to possess when it comes to troubleshooting, or adjusting engine characteristics.
Ignition timing relates to the combustion cycle of a typical four-stroke piston-style engine, and is generally referred to in terms of degrees — of crankshaft rotation — before the piston reaches top dead centre (TDC). As the piston moves up the cylinder during the compression stroke, the ignition event occurs prior to its reaching TDC — this allows the air–fuel mixture time to ignite, the combustion of which forces the piston back down in the bore.
Of course, the timing will need to be adjusted to suit whether the engine is operating at idle, higher speeds, or under load — one ‘size’ does not fit all. On a typical V8 engine, mechanical advance allows for increases in engine speed, and vacuum advance deals with changes in load as a function of manifold vacuum.
Advancing the initial ignition timing relates to adjusting the ignition event at idle to occur earlier on — further from TDC — while retarding the timing moves the ignition event later, or closer to TDC. On a traditional pushrod V8 running a distributor ignition system, initial (base) ignition timing is adjusted by rotating the distributor.
We have a 392 Hemi engine here sitting on the floor, and wish to check the initial ignition timing at idle. Since the engine is not in a car, and has no cooling system hooked up, initial timing at idle will do for now. All that is required is a timing light and a spanner — to allow for distributor rotation, if required.
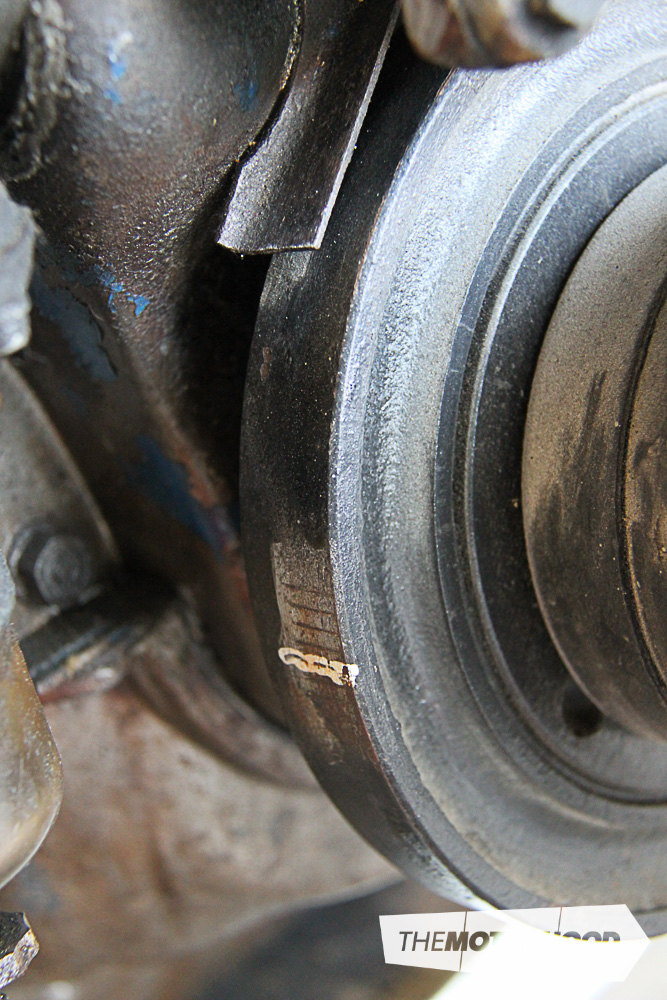
Step one
This Hemi has timing marks on the harmonic balancer that reference the timing tab located on the timing cover. Since there is no pre-set timing mark on this style of harmonic balancer, the appropriate TDC mark is made using white marker. As the engine was already running pretty well, we took for granted that the existing mark represented true TDC — that said, it never hurts to be certain.
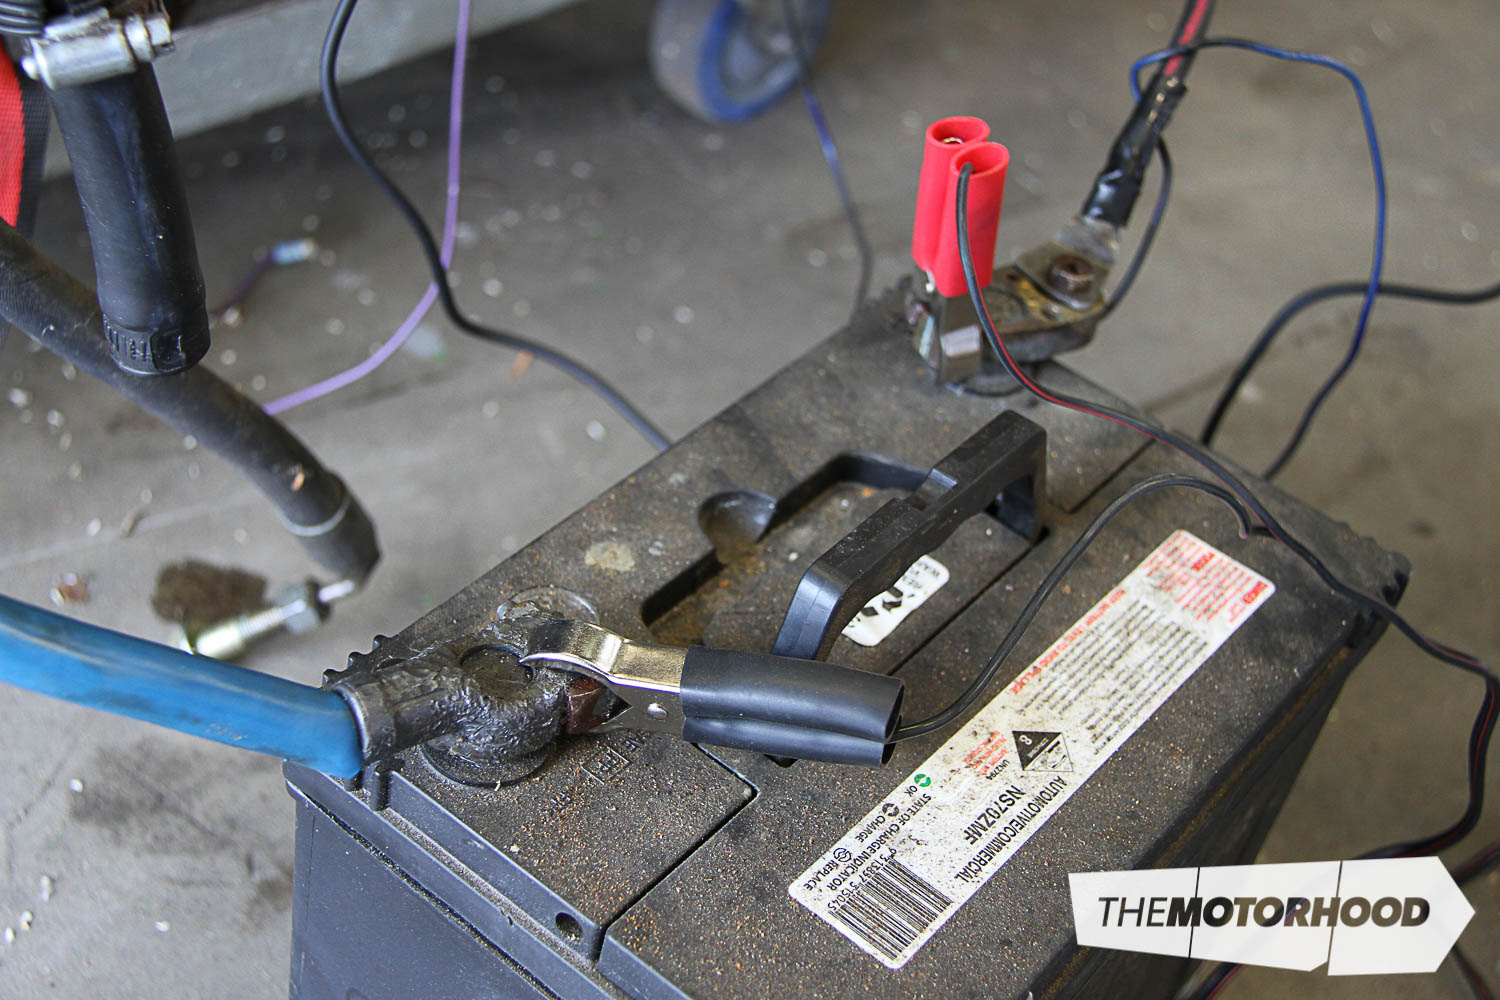
Step two
The timing light is connected to the battery, and the inductive clamp is slipped over the ignition lead for cylinder one.
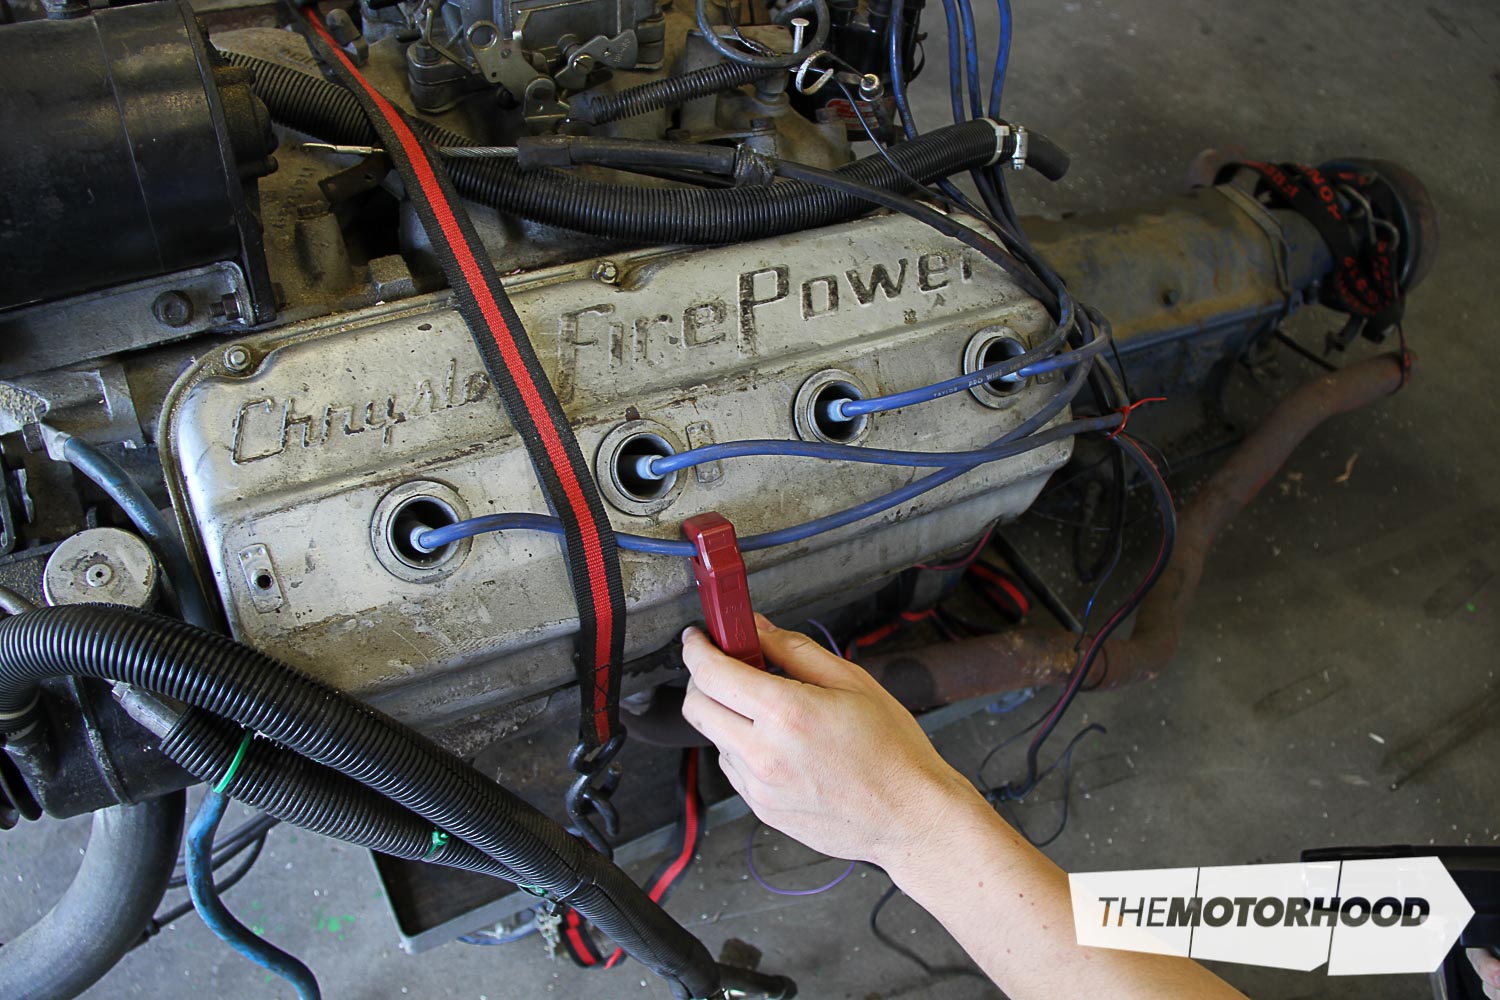
Step three
The timing light flashes every time current is sent through the ignition lead, allowing for an accurate representation of ignition timing. As you can imagine, it’s extremely hard to photograph in action, although we did manage to get a decent shot showing the timing light in action.
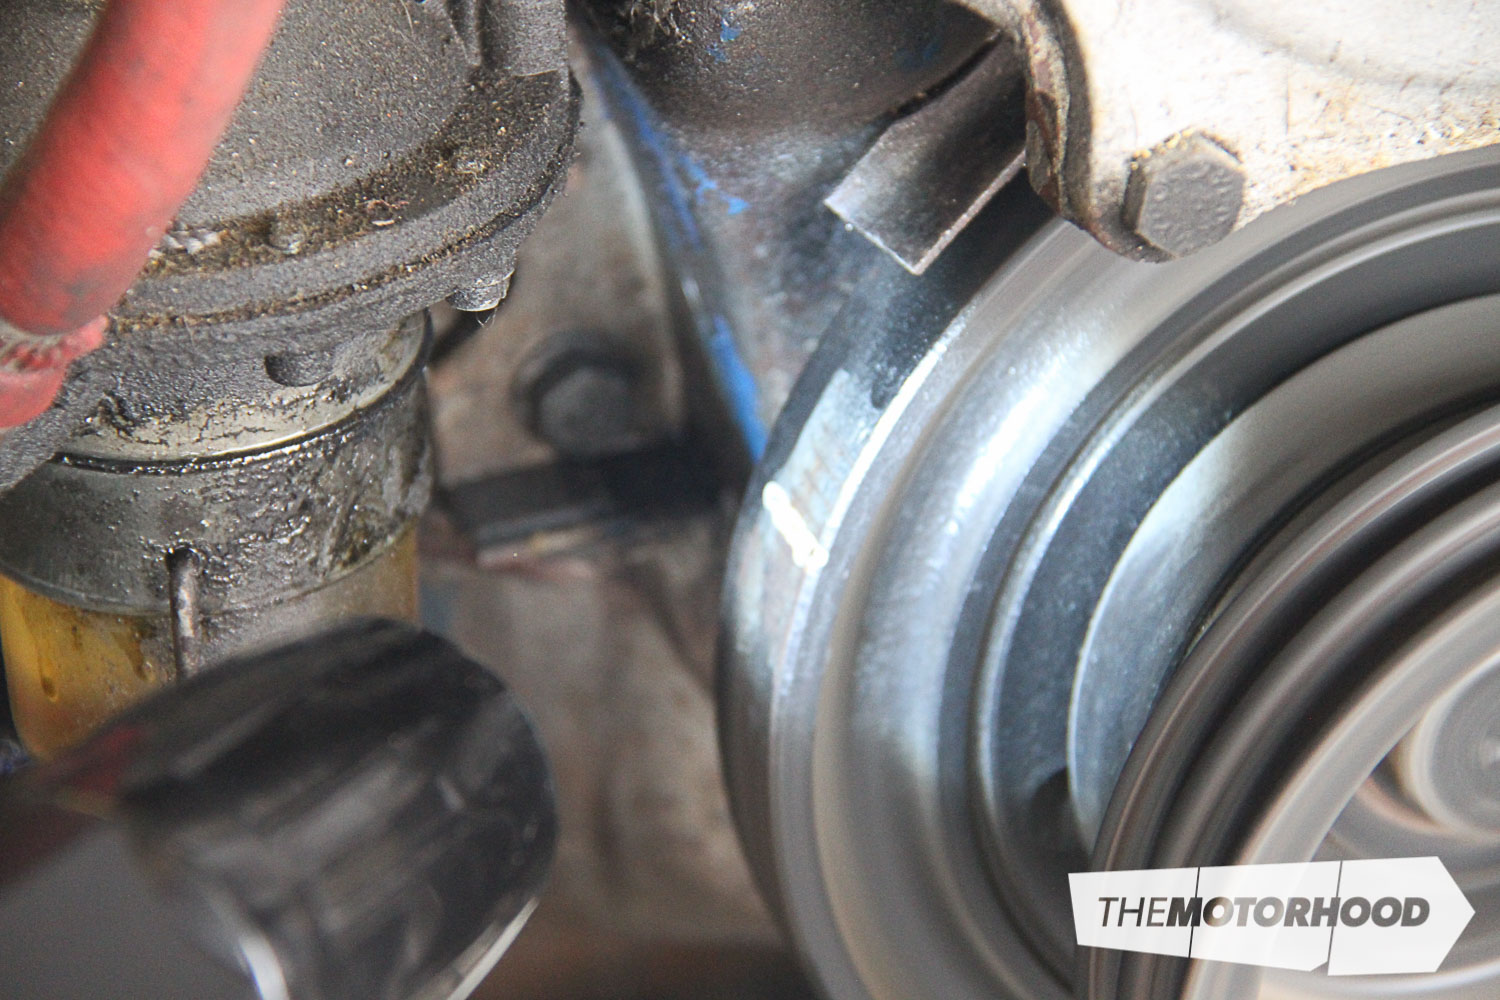
Step four
With the engine running, aim the timing light at the harmonic balancer. We’re referencing the timing mark with the timing tab, and, with the timing mark representing TDC, initial timing looks to be around 10 degrees before TDC, which is pretty much spot-on for this engine.
Step five
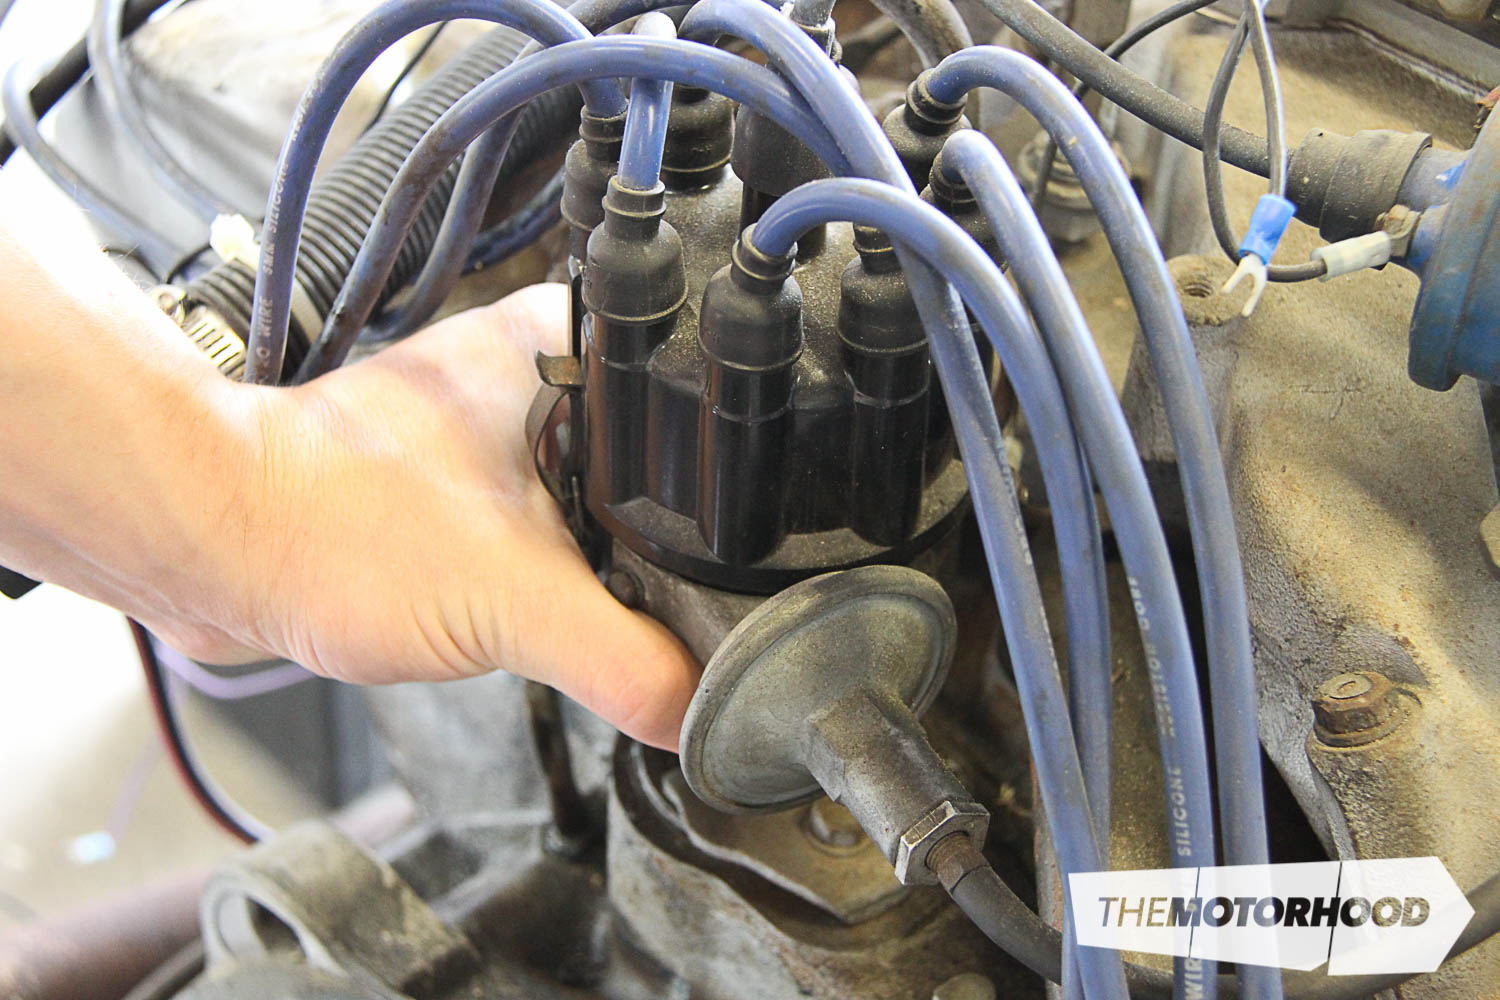
If your timing does need to be adjusted, loosen the distributor clamp bolt enough to allow the distributor to be spun, and fractionally rotate it to determine which way advances or retards the timing. Adjust the timing to the point at which you are satisfied with it, and fasten the distributor clamp. You should always have an owner’s manual, or reliable reference, for setting the initial timing.
This article originally appeared in the February 2016 issue of NZV8 (Issue No. 129). You can grab a print copy or a digital copy of the magazine now: