
data-animation-override>
“Ever wanted to upgrade the engine in your car, but didn’t know where to start? Here’s a few handy hints”
If only real cars were made from Lego … then we could simply drop in any engine we like and it would simply click into place. Unfortunately, the real world doesn’t work that way, and seemingly simple jobs can soon go wrong. There’s a lot to be taken into consideration when considering an engine transplant in your car, and each and every conversion is different in terms of parts and work required. Generally, the conversions that feature the same brand engine as the factory item will be easier to complete, but that isn’t always the case. Over the next few pages we’ve broken the process down into different sections, to point you in the right direction.
The Basics
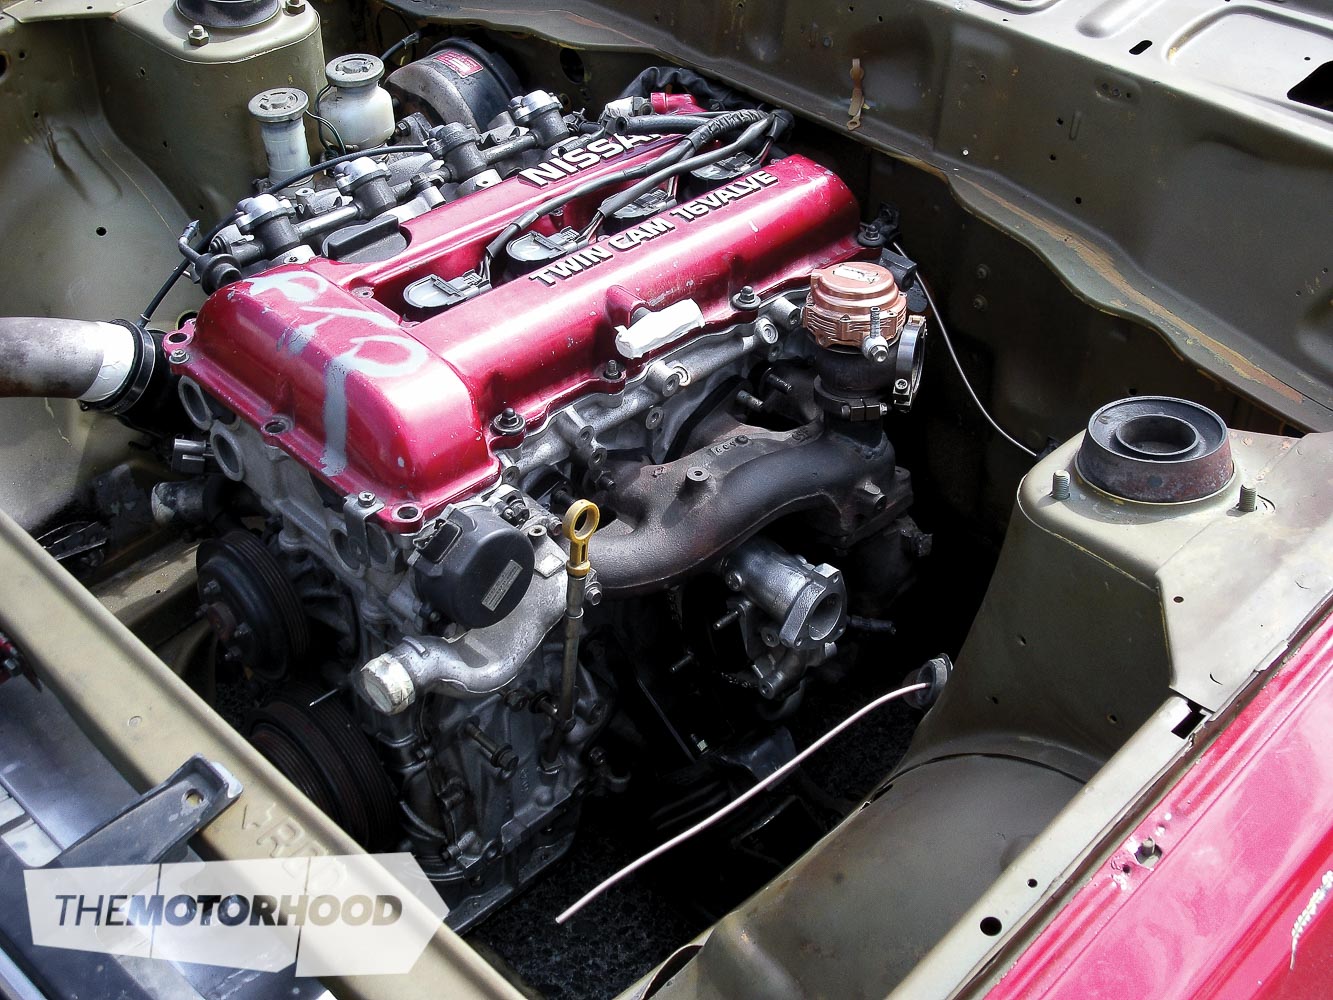
The first consideration will be the engine you need to suit your chassis. After you have decided what powerplant will suit, you need to ensure you are purchasing the correct model for your application. Most engines come in different configurations of sumps and auxiliary parts. If your chosen engine has been produced for a period of time, and for ranging models, there are likely to be a few variations in power output, compression, materials used, and ECU tunes. Research is your best friend here, and it could save you a ton of headaches and money by ensuring you purchase the correct model first time. Do the research, talk to the reseller, and get informed before purchasing anything! Grab all your old back issues of NZPC, as we have covered most popular models over the last few years, so the hard work has been done.
Will your chassis need a front sump, mid sump, rear sump, or a custom sump? Other things to consider are header location, and the coolant system. Shoehorning a Toyota V12 into your Datsun 1000 might seem like a good idea after a few planning brews in the shed, but will it physically fit, and can you get it legal after you chopped out all that sheet metal? Basically, what we are saying is — homework first, guys.
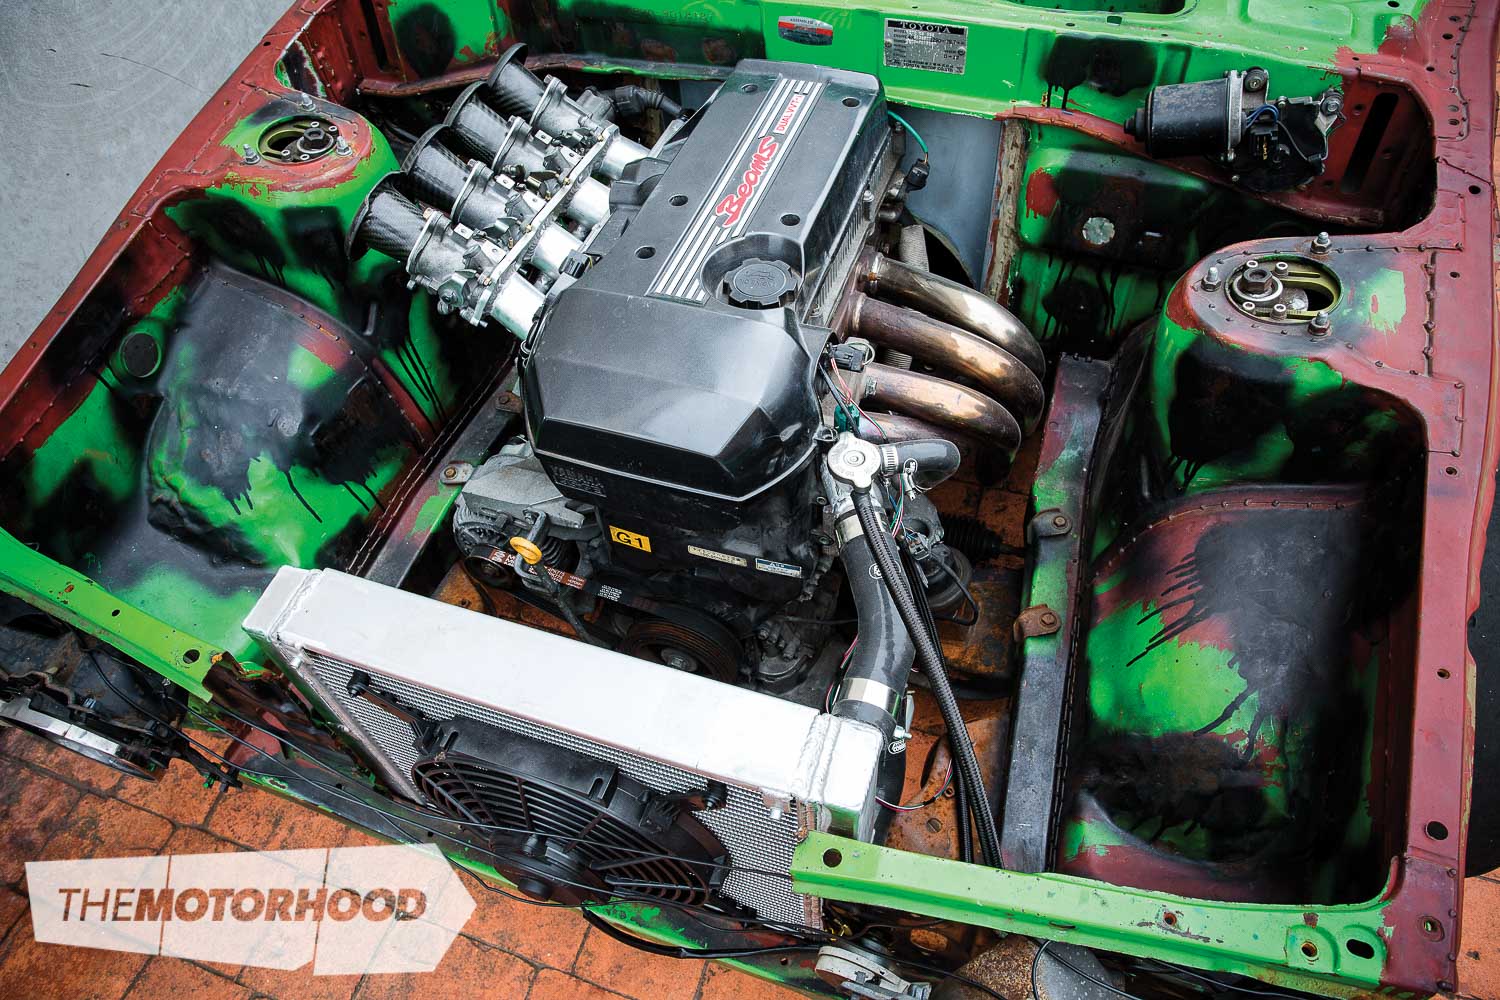
Fabrication
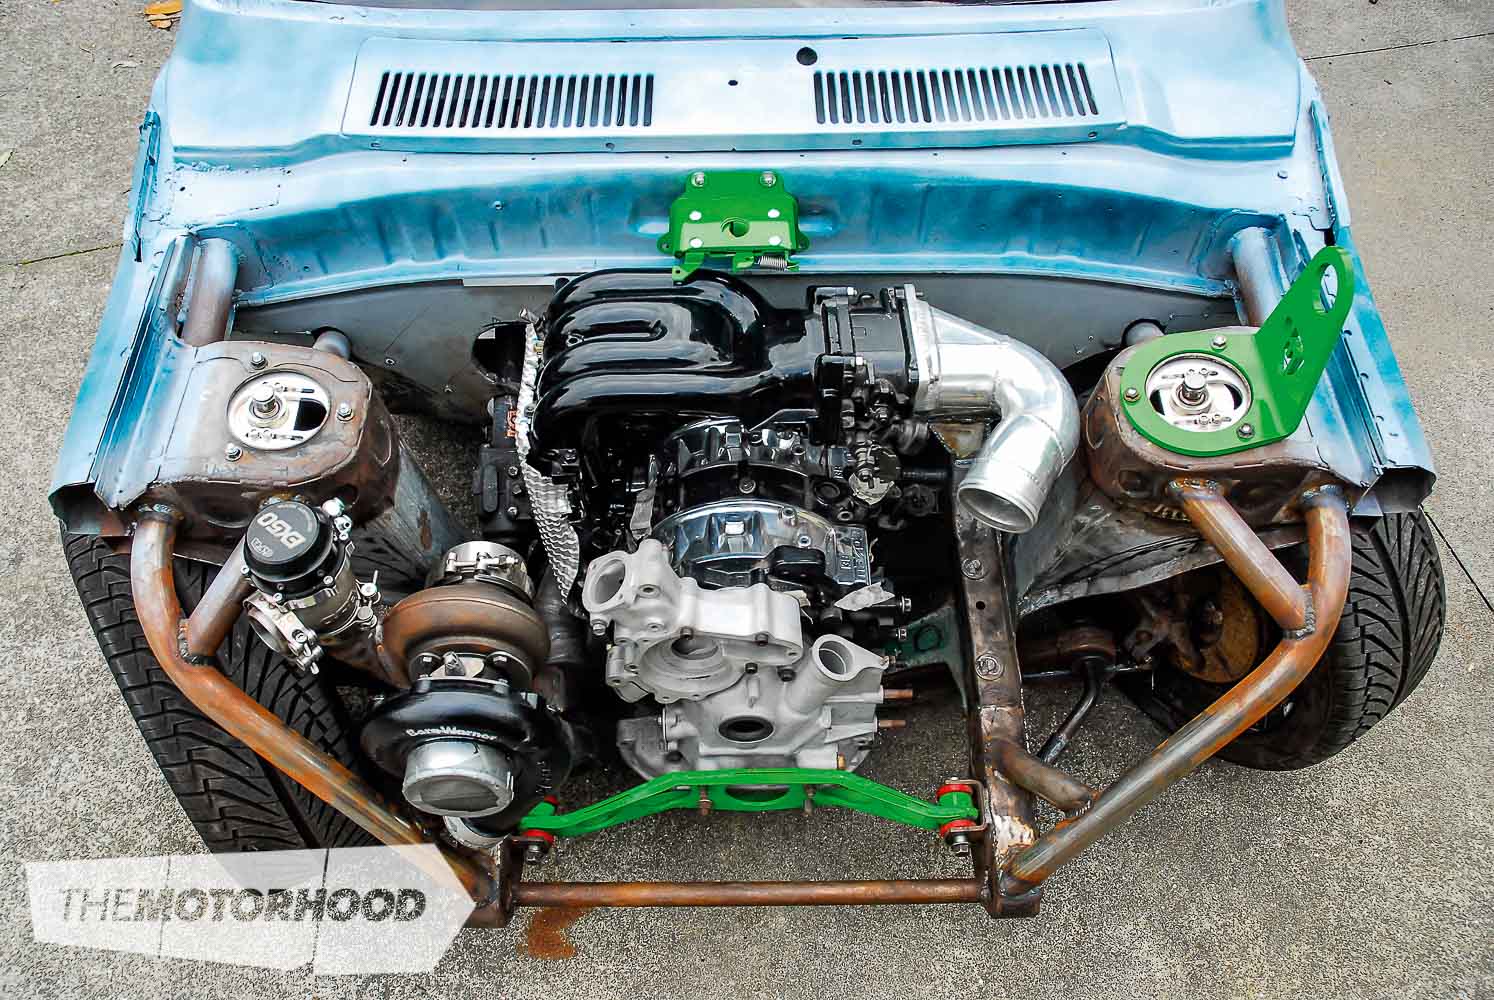
In most engine conversions, custom engine mounts are required. To be up to LVVTA specifications, these must be made from strong enough material to withstand fore and aft as well as lateral (side to side) movement, and rotational forces taking into consideration engine weight and torque imposed on them. Engine mounts must be created in a way to ensure that even if a failure occurred on one side, the engine would not fall onto any steering componentry. If this is not possible, either a safety strap must be fitted or a cross member installed that will act to support the engine if a failure were to occur. For full information, see Section 9 of the LVVTA’s NZ Hobby Car Technical Manual.
Before mounting the engine — or more specifically, the transmission — in a front engined and rear wheel drive car, take into consideration the angle that the drive shaft will be on. The optimum angle is less than three-degrees and should be the same on both ends of the drive shaft. This is to avoid vibration through the shaft and binding of the universal joints.
Assuming the engine is rubber mounted — recommended for street cars — take into consideration the amount of movement that will be created by the torque of the engine. The engine must not come into contact with any part of the engine compartment while under full load. If you’re worried, engines can legally be solid mounted, assuming the transmission is mounted in the same fashion.
Sump clearance issues should also be taken into account before engine mounts are completed.
It is common for sumps to require modification to fit around steering components or crossmembers. In many cases engines were produced with various sump designs, so the sump location can simply be replaced with a ‘rear sump’ or ‘front sump’, or vice versa. When doing so, make sure to get the appropriate oil pickup and dipstick, too. When replacing or modifying a sump, take into consideration the engine’s oil pick up and the location of the drain bung. While it’s possible to modify oil pick ups, this is less than ideal, as if the pickup fails, you can kiss your engine oil pressure — and most likely your engine — goodbye.
Wiring
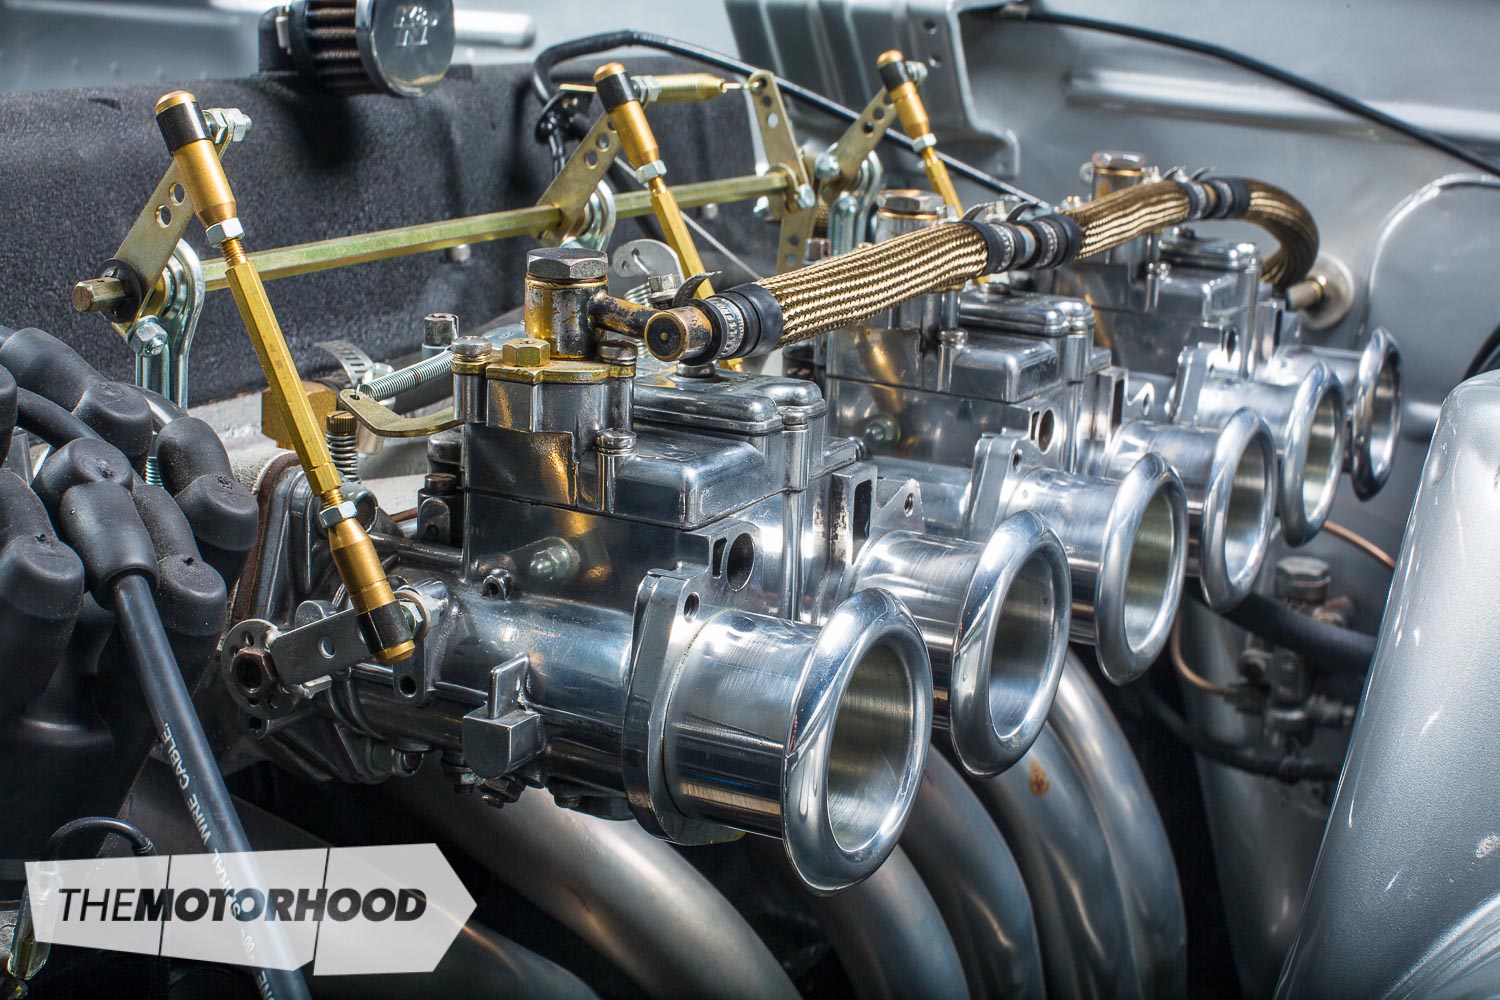
If you’re choosing to install a carburetted engine, the wiring required is pretty simple. Most home DIYers will be able to get it sorted with the use of a multimeter. However, there’s a big difference between making it run and making it look nice and run well. Make sure to keep unnecessary joins in wiring to an absolute minimum, as they could cause problems in the future and can be very hard to find once the conversion is completed.
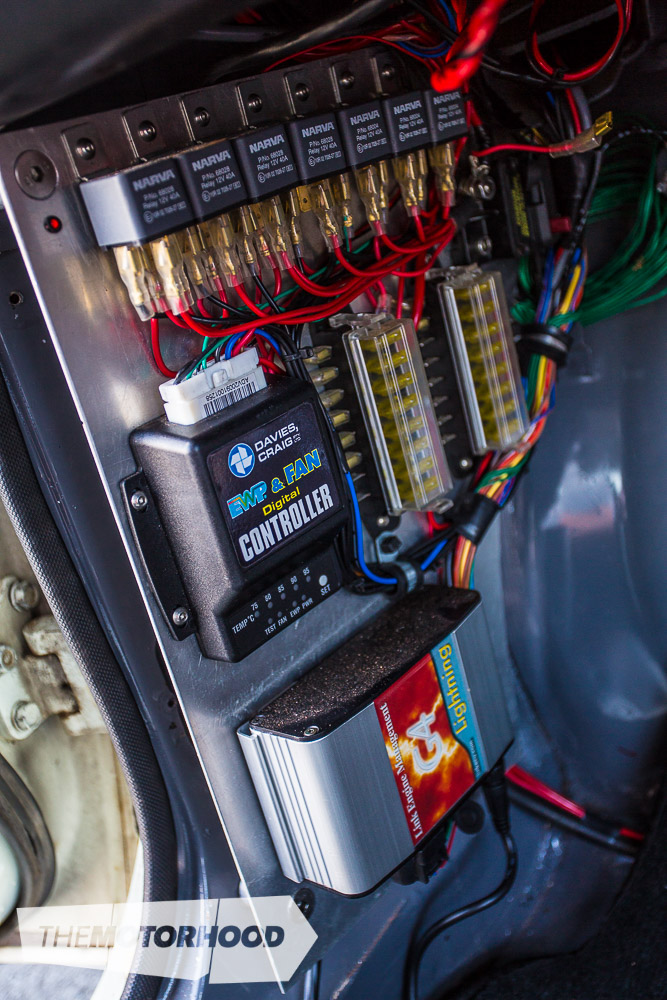
If you’re rewiring the whole vehicle, a great solution is to use a readily available aftermarket wiring harness and fuse box. In these kits, every wire is labelled or colour coded, or both, so installing them is nice and simple. If you’re going with this option, now’s the time to deloom the engine bay by running the wiring out of sight. Make sure to protect any wiring that runs through areas like wheel arches from the elements by using proper conduit and rubber grommets where appropriate.
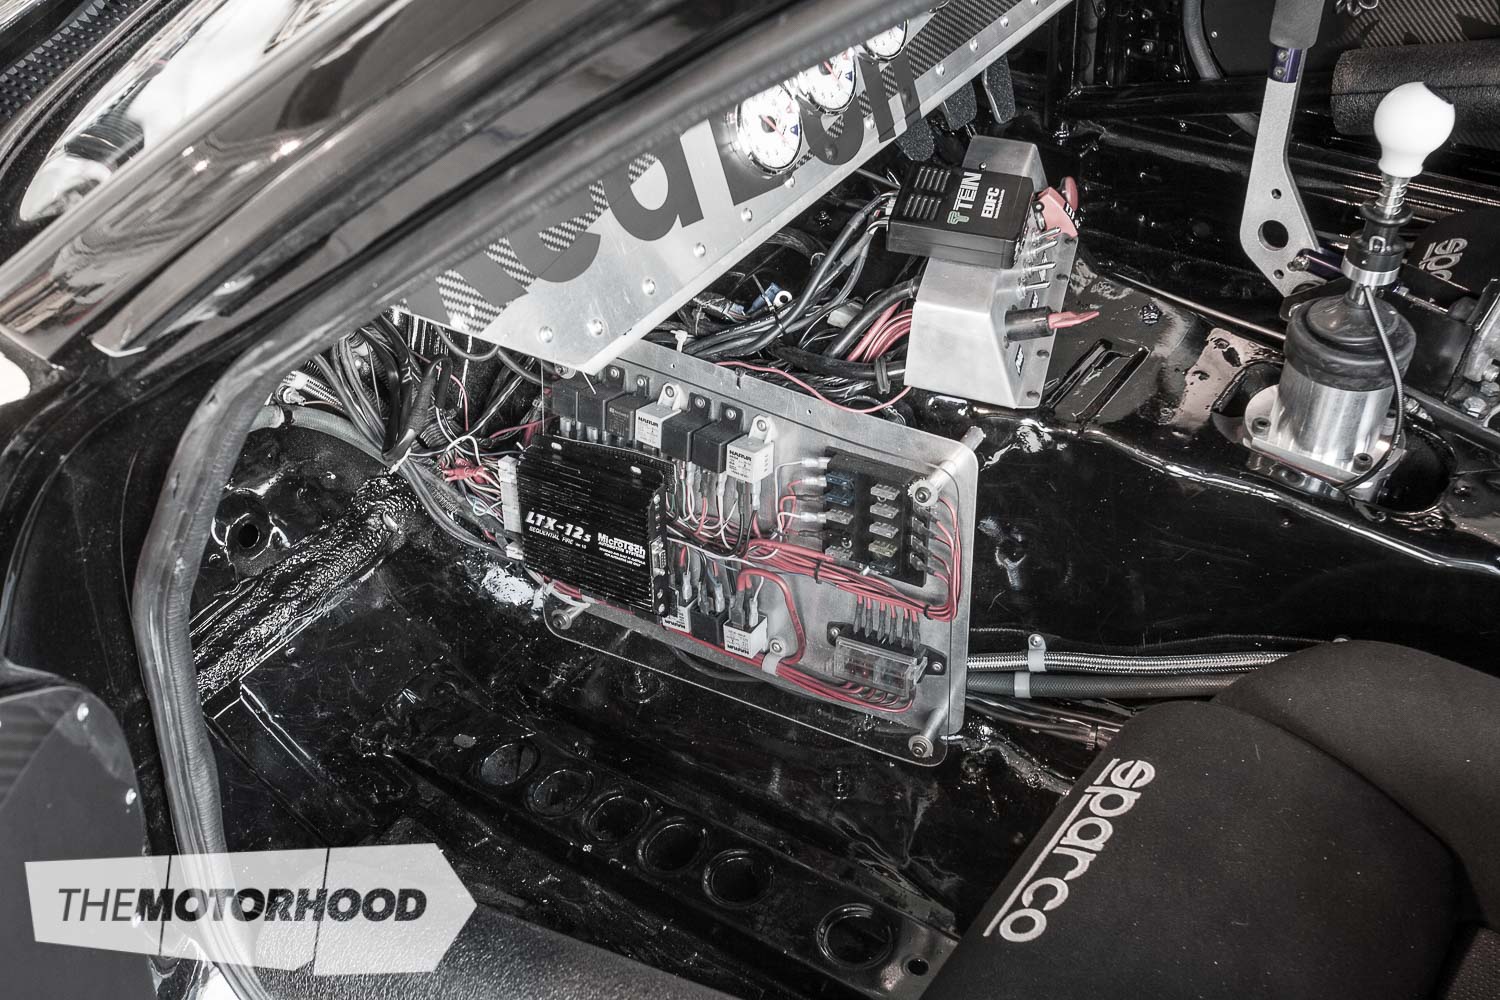
When installing an EFI-based engine, the wiring aspect becomes far more complicated, although not necessarily out of the realms of the home enthusiast with a bit of know-how. The best option is to purchase the factory wiring loom and ECU with your new engine. Most vehicles these days have a separate looms — a loom for the engine, and a body loom for lights and body wiring. Even so, chances are you’ll end up with a bunch of unneeded wires that will not only confuse you, but make your job harder. The first thing to do is find a wiring diagram and work out which wires you don’t require, such as traction control, etc. Once you’re certain that they’re of no use, remove them from the loom. You’ll be amazed at how much you can remove.
Make sure to mount your ECU where it can’t be damaged by passengers’ feet, and is far away from any water that may get into the vehicle. Keep in mind that you may want to have access to it for tuning purposes later on. Equally as important, but generally forgotten about, is a decent earthing system between the body and the engine.
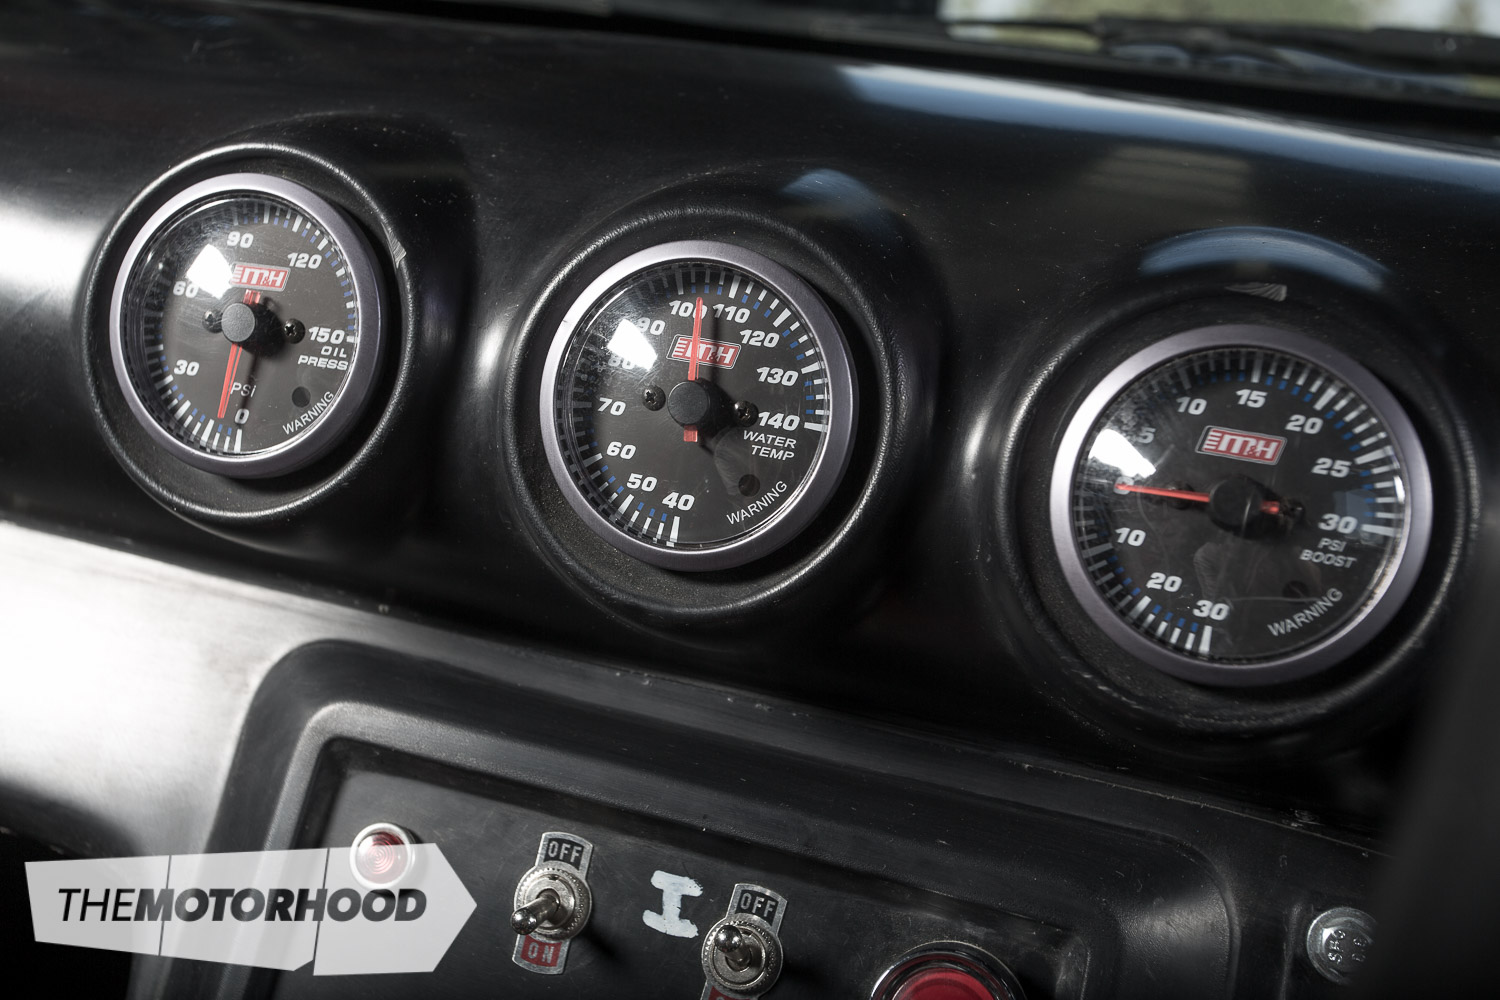
Gauges
Obviously, making sure your instrumentation in your vehicle works with the new engine is critical. There are various companies that can make or modify speedo cables to mate your new transmission to your speedo. If your transmission has an electronic output, such as that found in many late model vehicles, you can use a device such as a CableX to convert the digital signal into a mechanical one. This allows you to run your stock cluster, and have it working as it should.
Alternatively you can either install the digital dashboard, which can look out of place in an older vehicle, or run aftermarket gauges such as those found in most speed shops.
Cables
Most companies that construct handbrake cables are also able to make custom accelerator cables, should your factory cable not work. Often it’s a case of simply changing an end on a cable or shortening to suit. If you have the original cable to use as a starting point, the task will be a lot simpler, and will not require the vehicle present. Make sure to check that the new throttle set up opens and closes fully with the vehicle’s pedal assembly. For certification, you’ll require double throttle springs. For carburetted applications, most parts suppliers sell a two-in-one spring setup, and all late model engines are fitted with double springs on the throttle body from factory these days.
Drive shafts
Every front engined, rear wheel drive engine conversion will require a custom drive shaft, unless the new engine is a direct bolt-in replacement. There are drive shaft specialists around the country who will be able to help, and it’s not uncommon to have a different brand yoke from end to end. Remember, though, measure twice — or more — as once it’s made, there’s no going back. The size of the tubing and universals should be in line with the power the engine is making. Depending on the length of the shaft required, a two-piece shaft may be the only way to go. Every situation is different, and this job should be left up to a specialist business. One-piece drive shafts must be constructed from a single piece of tube, with welding only on each end.
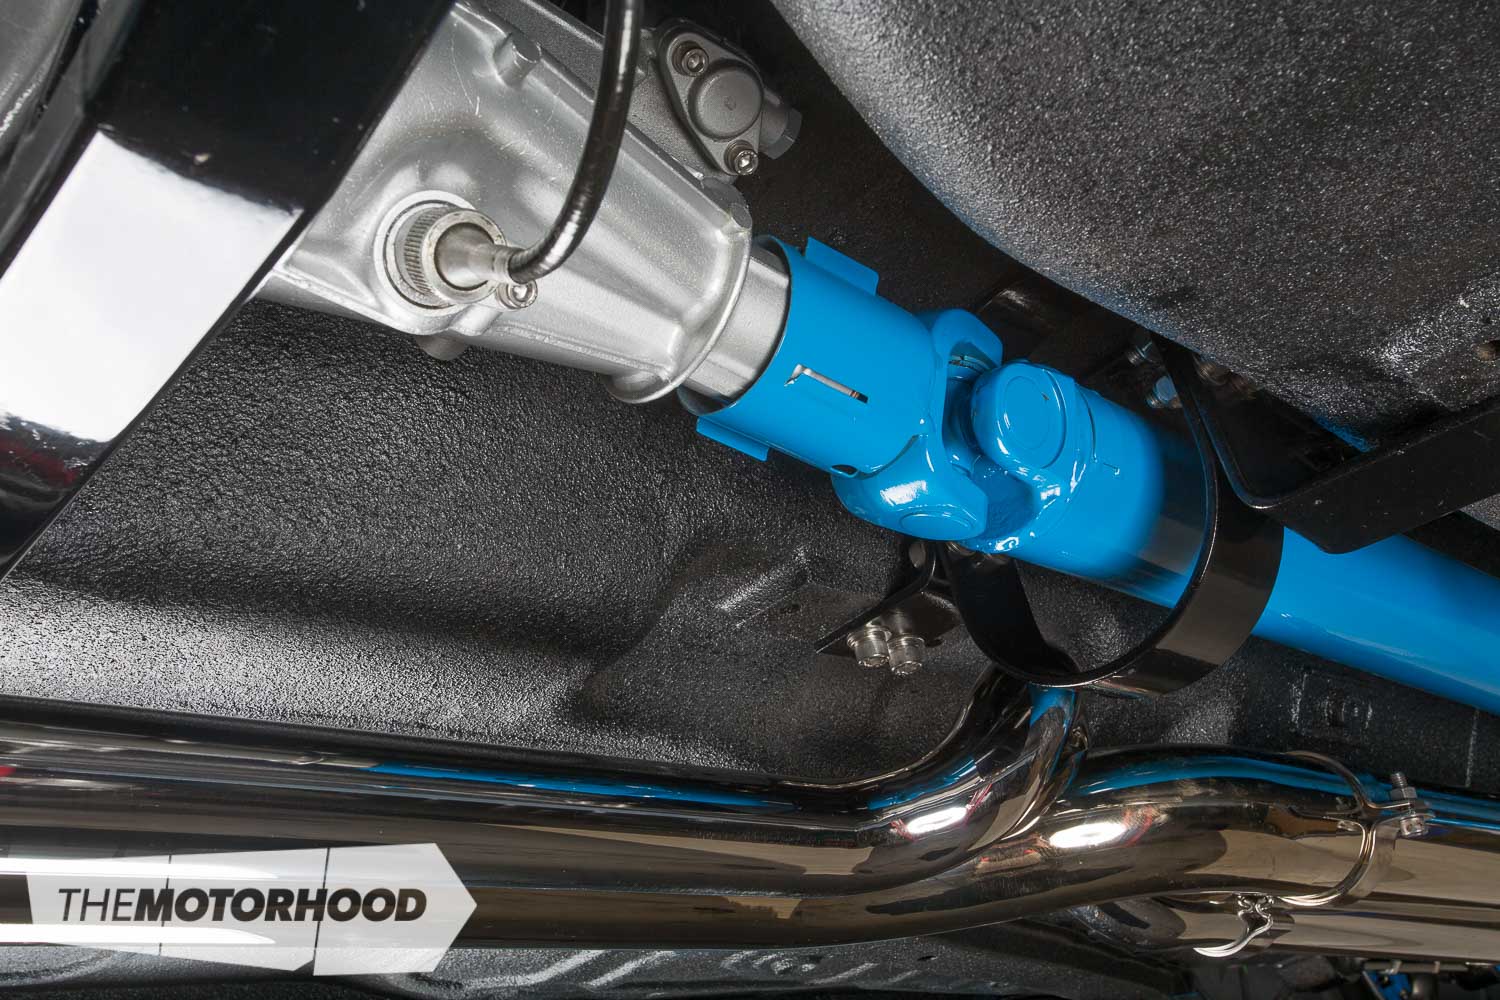
LVVTA Certification rules state that any vehicle with an engine transplant must be fitted with a drive shaft loop that is no more than 150mm rearward of the front universal. One option is to build the loop into the transmission mount itself. Keep in mind the loop must be made of flat section not less than 6x50mm or 22x3mm box section tubing As an alternative, most performance parts suppliers tend to stock bolt-in loops.
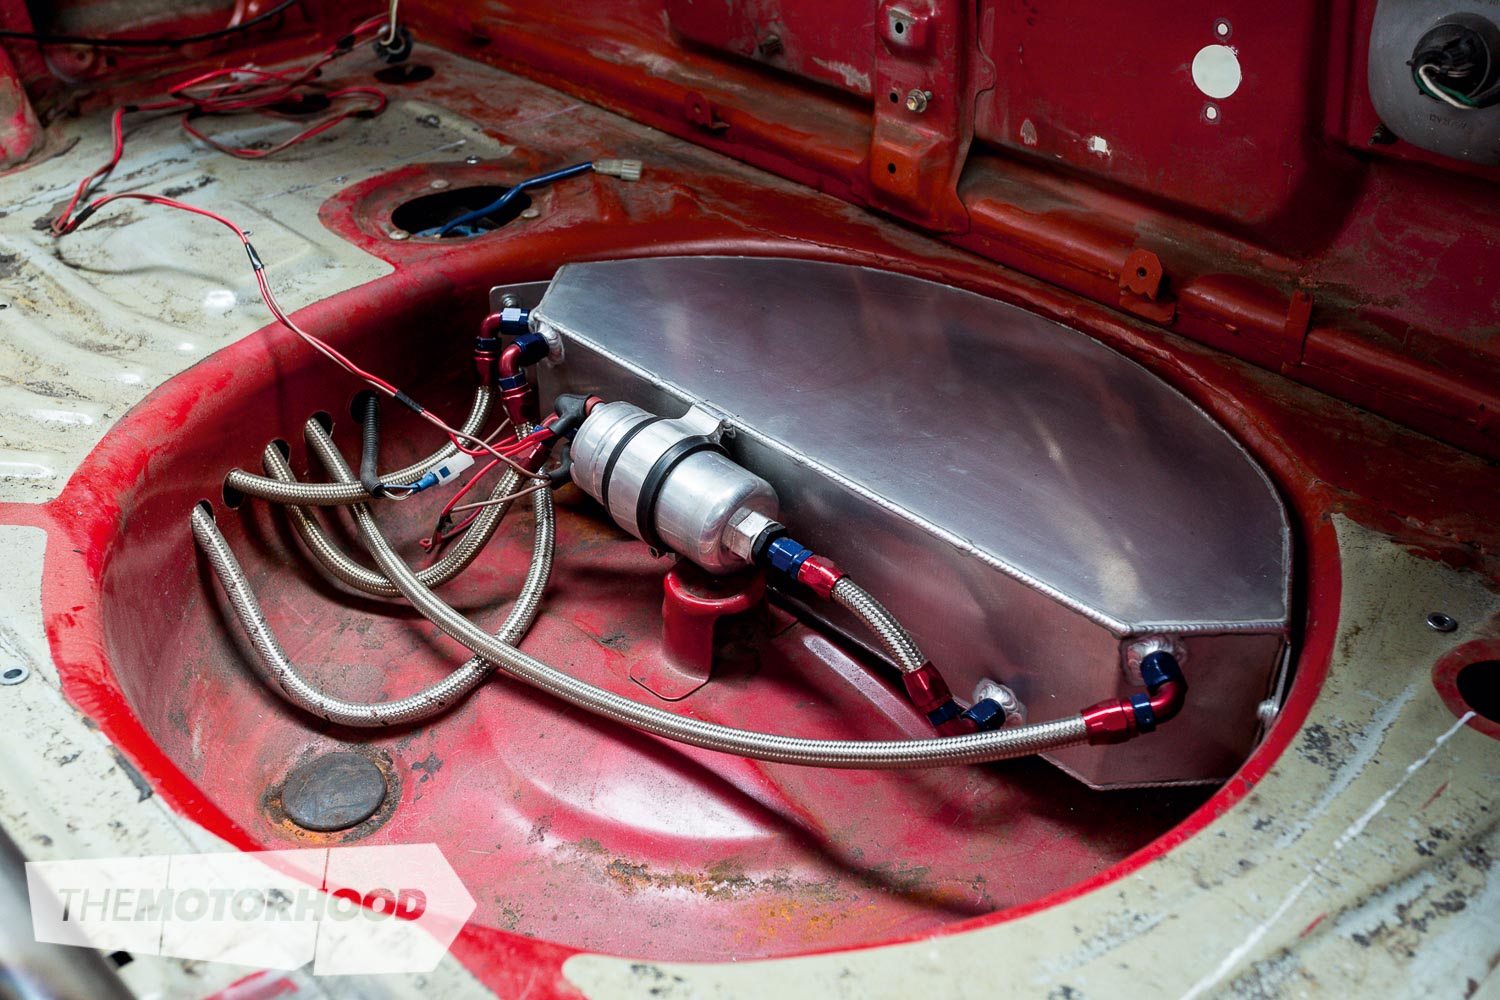
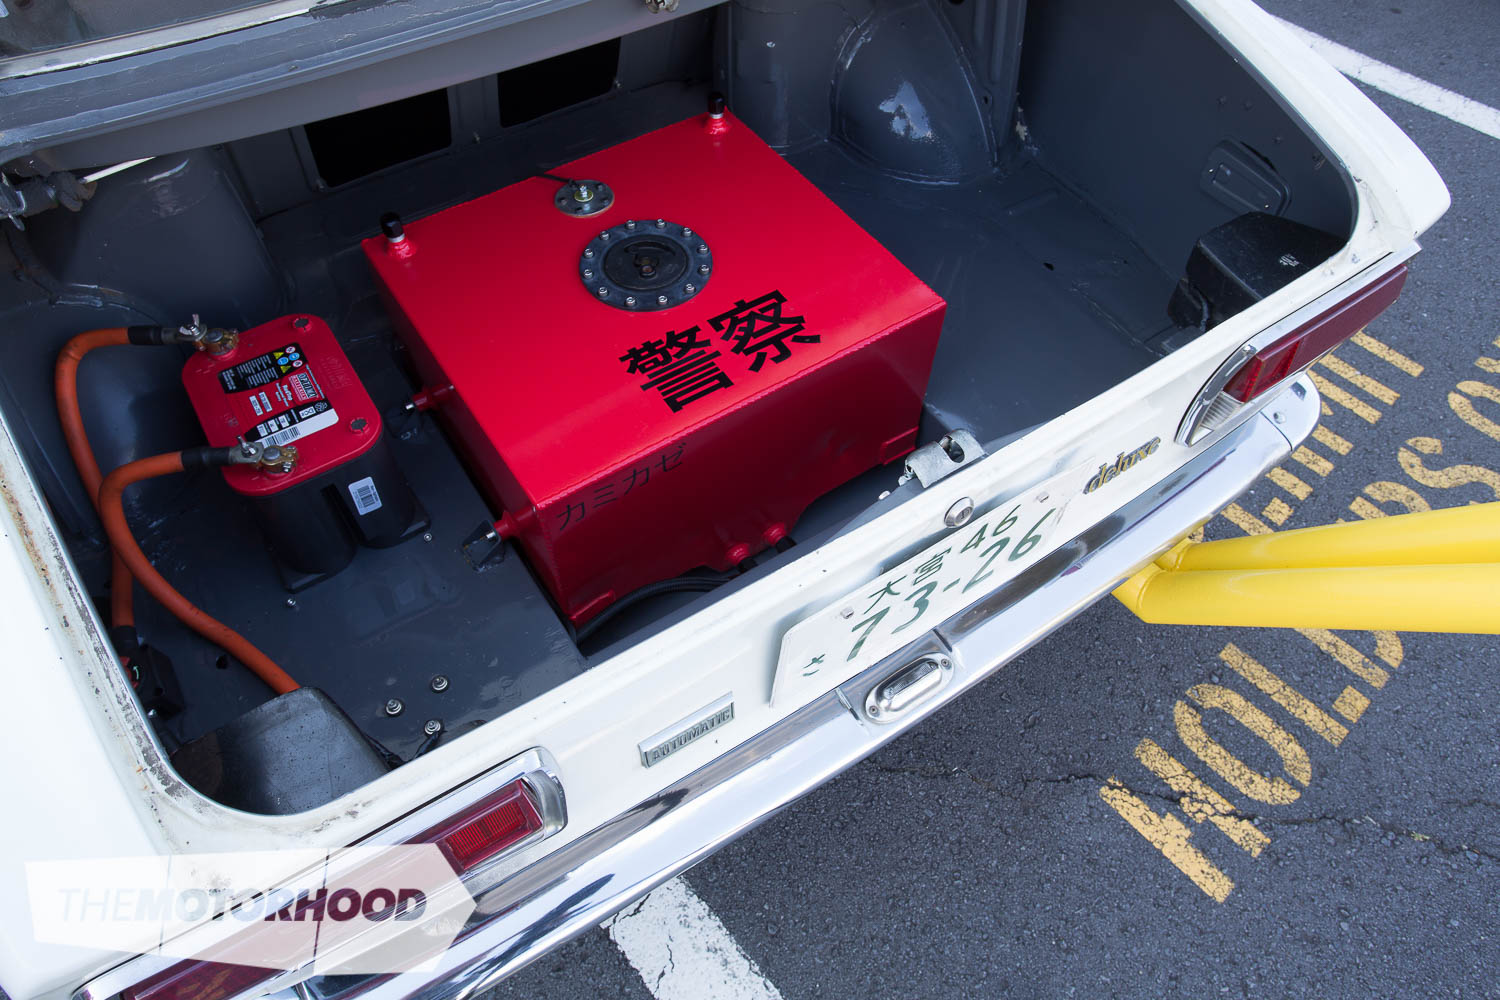
Fuel lines
If converting from carburation to an EFI setup, you’ll need to run a second fuel line, which will be used as a return line. You may also need to modify the fuel tank’s pickup to work with a high-pressure fuel pump, as well as mounting the pump. In most situations, a ⅜-inch fuel line will be sufficient. If your vehicle has a smaller line currently in place, you could modify that to become the return line instead.


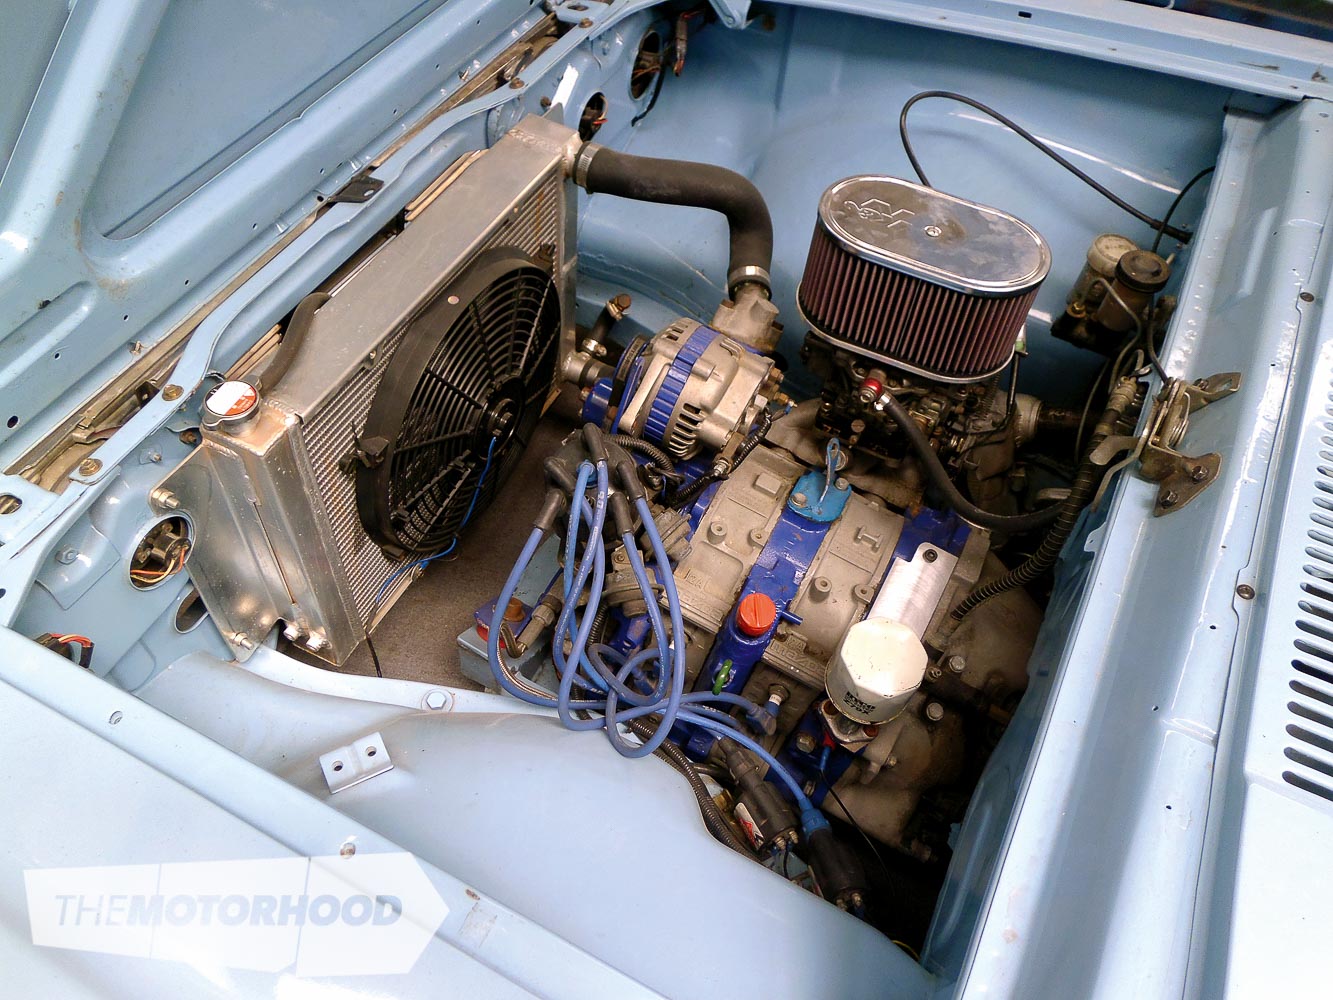
Cooling
Increasing power means you will inevitably be increasing the heat, both internally in your engine and externally in the engine bay. The stock radiator in most cars will not be up to the task of the newer combination. A good rule of thumb is to look at the size of radiator the engine’s original chassis had and go no smaller than that. OIl coolers are also a good addition to any engine that’s being worked. The third cooler you now might require, if the engine is boosted, is an intercooler. Packaging all three into the radiator support panel is never easy, but try and keep as much distance between each cooler as possible to avoid heat soak, and ensure there is enough air flow. A good rule of thumb is an opening a third the size of the cooler’s core. You will also want to rubber-mount any cooler. All too often, guys solid-mount them and the chassis twist greatly reduces their lifespan. When plumbing any cooler, ensure the piping will not rub on anything when the engine is vibrating.
Certification
New Zealand has one of the best certification systems in the world for vehicle modifications, as well as the most in-depth technical manuals which detail what can and can’t be done.
The best advice for anyone considering an engine conversion is to contact your local LVVTA certifier before commencing the work. Not only can they run you through the dos and don’ts of the job, but your certification process will have begun, which means if any amendments come into place during your build, you only have to comply with the rules as they were from that date.
The NZ Hobby Car Technical Manual is an in-depth guide which outlines the various standards that modified vehicles must meet. It’s a wealth of technical knowledge and is highly recommend to anyone considering any form of vehicle modification.
The main concern of vehicle certifiers is whether any given modification is safe. So, when you’re building your vehicle and you think to yourself that something is marginal, chances are it will not pass. When building things such as engine mounts, it’s always better to over-engineer rather than under-engineer, as the last thing you want is a vehicle which is dangerous, or brings the whole modified car scene into disrepute due to an accident that could have been avoided. For a full list of vehicle certifiers, check outlvvta.org.nz. You’ll also find a very handy forum on this site with direct access to ask the LVVTA technical staff any questions you may have.
This article was originally published in NZ Performance Car Issue No. 226. You can pick up a print copy or a digital copy of the magazine below: