data-animation-override>
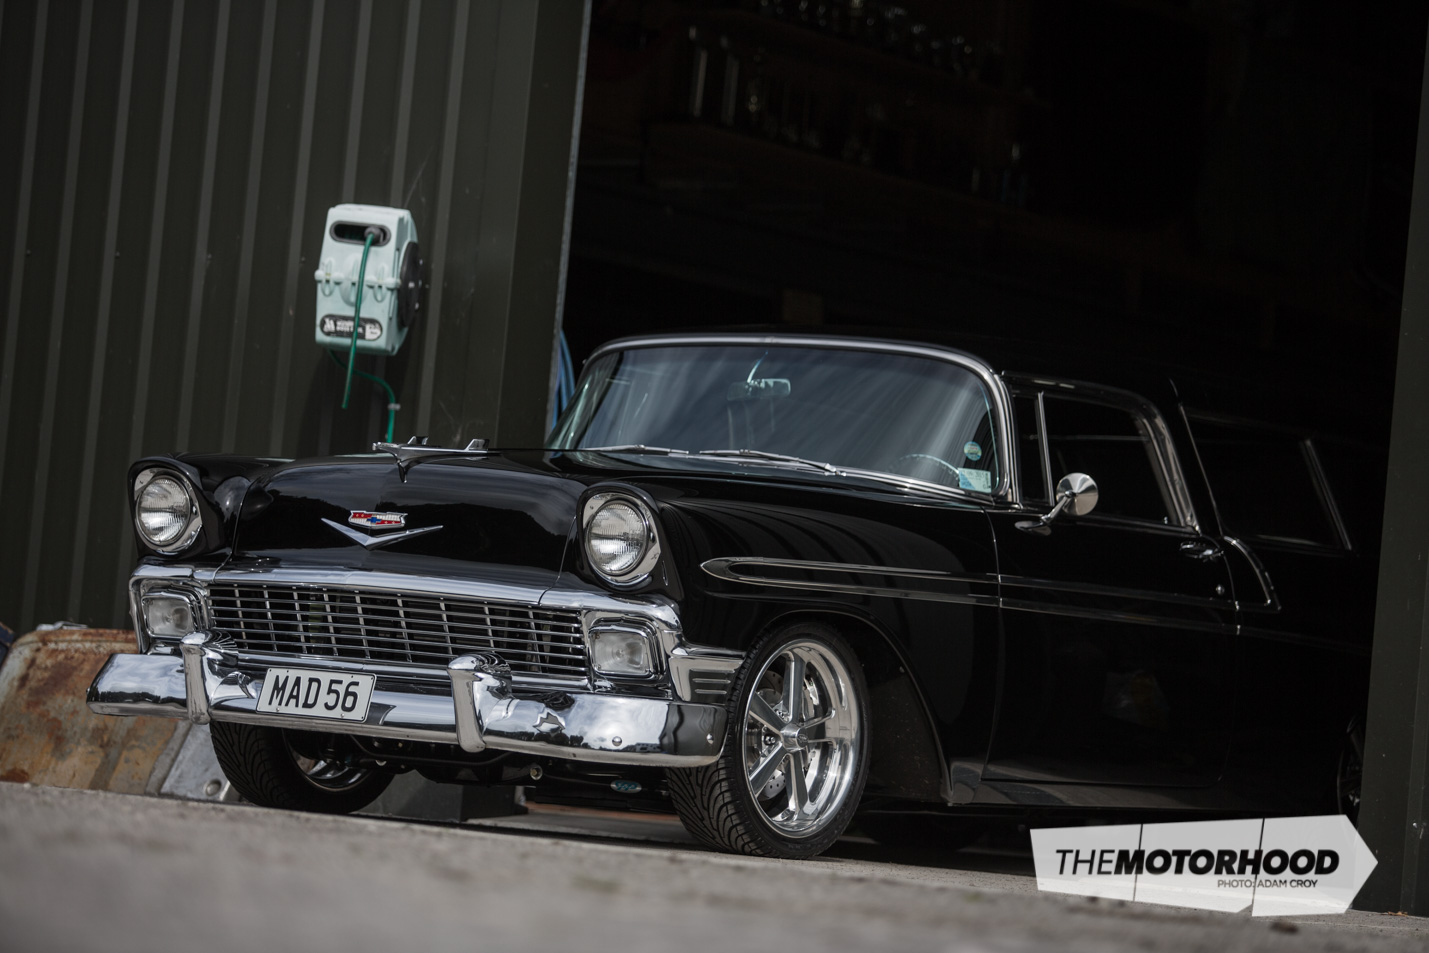
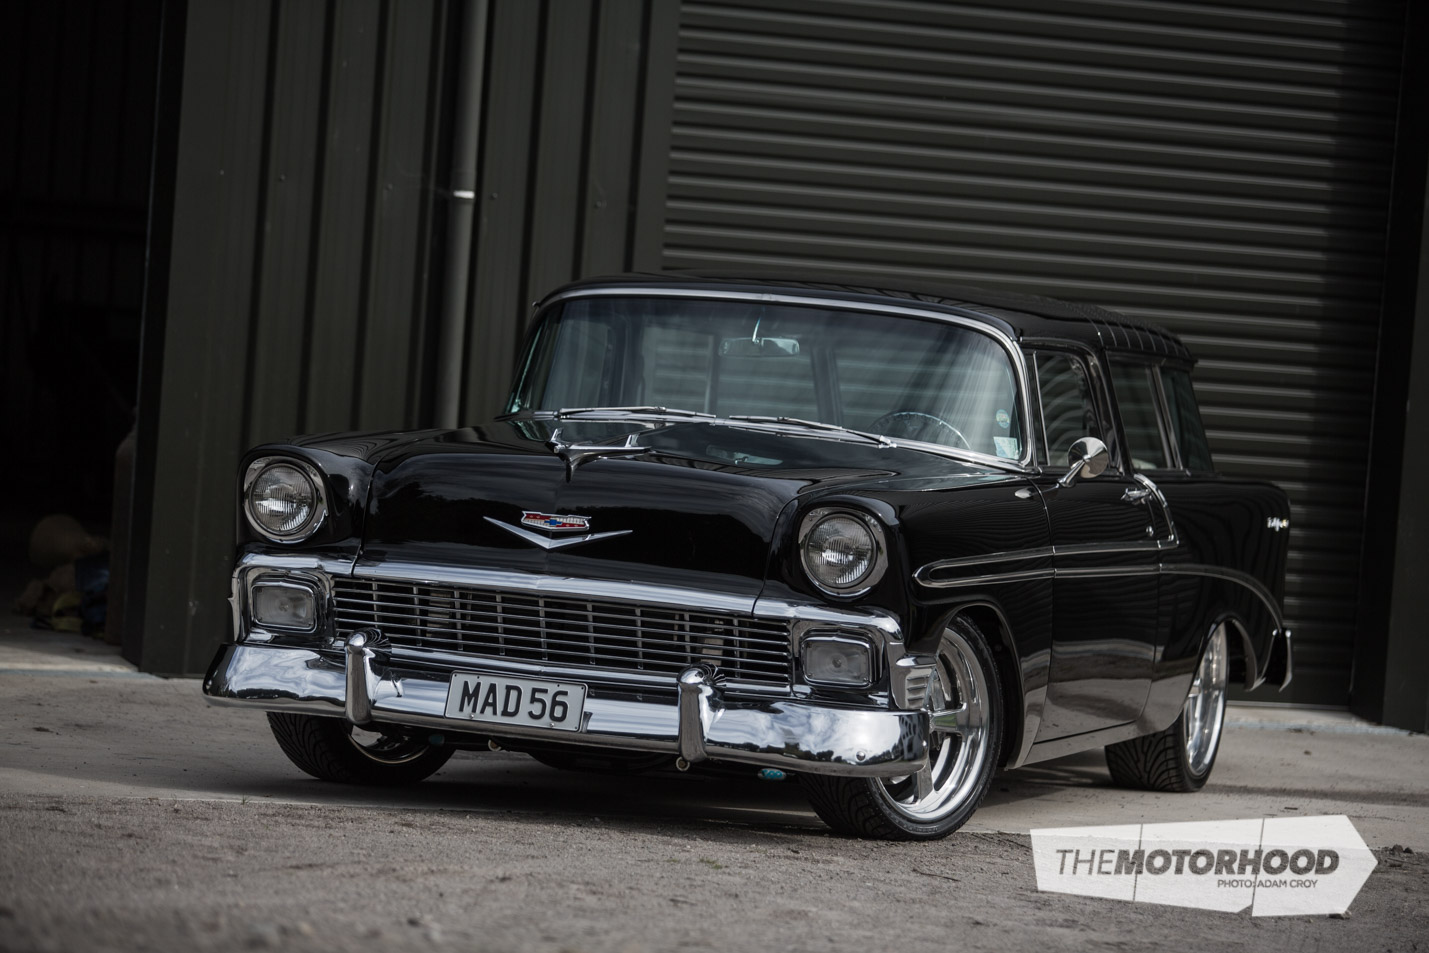
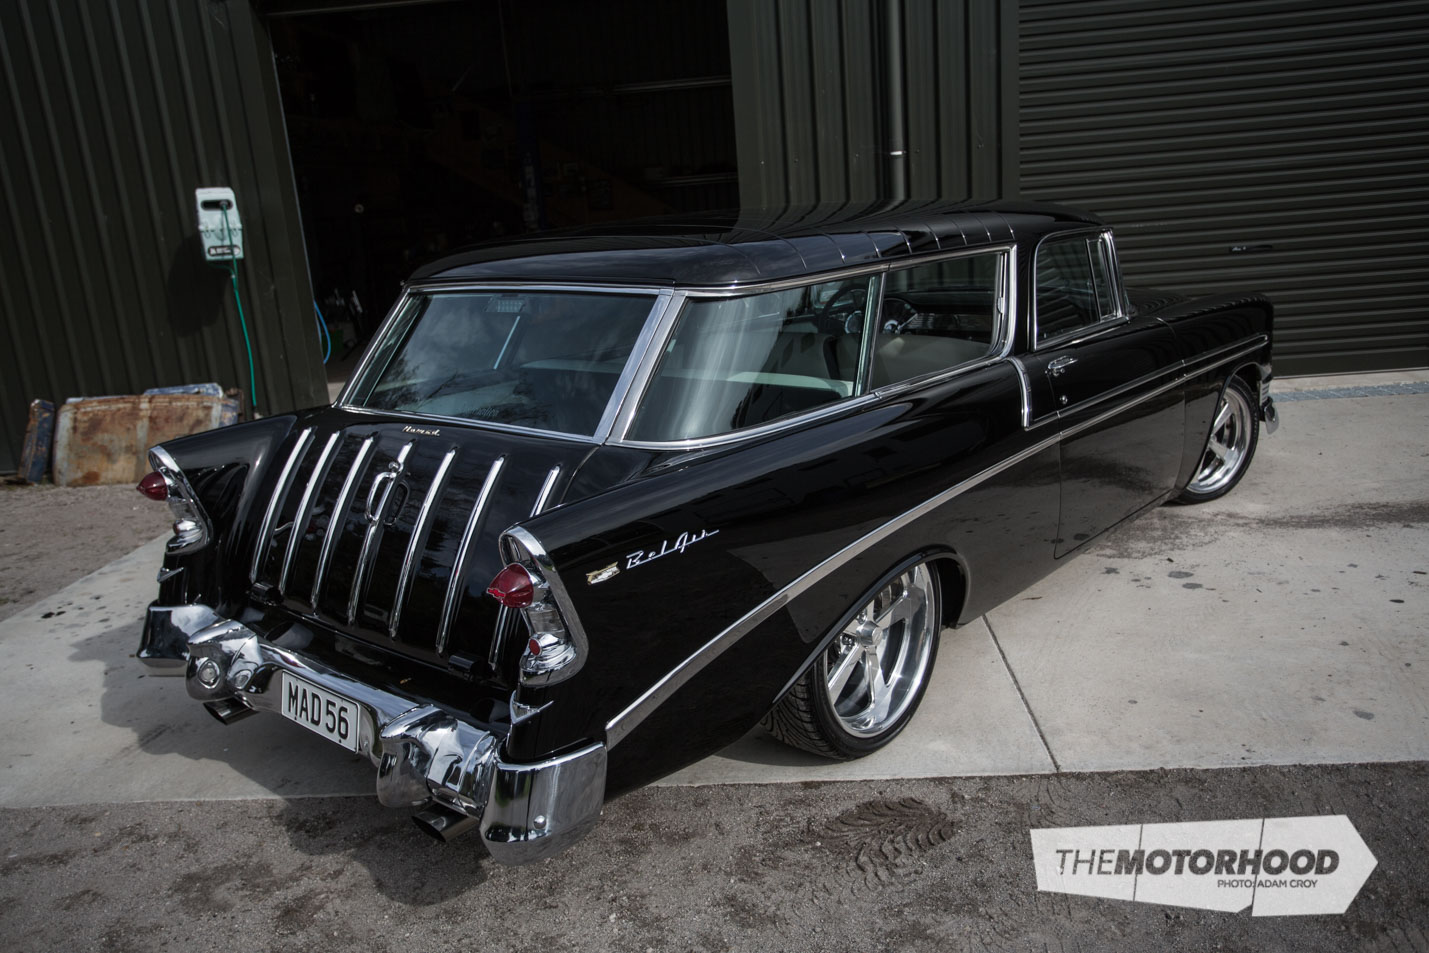
“What should have been a simple purchase of a show-quality Nomad resulted in a journey of nomadic proportions!”
Coming up through the ranks from apprentice panel beater to qualified panel beater to panel shop owner, Mark Dufty’s seen his fair share of panelwork over the past four-odd decades. Add to that a stint driving New Zealand Touring Cars, and time spent assisting Miles Naylor with his Top Alcohol Altered drag car, and you’ll understand that the man knows a thing or two about building, fixing, and driving cars.
After selling his business around five years ago, Mark decided it was the perfect time to kick back and take things a bit easier — especially since his son, whom he’d been supporting at a high level in go karts, was also calling it quits. This left Mark not only with time but also with the funds to get himself the classic cruiser he’d always dreamed of owning.
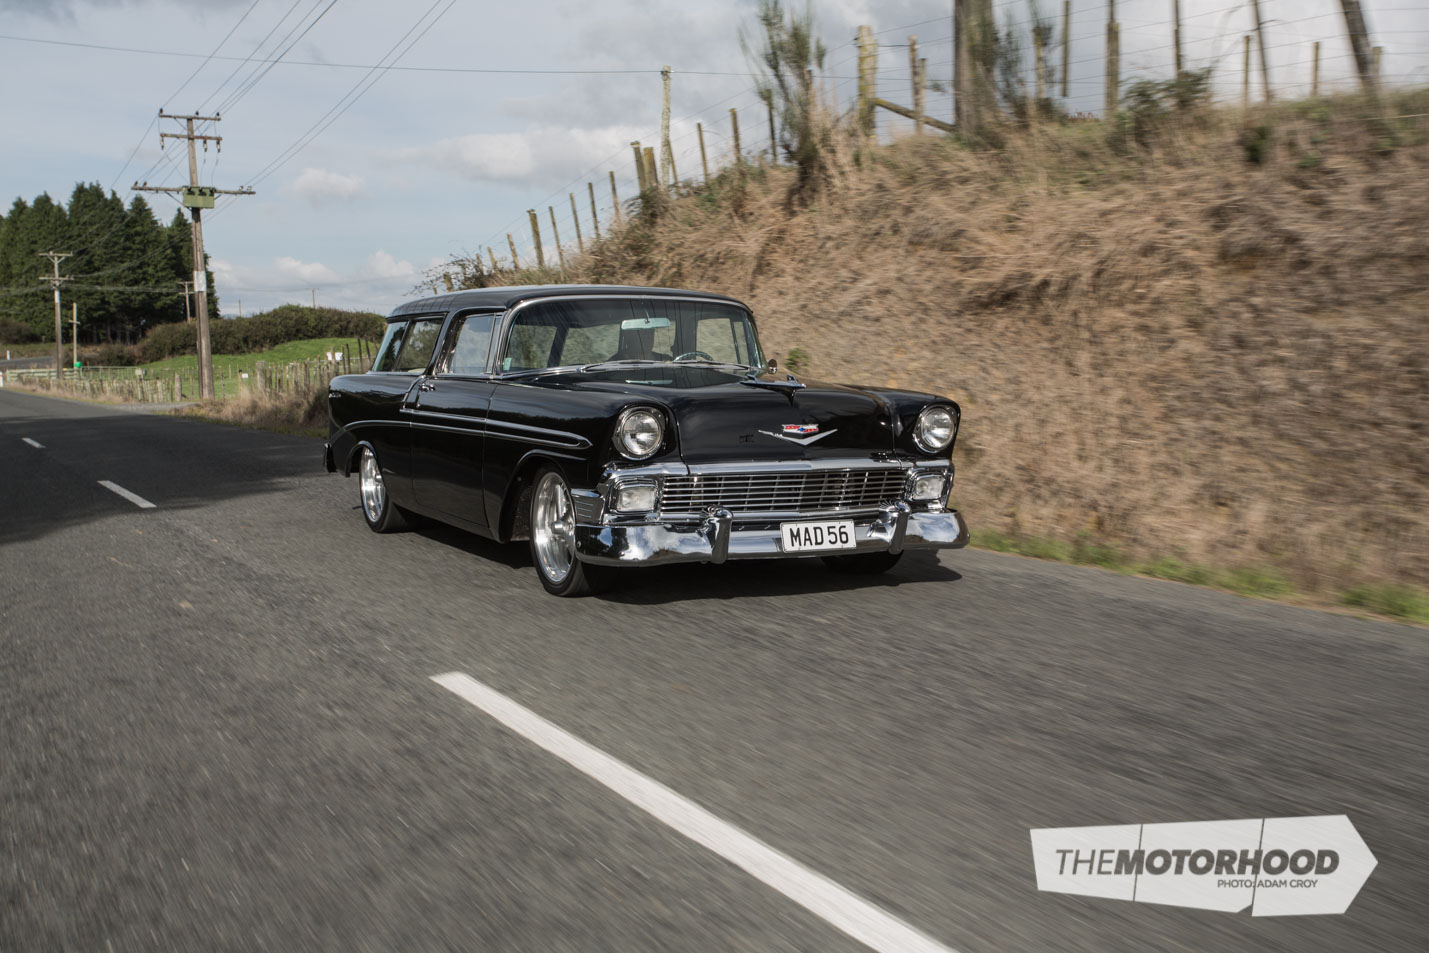
Having raced Holdens back in his competition days, Mark leaned towards GM products. However, that said, he wasn’t strictly limited to a Holden or Chev. He even went as far as looking into buying a ’56 Cadillac before he stumbled upon the car he knew was the one — there was something about the style that really appealed to him. That car was a ’56 Chev Nomad.

Better still, the car Mark had found was well known to Chev experts in the American locality where it was purchased, and they’d assessed the car as a solid 8-out-of-10. This suited Mark perfectly as, despite having all the time in the world, he was happy finally to be free from working on cars. Buying one with all the hard work already done was just the ticket.
Once the car landed in New Zealand, it wasn’t long before Mark knew that the 8-out-of-10 evaluation was far from an accurate one. Granted, the Chev had a shiny coat of paint up top, but as soon as it went up on a hoist, rust was visible in plain sight, as were the cross members — crafted from expanding foam, of all things! In fact, on closer inspection, the car was so bad that it wasn’t simply a matter of adding a few patch panels to repair it; instead, it was a matter of stripping it to a bare shell and dropping it off to Kiwi Metal Polishers for a dip in the acid bath. When it emerged, the only parts that weren’t rotten were the roof and the outer rear quarter panels, which, for some unknown reason, were in great condition.
While obviously disheartened about handing over his cash for a car that was far less than it was advertised to be, Mark was grateful to be in a situation he could rectify himself. He decided he’d just turn it into a positive, by building the car to a level far beyond what he’d originally intended to purchase. Not only would he ensure it was a well-mannered cruiser, but, calling on his years of racing expertise, he’d also put plenty of work and knowledge into making sure it handled like a dream.
With the help of John Key at Trans-America Shipping, pallets full of parts were purchased. While they were on their way, Mark crafted a spit with an external frame to help keep what was left of the body square, so the replacement panels could be fitted. Everything from the firewall to rear wheel tubs was removed in one hit, with a mix of off-the-shelf replacements and custom panels used to recreate the missing metal. The removable panels, such as the doors, also saw plenty of new metal, with Mark making sure to replace anything that had even a spot of rust, or looked like it could cause a problem in the future.

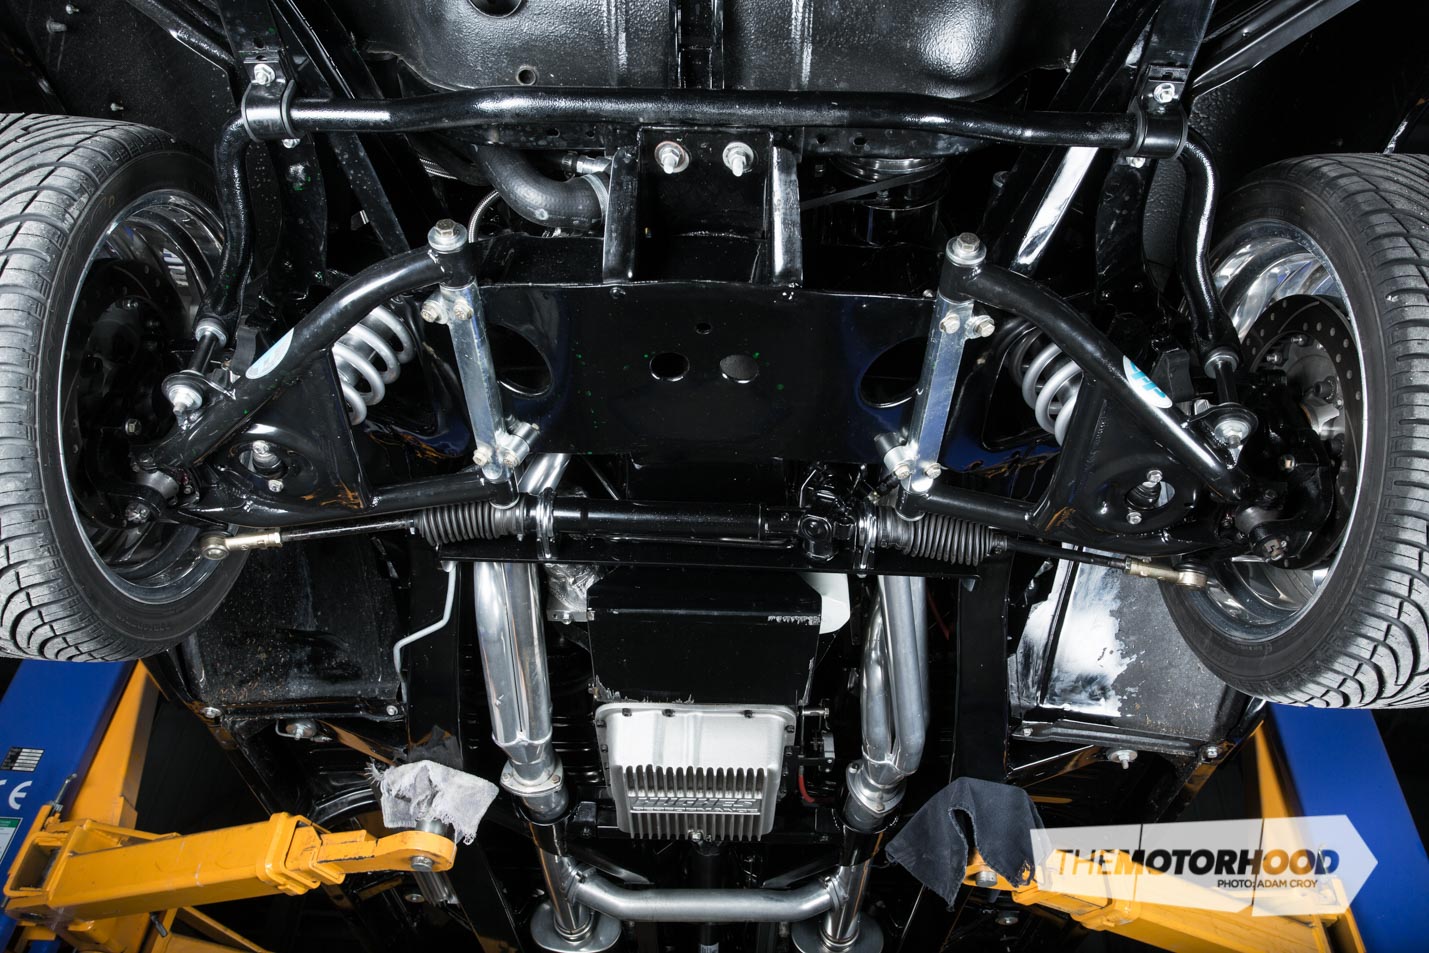
Surprisingly, the chassis itself wasn’t too bad, requiring only a good sandblasting to remove the surface rust and half a century’s accumulated grime. Before it could go back under the car, though, a custom subframe was created to help stiffen it up in an effort to improve handling. Built into this was a pair of driveshaft loops as well as a gearbox cross member. A four-link kit Mark had purchased was set to be installed while the chassis was being worked on. However, closer inspection revealed that it wasn’t up to Mark’s standard, so it was recreated in a much stronger fashion, complete with repositioned shock mounts.
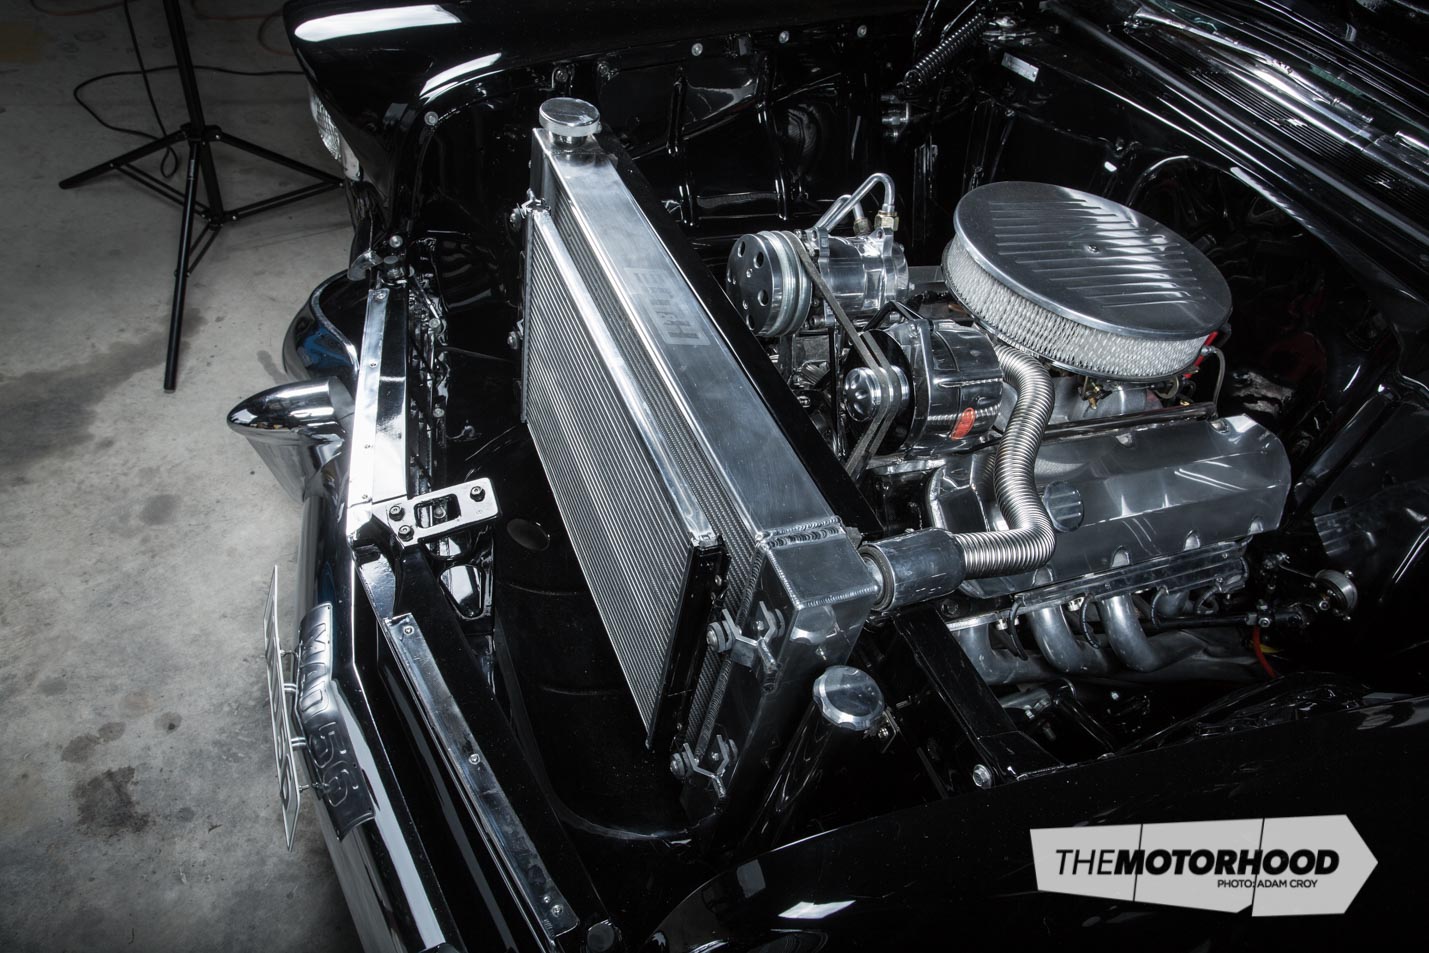
To ensure it could be fitted, the big-block engine Mark had purchased locally needed to be moved forward some 20mm to avoid fouling on the firewall. Even then, it was a close fit when the body and chassis were reunited, with the rocker covers requiring slight modification.
With the motor mounted, the next task was to fit a rack and pinion steering kit. That was when Mark discovered that the headers he’d purchased specifically to work with the kit were totally wrong. Rather than let it get him down, he continued to chip away at the project, remaking the headers and joining them to a twin three-inch system. He even linished the welds on the exhaust system before sending it off to HPC for ceramic coating. This level of attention to detail gives an insight into the level of build quality Mark was aiming for, and has achieved.
Mark’s tales of woe weren’t over yet, with the stock gas tank now fouling on the new diff set-up. This required the spare wheel well to be cut out, allowing room for a custom tank to be fitted. Fortunately, all the cutting and fabrication work was done before any paint was applied.
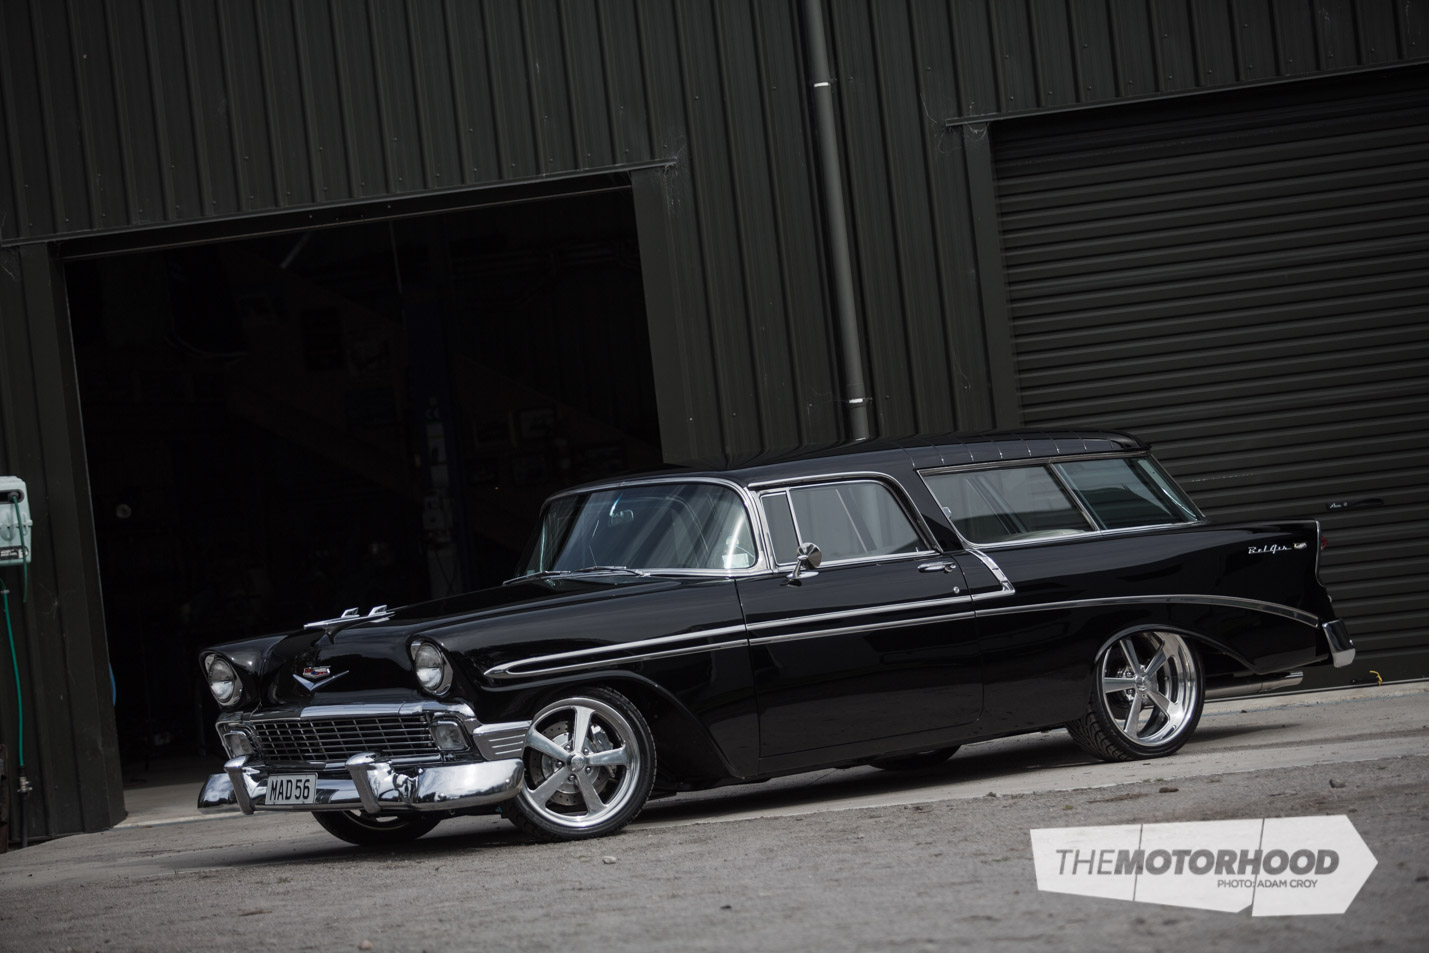
When it did finally come time for paint, Mark turned to ‘local legend’ Rob Adriaansz from Robs Auto Spray, who gave the chassis a new coat of the deepest darkest PPG black he could find.
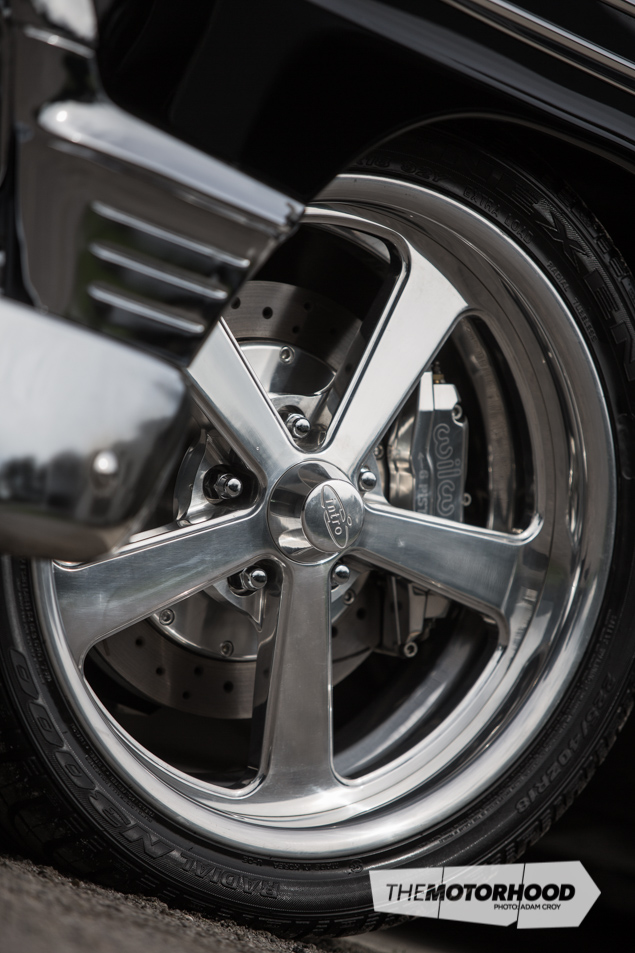
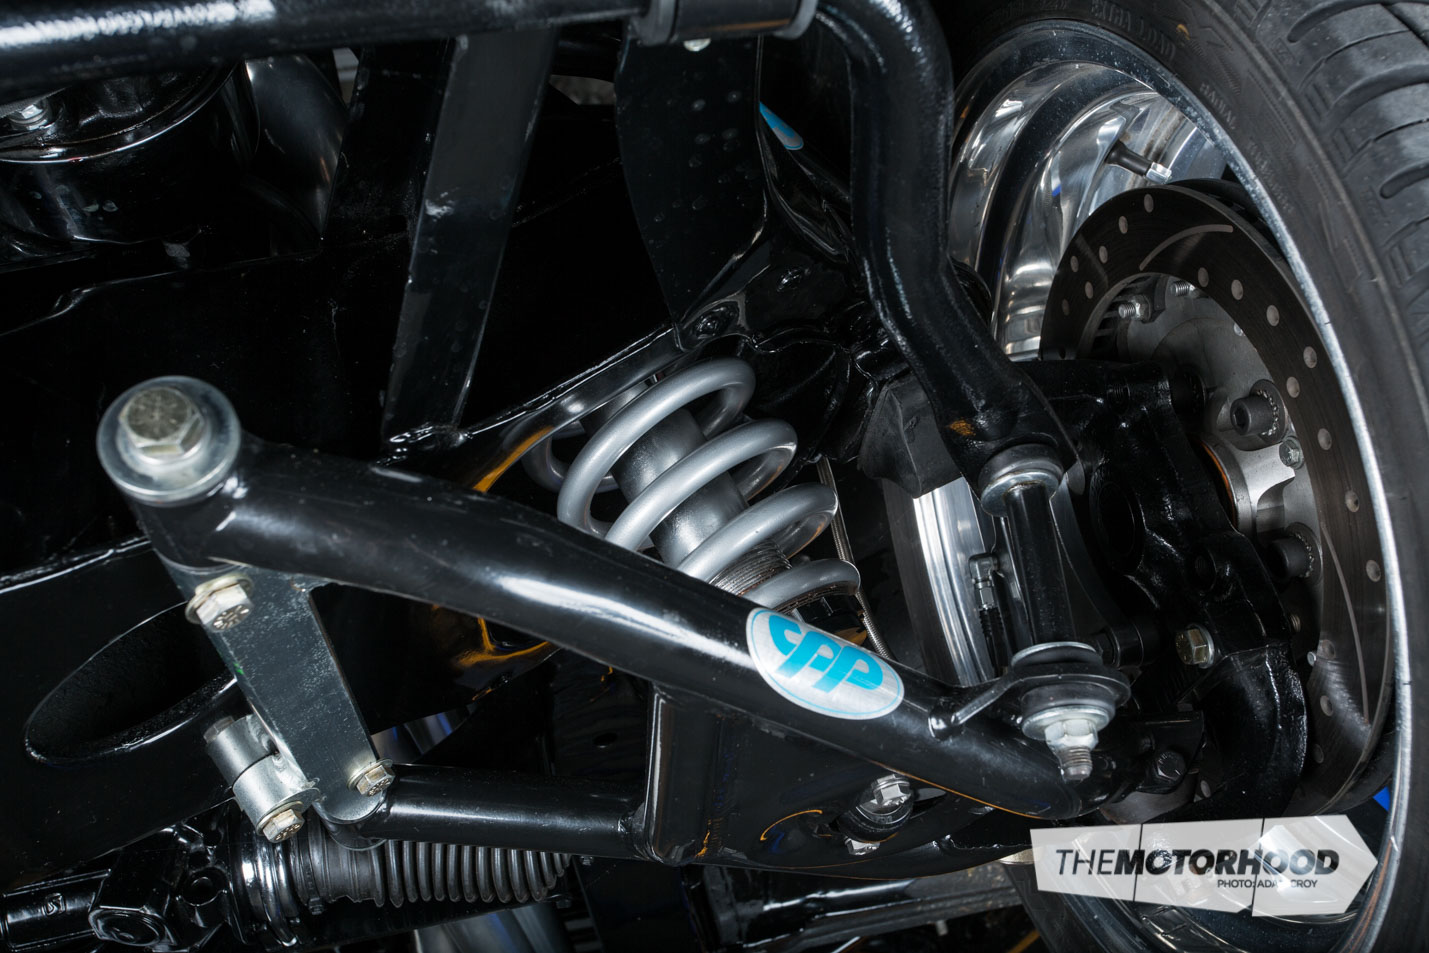
Now looking amazing, the chassis was returned home for reassembly. Of course, with a chassis this good, there was no way Mark could bolt old parts on to it, so now every single item is new, including the monster Wilwood brakes and aftermarket suspension arms and coilovers up front. While the chassis reassembly was taking place, the body was being taken care of by Rob. He applied the same PPG paint inside, outside, and underneath, before buffing it to perfection.
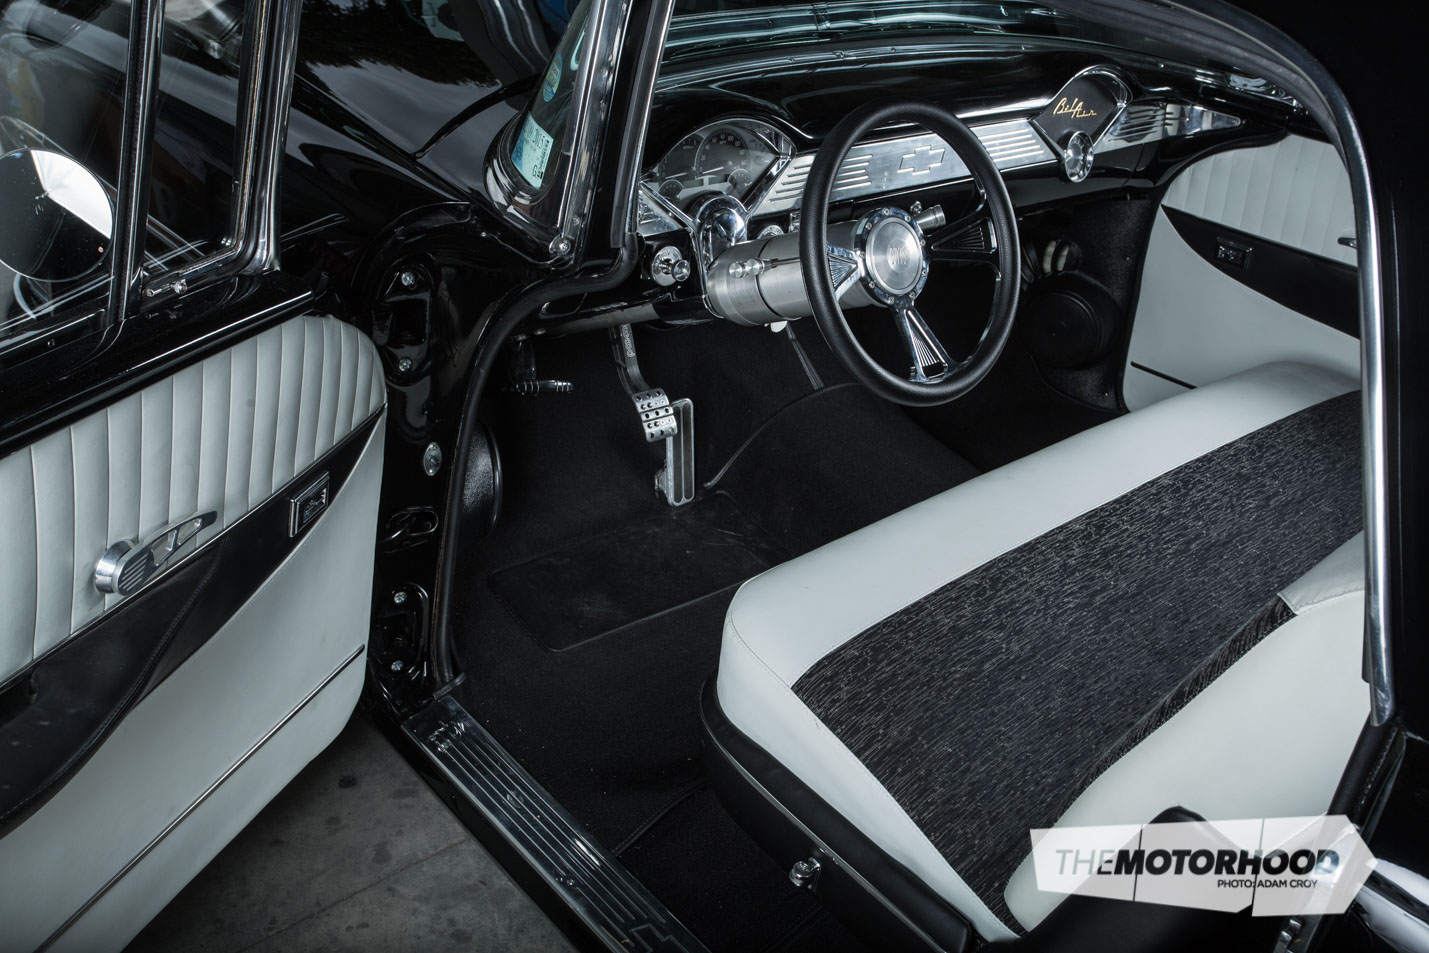
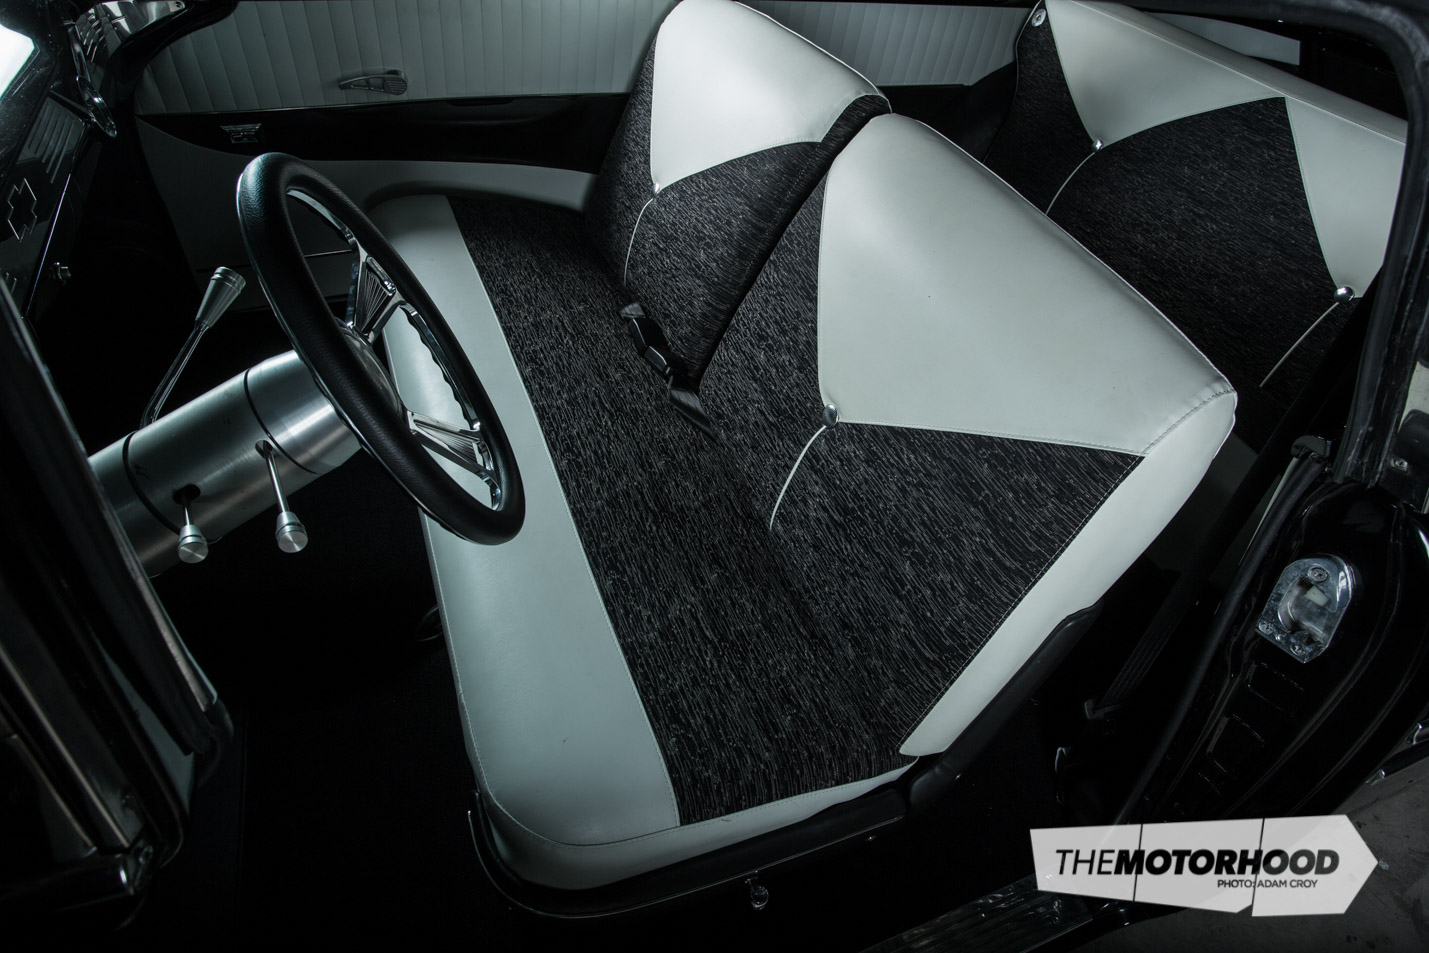
With the body back home, Mark fitted electric windows, amongst other modern amenities, with the aim of making the car as pleasant to drive as possible. Part of this process was having local trim expert ‘Sku’ fit a trim kit that had been imported, before Mark and a friend tackled the daunting job of fitting the headlining themselves.

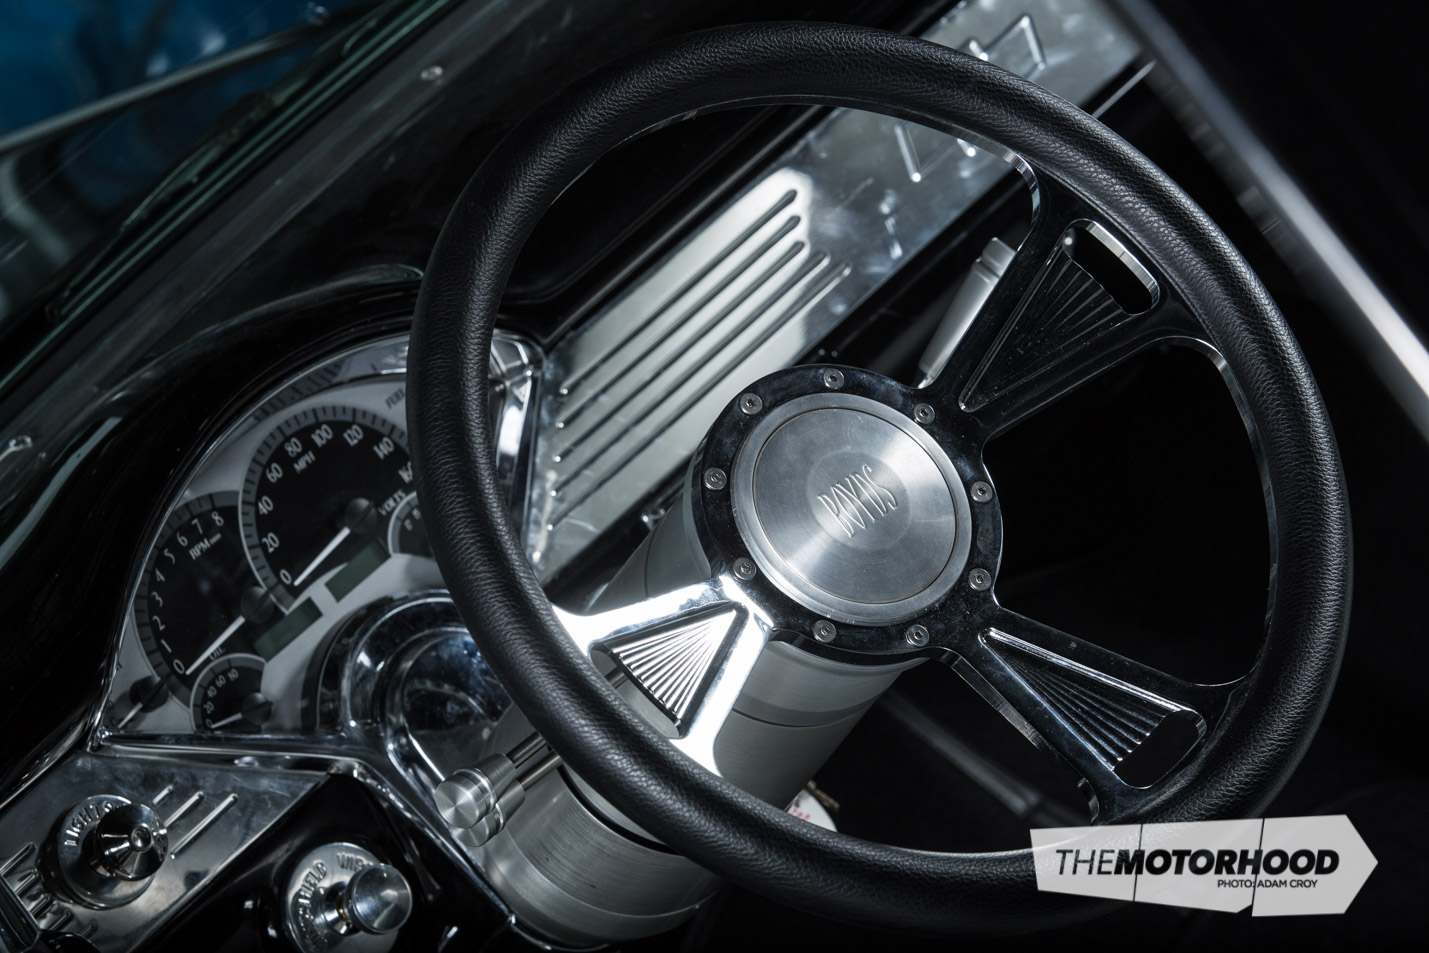
When it came time for wiring, Mark didn’t need to look far — having a brother-in-law, Ross Fisher, in the auto-electrical industry sure comes in handy! Ross made some major changes to the aftermarket wiring kit and hid as much of the wiring away as possible, to make the most of the smoothed and shaved look Mark was going for. In fact, with a Wilwood pedal box now under the dash, there’s really nothing left in the engine bay apart from the monstrous motor — a very cool look. Included in the electronic side of the build was plenty of programming to get the digital dash reading as it should. “It was a real brain-teaser for us,” Mark laughs — but it’s all sorted now and working as it should.
The engine that dash is connected to was purchased locally, having been built in the USA and apparently only run for 10 hours. That said, Mark swapped out the cam and lifters in it, before taking it down to The Toy Shed for it to be run up on the engine stand. Mark’s string of bad luck continued, as it soon pulled a rocker stud out of the head — although Mark is very thankful it happened there and then, and not in the car. The team at The Toy Shed soon had the problem sorted, and the engine could be dropped into the car for good.
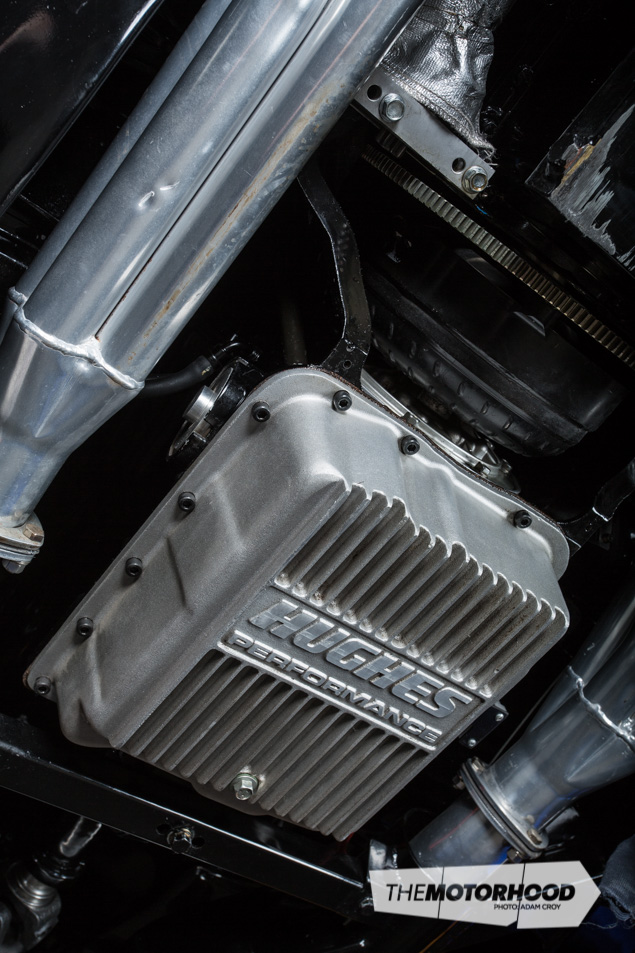
The 700R4 trans that’s bolted to the back of the 454ci engine had plenty of local input, too, with local trans expert, Chuck Mann, working his magic on it. Part of that magic included future-proofing it for a bigger, more powerful engine — something that Mark would one day like to install.
For now, though, the 454 gives more than enough performance, and, after so many setbacks along the way, Mark’s just happy to finally be behind the wheel. The car was completed just two weeks out from Repco Beach Hop 15 earlier this year. Thanks to the excellent service provided by LVV certifier Martin Jones, who made the trek from Palmerston North to Rotorua to cert the car, Mark was able to drive it north to Whangamata on its maiden voyage.
Obviously, the extensive and highly detailed build set Mark’s plans of cruising back by a few years — and no doubt a fair few dollars, too — but the reaction that the car got, and how well it drove, made the whole ordeal more than worthwhile. Despite attending only a few events at Beach Hop, the car always had a crowd around it, with people looking underneath as often as they looked on top.
As yet, Mark’s hasn’t bothered to complain to the previous owner about just how bad the car was when purchased. It’s not that he doesn’t care — far from it — but it’s just that he knows there’s no point in dwelling on the past, especially now that he has his dream car in the shed. Then again, if the Americans thought it was an 8-out-of-10 car before, they wouldn’t be able to comprehend how impressive it is now.
Specs
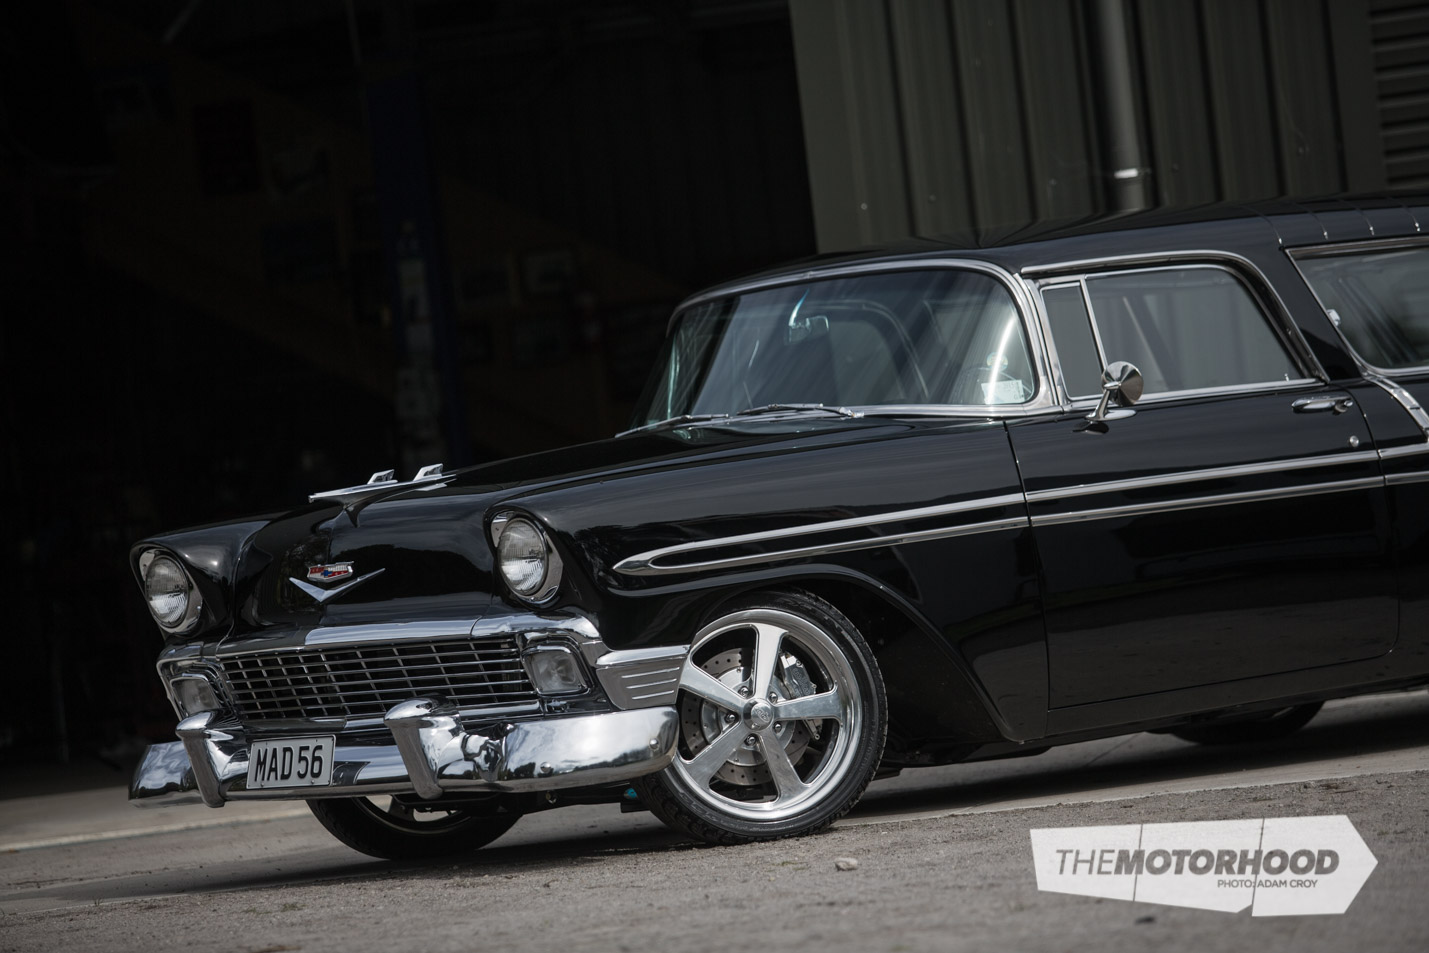
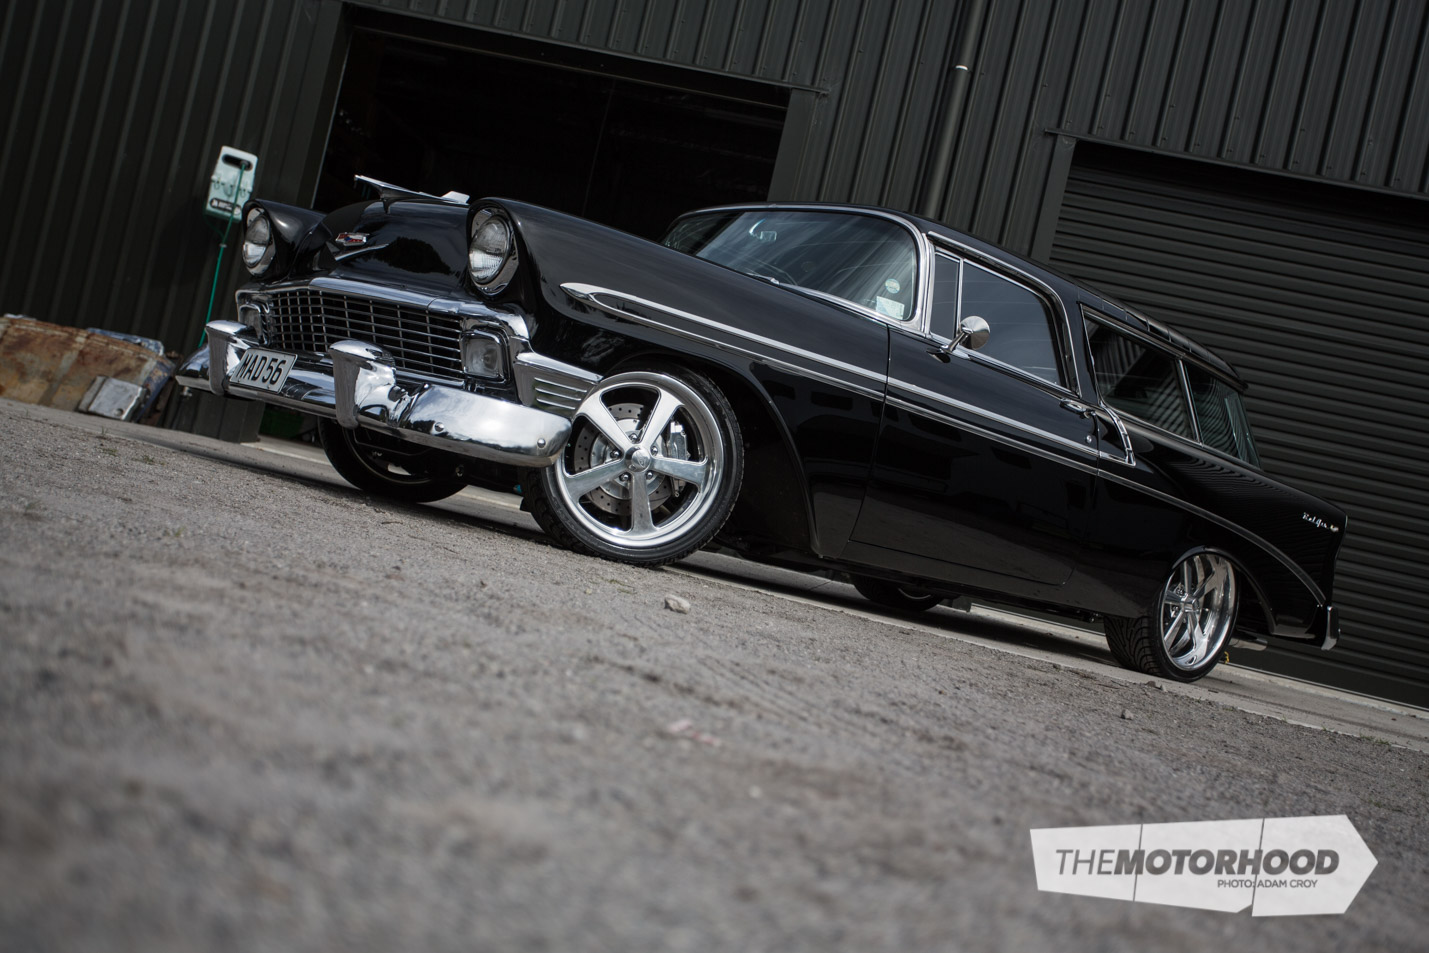
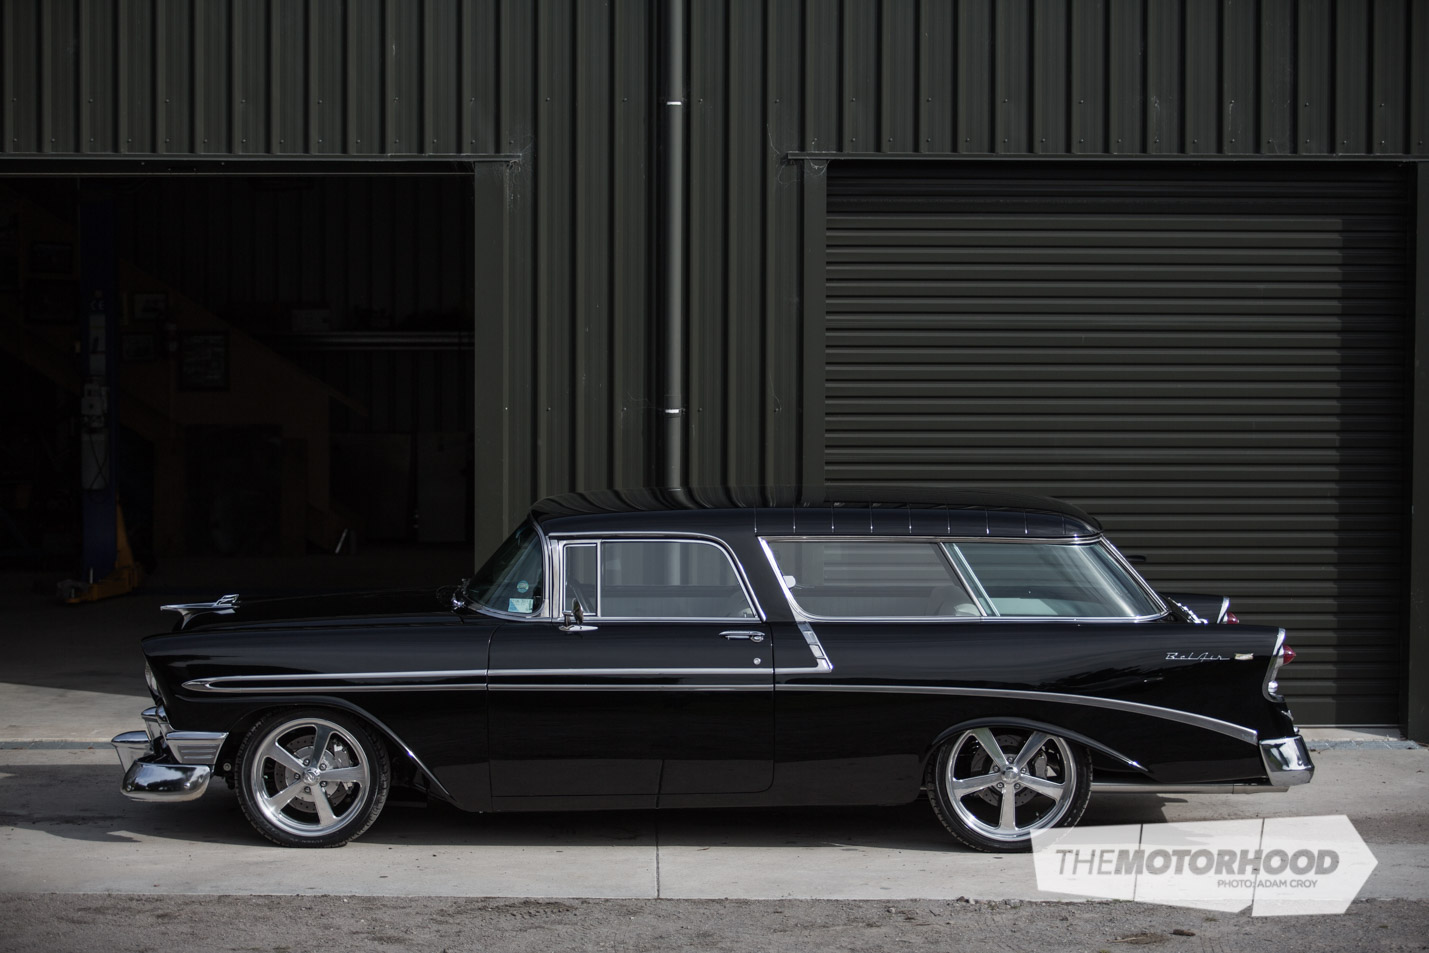
- Vehicle: 1956 Chev Nomad
- Engine: 454ci big-block Chev, ARP fasteners, Crower hydraulic cam, Crower lifters, 110gph Edelbrock fuel pump, 120-litre stainless fuel tank, Mallory HEI ignition, MSD Streetfire leads, twin three-inch exhausts, Magnaflow mufflers, custom alloy radiator, finned transmission cooler, Weiand alloy water pump
- Driveline: GM TH700R4 transmission, 2800rpm stall converter, shift kit, Dutchman Motorsports nine-inch diff, Strange nodular head, 3.5:1 final drive ratio, 31-spline axles
- Suspension: Tubular A-arms, QA1 coilovers, four-link rear, 550lb front springs, 350lb rear springs, 1¼-inch front sway bar, ⅞-inch rear sway bar
- Brakes: Wilwood pedal box, twin master cylinders, Wilwood six-piston front calipers, Wilwood 13-inch three-piece front rotors, Wilwood four-piston rear calipers, Wilwood 12-inch rear rotors
- Wheels/Tyres: 18×8.5-inch and 20×10-inch Intro Rally wheels, 225/40R18 and 255/35R20 Nexen tyres
- Exterior: PPG ‘Jet Black’ paint
- Chassis: Custom subframe through chassis
- Interior: Stock retrim, Ididit steering column, Boyd Coddington steering wheel, Dakota Digital gauges
- Performance: Untested
This article was originally posted in NZV8 Issue No. 126. You can pick up a print copy or a digital copy of the magazine below: