data-animation-override>
“Can a generic parts-supply store’s paint system offer the same results as you’d hope to get from the professionals? We put one to the test to find out”
When it comes to personalizing certain aspects of your car, whether it’s under the bonnet, inside, or outside, it’s pretty important to get the colour right. Whether you’re colour matching your engine bay, rocker covers, wheels, major panel repairs, or just touching up supermarket dings, you want to ensure a good colour match and a quality finish. Unfortunately, getting the colour right can be easier said than done.
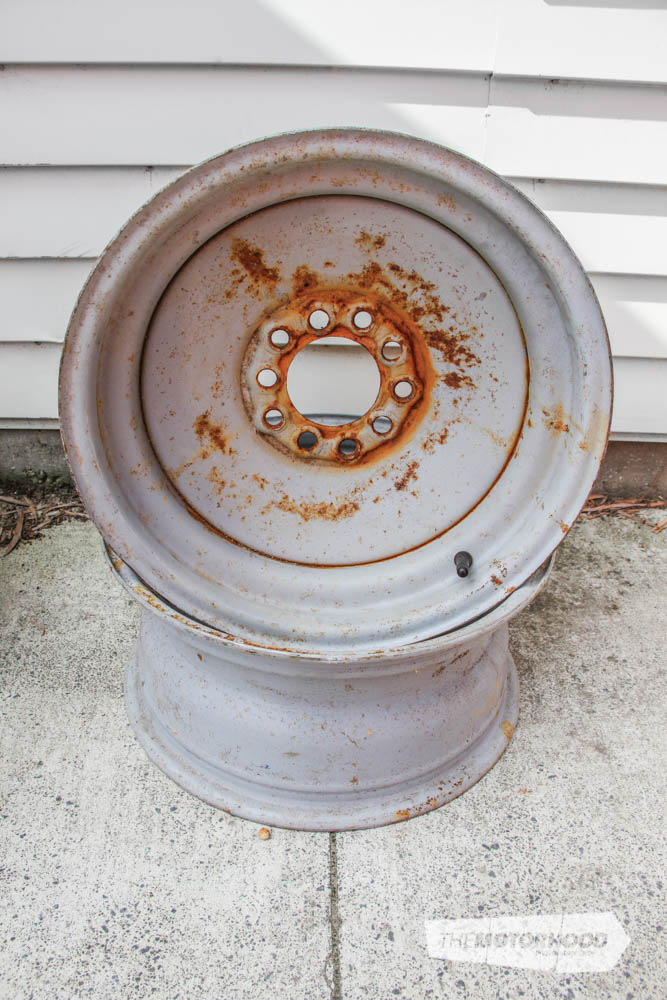
We had a set of old-school 15×7-inch steel rims that were in need of a birthday, so we decided this gave us the perfect opportunity to test whether Supercheap Auto’s new Lyndar paint-mixing system was as good as the company claims it to be. The Lyndar paints are acrylic based and are not recommended for high-heat applications, nor would acrylic be the best choice for painting wheels — however, we were more interested in the colour-matching side of things.
Choosing a colour
The colour we decided on was a kustom-looking golden hue that we’d seen on a late-model BMW. It was a colour that, from the look of it, would be a very hard one to mix, with plenty of xirallic pearls required. We knew that professional paint shops have all the technology and experience to do these things, but thought it’d be interesting to find out whether a parts store could rise to the challenge.
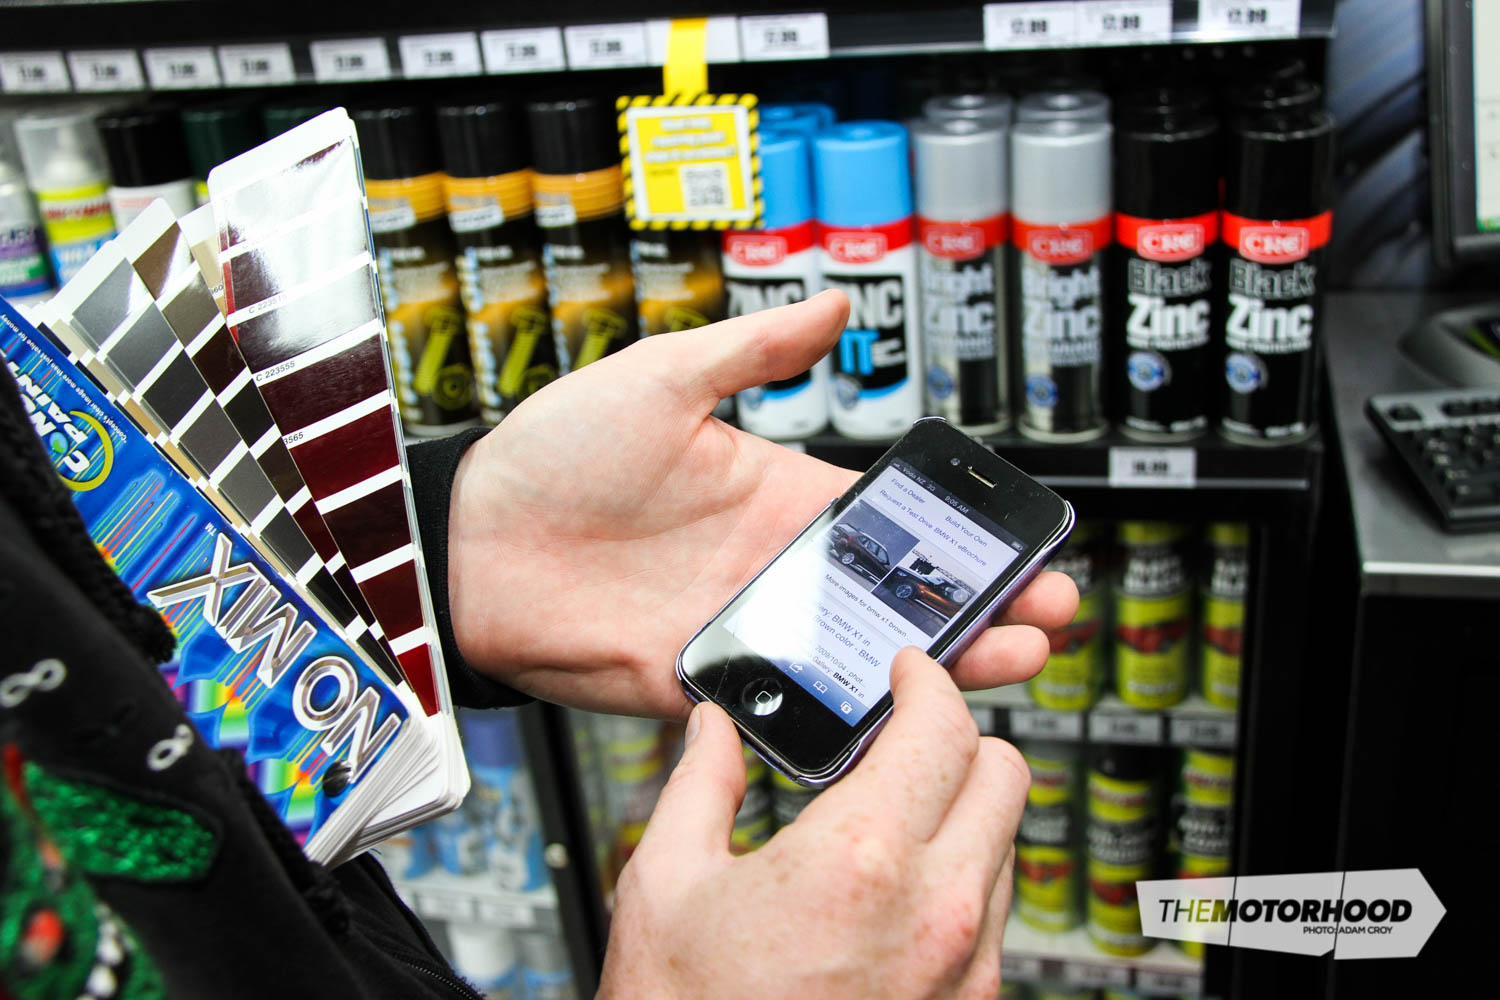
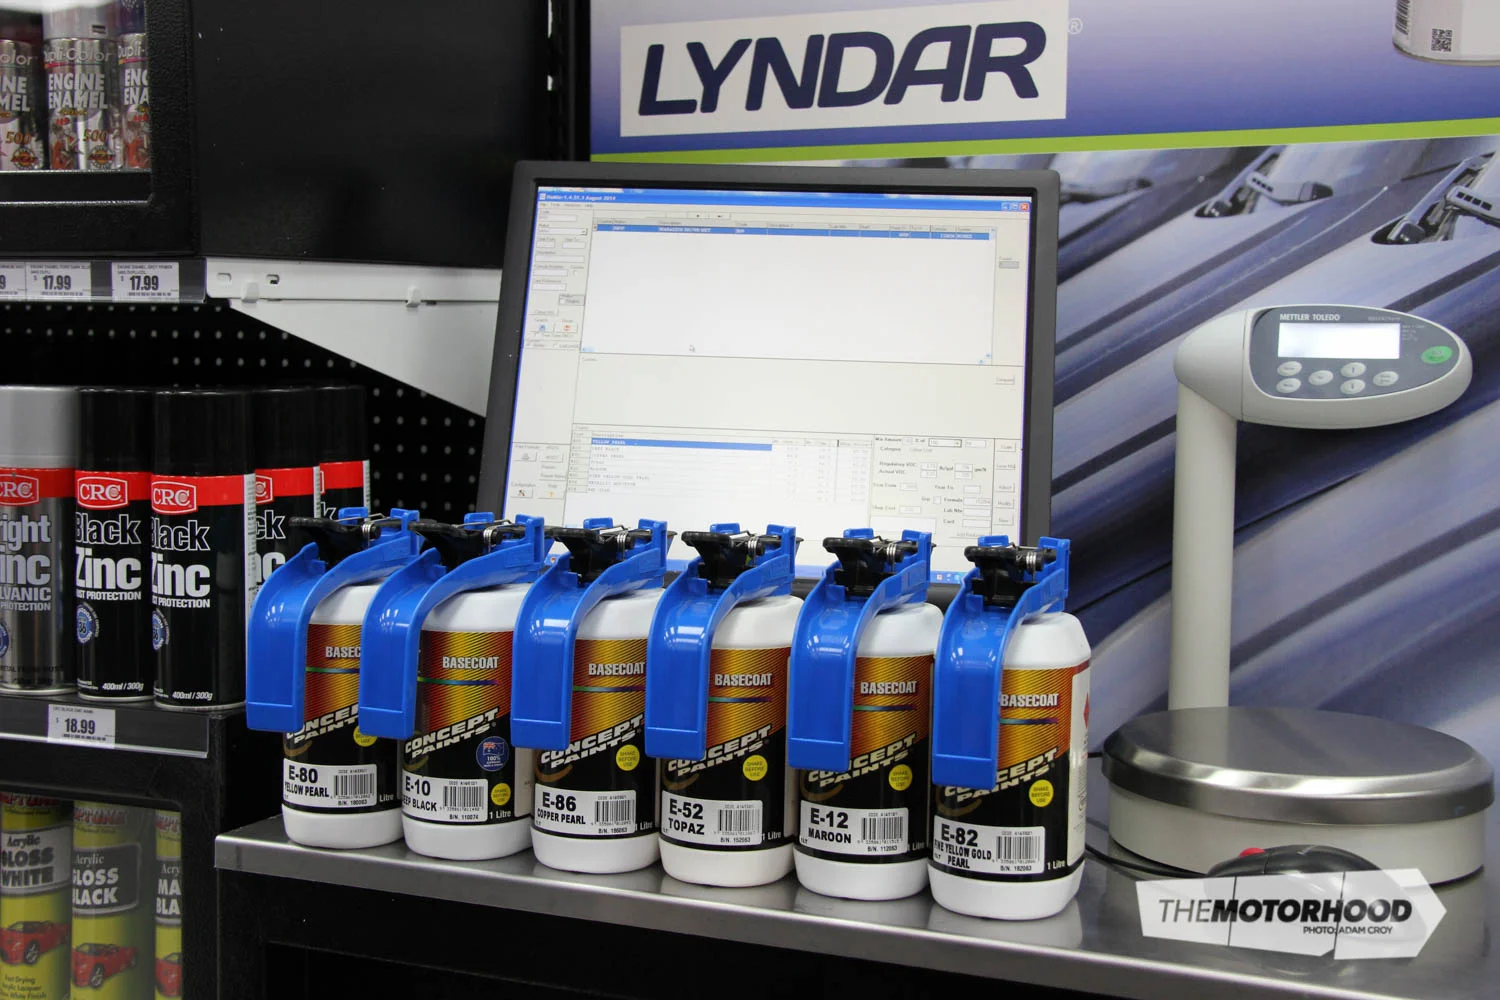
To add another layer of difficulty, we had no idea what the golden colour was called — let alone the official BMW paint code for it. Thankfully, a quick Google search revealed it to be ‘Marrakesh Brown’, with a paint code of ‘B09’. If you’re matching paint to your car’s body colour, the paint code should be located somewhere on the chassis — usually on a plaque on the firewall/engine bay, doorjamb, or boot. Upon beginning the search for the colour in the Lyndar computer system, we thought we’d be out of luck, but it was indeed there, along with 90,000-odd other factory vehicle colours.
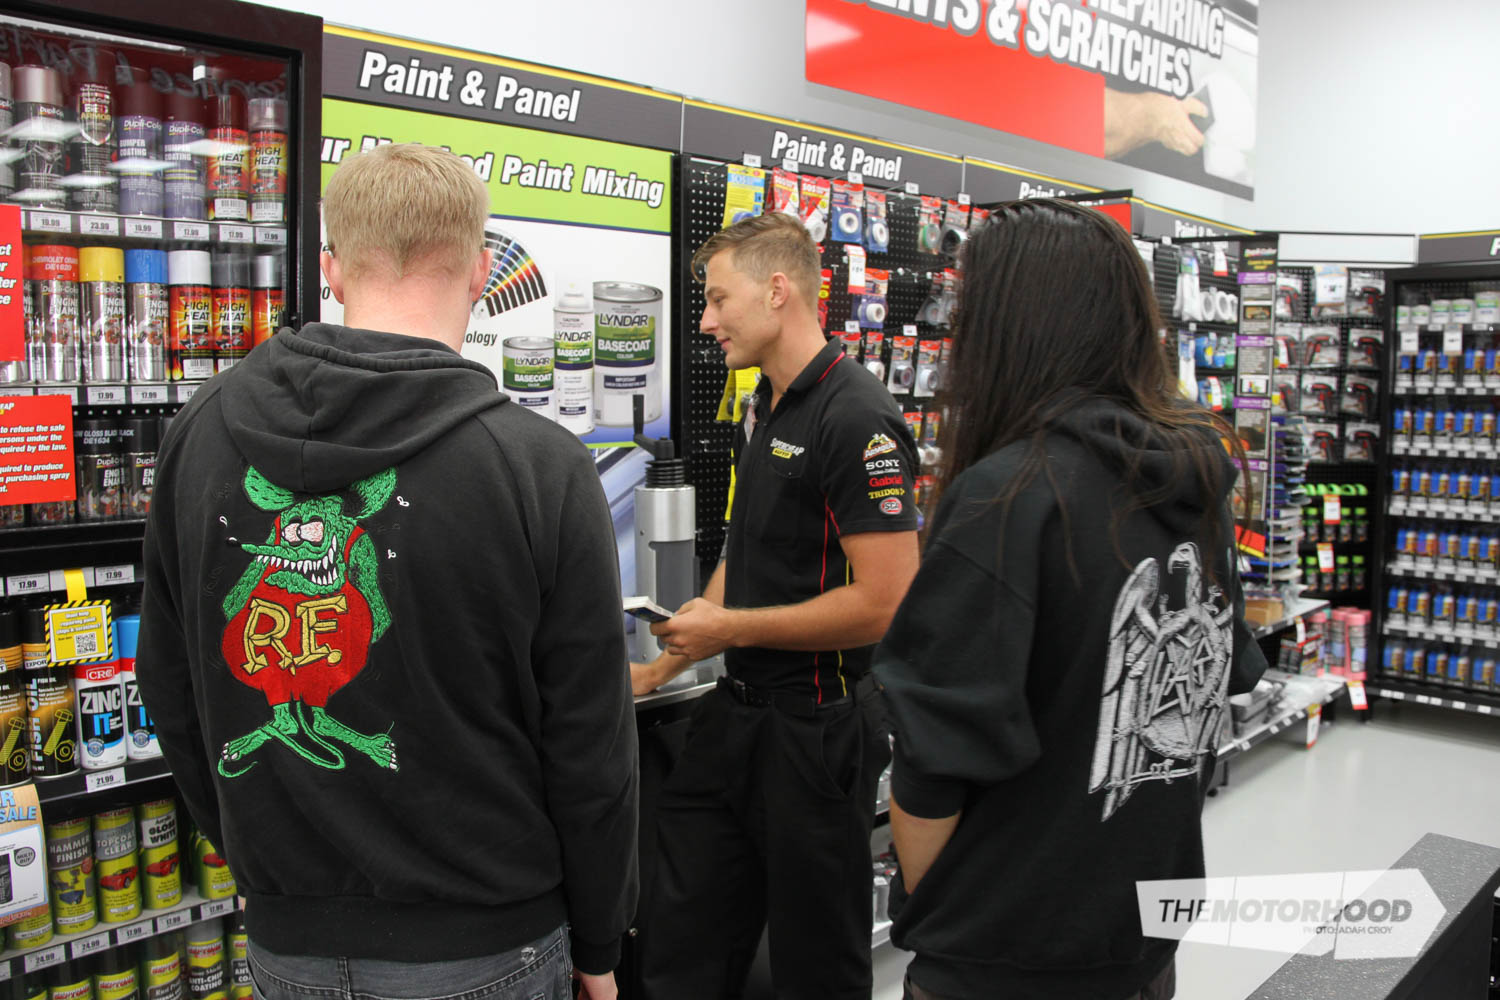
Entering the B09 paint code brought up the formula for the exact paint colour, comprising eight separate tinters — Yellow Pearl, Deep Black, Copper Pearl, Topaz, Maroon, Fine Yellow Gold Pearl, Metallic Additive, and Red Gold — in varying amounts. Each of these tinters is added to a disposable mixing cup on electronic scales that allow them to be added in very precise amounts, correct to a 10th of a gram. The paint was mixed up by the Supercheap staff while we waited; taking around 10 minutes for one batch. So, not only could the Lyndar system offer the exact colour, but, even with all the required tinters and pearls, the paint was still the same price as any other colour offered.
To test out how good the Lyndar system really is, we decided to try out both options that it offers — aerosol spray can paint and traditional automotive-style spray-gun paint. The test would be to see if the two wheels, each painted with a different method, would end up the same — after all, they’d be sprayed with the same paint; it would only be the applicator that was different. Hopefully, this would allow us to get both wheels painted consistently, and at the same time, identify any significant differences between the two methods in finished results.
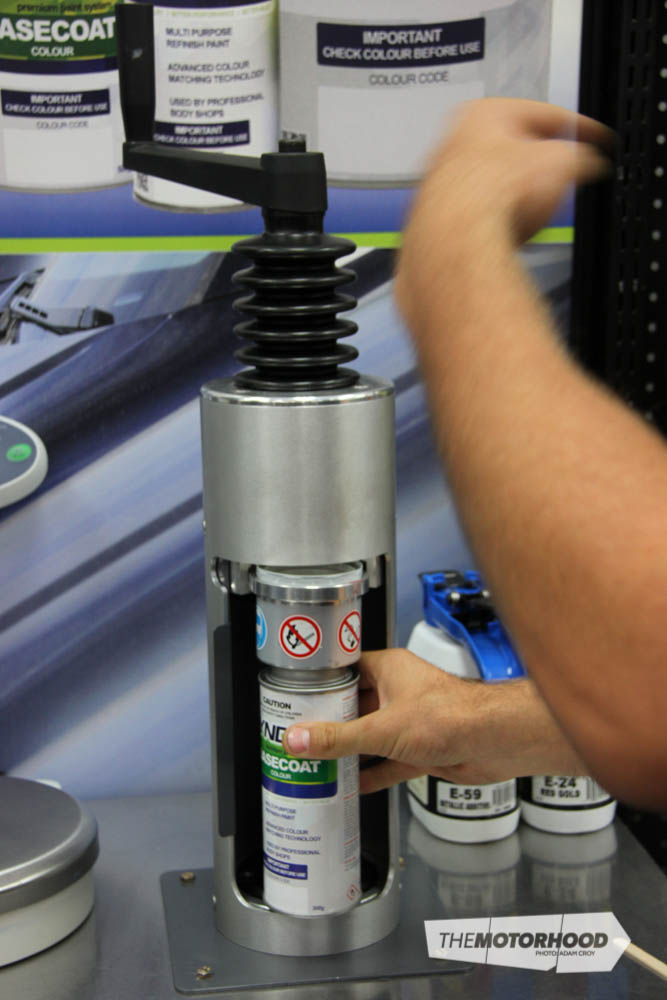
The paint that the Supercheap Auto team put into the $36.99 Lyndar 300g spray can was mixed in exactly the same way as that supplied in the tin (for spray-gun use). The spray can is filled using a special tool that also colour codes the can’s cap as it fills — clever! Supercheap Auto offers the base coat in tins of 250ml ($42.99), 500ml ($63.99), 1L ($119), and 2L ($219). As we were painting just one wheel, we opted for the 250ml tin.
Paint preparation
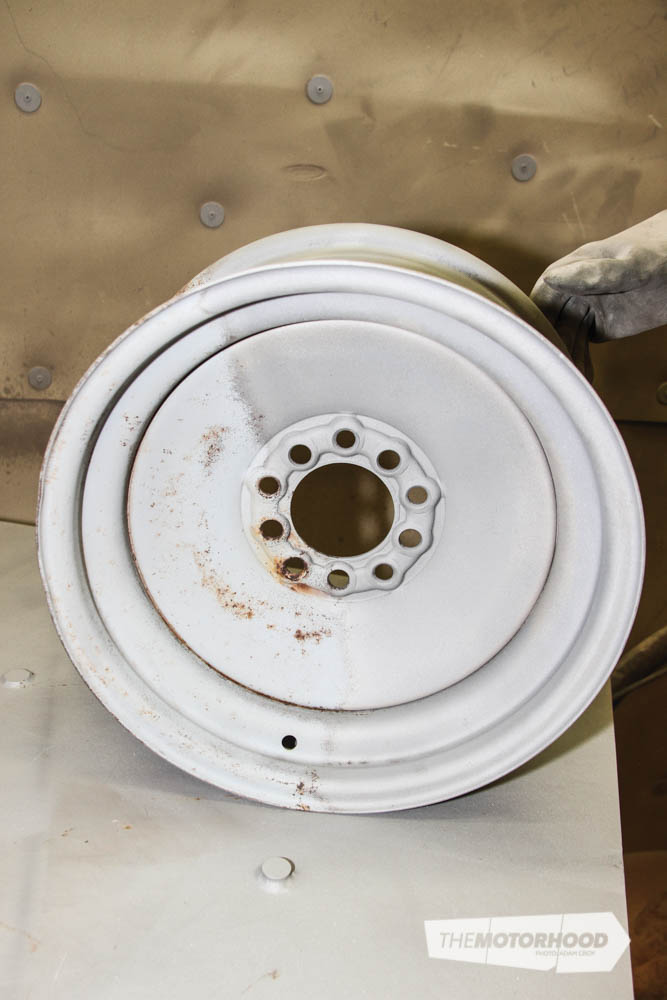
When painting parts, such as the wheels used here, a few different options are available for removal of the existing paint and surface rust, the obvious ones being sanding or chemical paint stripping. However, with the time and skin loss involved in both of those, there’s an easier way, and that’s media blasting.
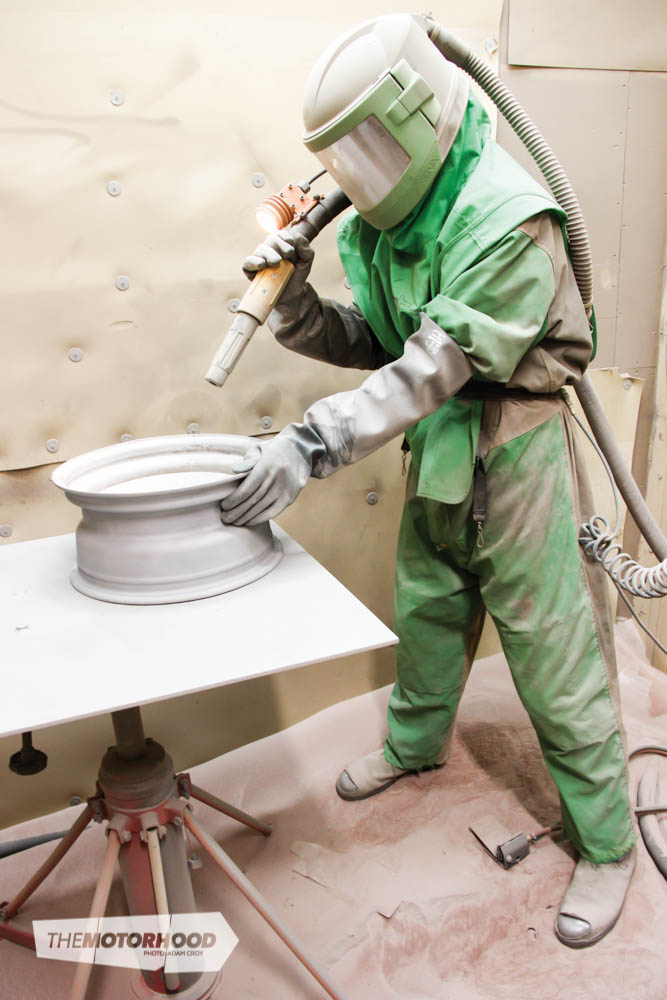
For this, we chose to use the services of Autoblast on Auckland’s North Shore. Autoblast specializes in cars and car parts, and, being car guys themselves, the team are all too aware of what can go wrong if too high a pressure is used on sheet-metal panels. Their system allows them to drop spraying pressure down as low as 40psi, a level that can remove paint from soft surfaces without any fear of damage occurring.
For our rusted steel wheels, the Autoblast team set the spray to 80psi to begin with, then increased it to 90psi when it was discovered that the wheels must have been chromed originally.
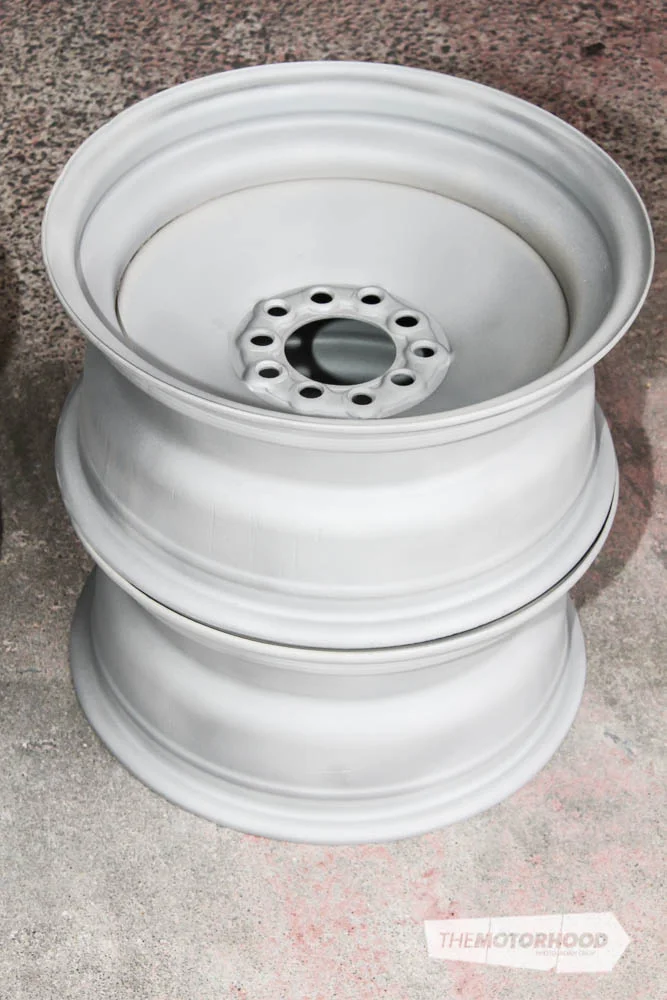
The process of blasting took only 10 to 12 minutes a wheel, and resulted in the wheels being stripped right back to raw steel — far better than if they’d been hand sanded. So fine is the garnet used that even the area right in the join, where the inner and outer sections of the rim meet, was stripped, as was the area around all the stud holes, where sandpaper could not easily get to.
With the raw metal exposed, it’s imperative that a primer is applied as soon as possible after blasting to stop any moisture forming on the metal, as that would quickly turn into surface rust and undo the work of the blasting. While Autoblast could have primed the wheels for us in-house, we chose to take them straight to the workshop and apply the Lyndar etch primer ourselves.
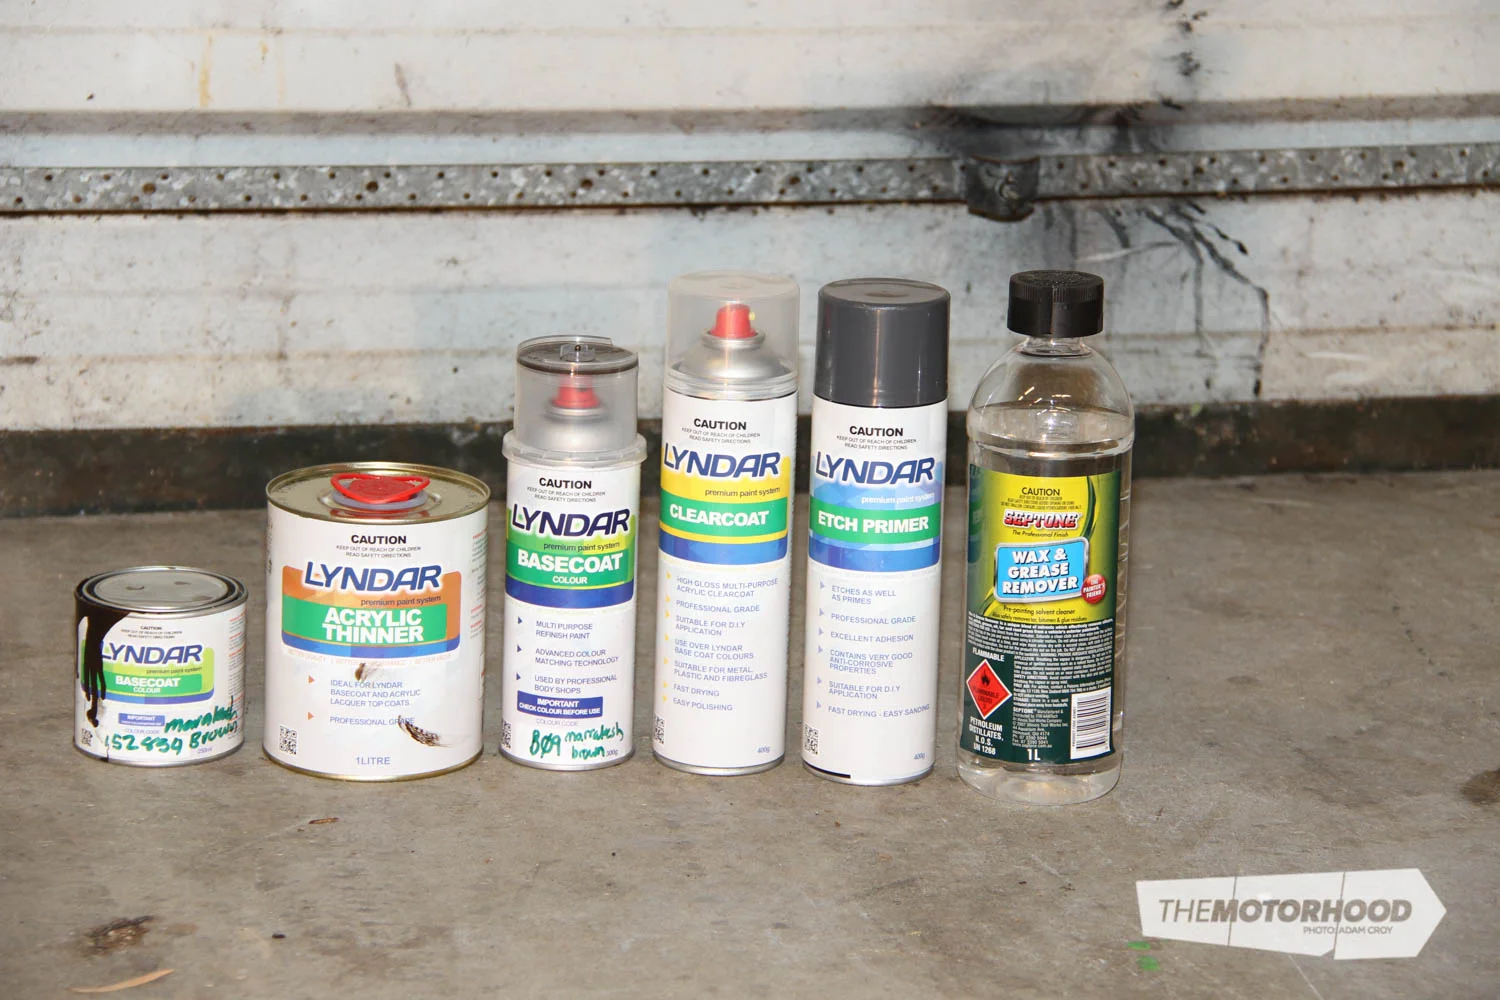
After being blasted, the wheels were ready for priming. First, we gave them a quick wipe down with wax and grease remover — they had had skin contact from being handled between Autoblast and the workshop, so wiping them down would remove any kind of contamination that could impair paint adhesion.
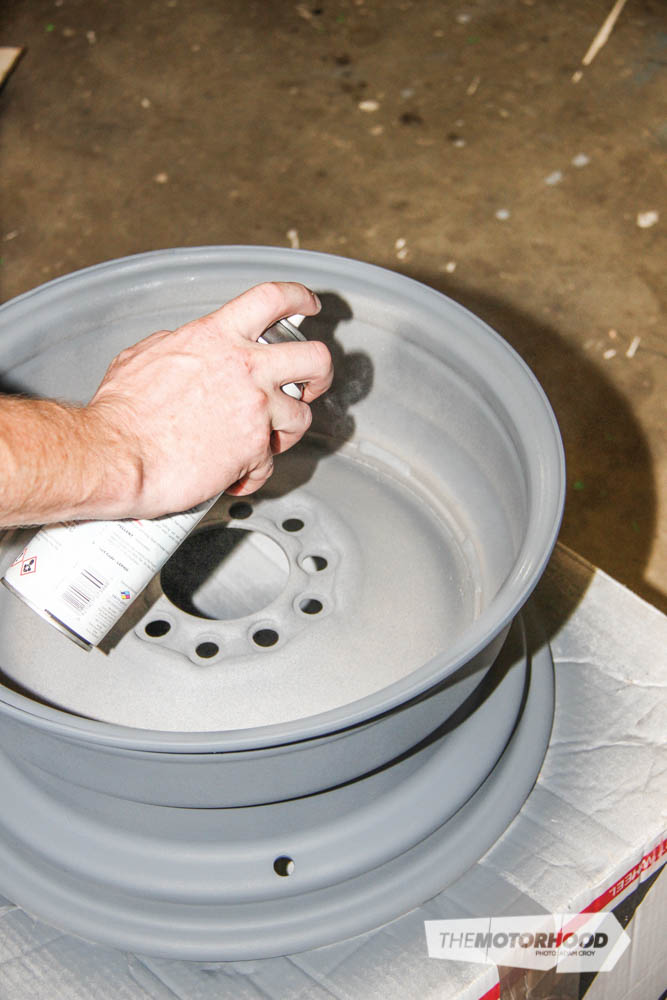
Because the wheels had been completely blasted, front and back, we’d also be painting the rear of them in order to prevent corrosion — if we weren’t too concerned about the unseen part of the wheel, we could have saved a lot of time and paint by doing only the front face. Even so, it’d still be important to paint around and over the wheel lip, towards the inner barrel. We applied two coats of primer, to ensure thorough coverage.
We applied primer to both wheels with an aerosol primer — this shouldn’t affect the final result, as we’d be sanding the primer surface lightly before applying the colour coat. While it may sound like a sales plug, the Lyndar primer was one of the nicest spraying cans we’ve ever painted with, offering easy control and really good coverage.
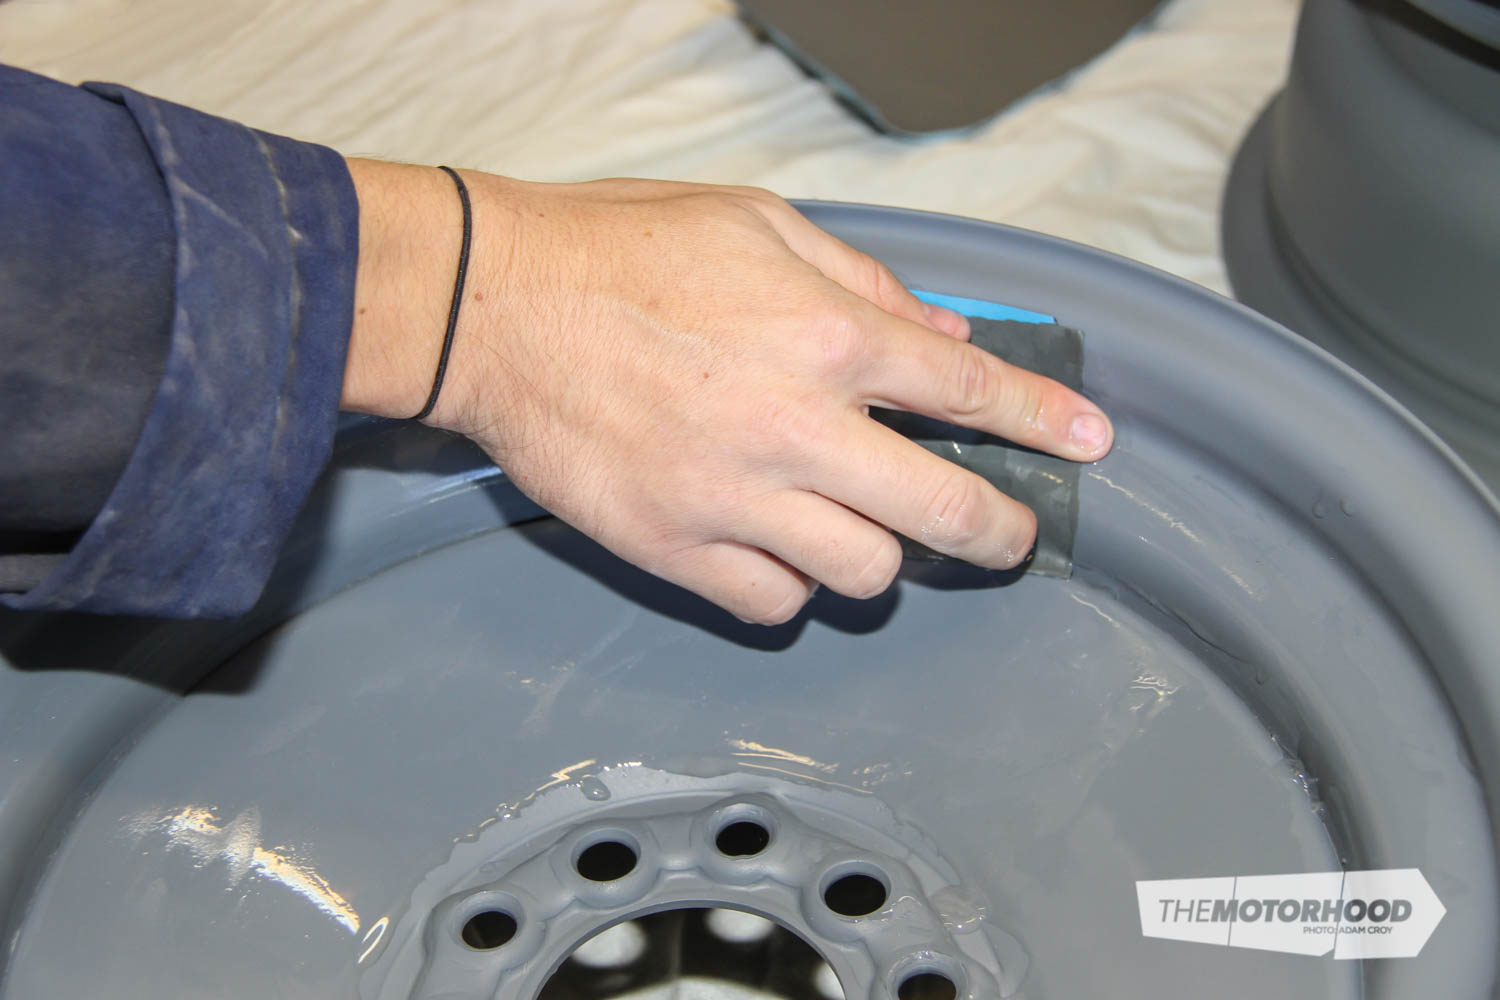
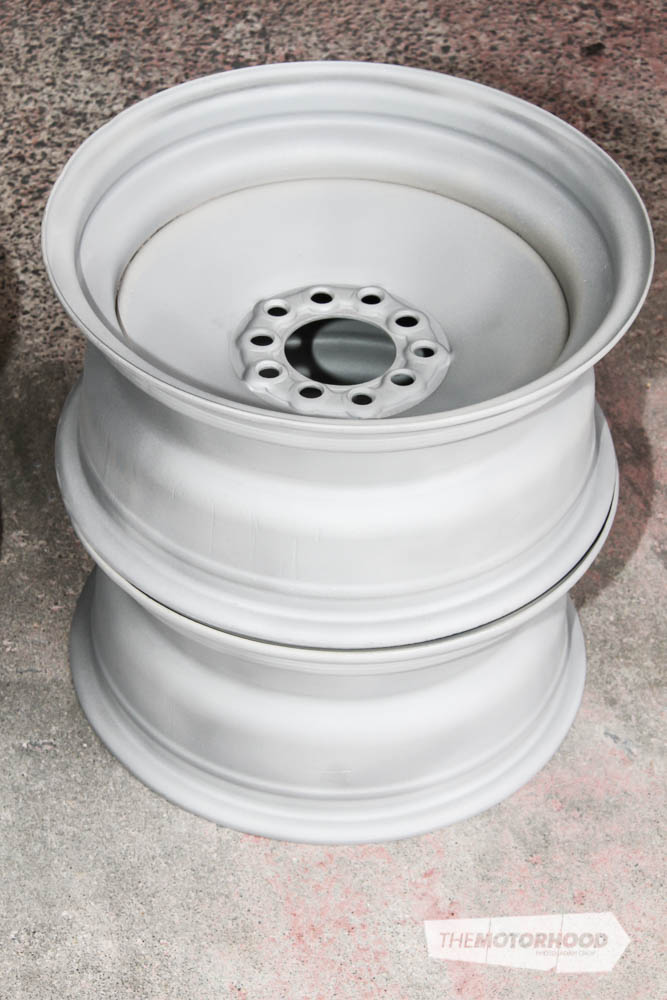
With the primer coats applied and dried, it was time to break out the 1000-grit wet-and-dry sandpaper to rub back the primer coat and provide a bit of adhesion for the colour coat. Since we were painting both sides of the wheel, we had primed both sides, and therefore also needed to sand both sides. Once they were sanded, we wiped down the rims with a clean rag to clean them up, then gave them another wipe down with wax and grease remover for good measure.
The fun part
Now we were ready to apply the paint, and were quite interested to see how the colour would turn out, especially via the two different methods.

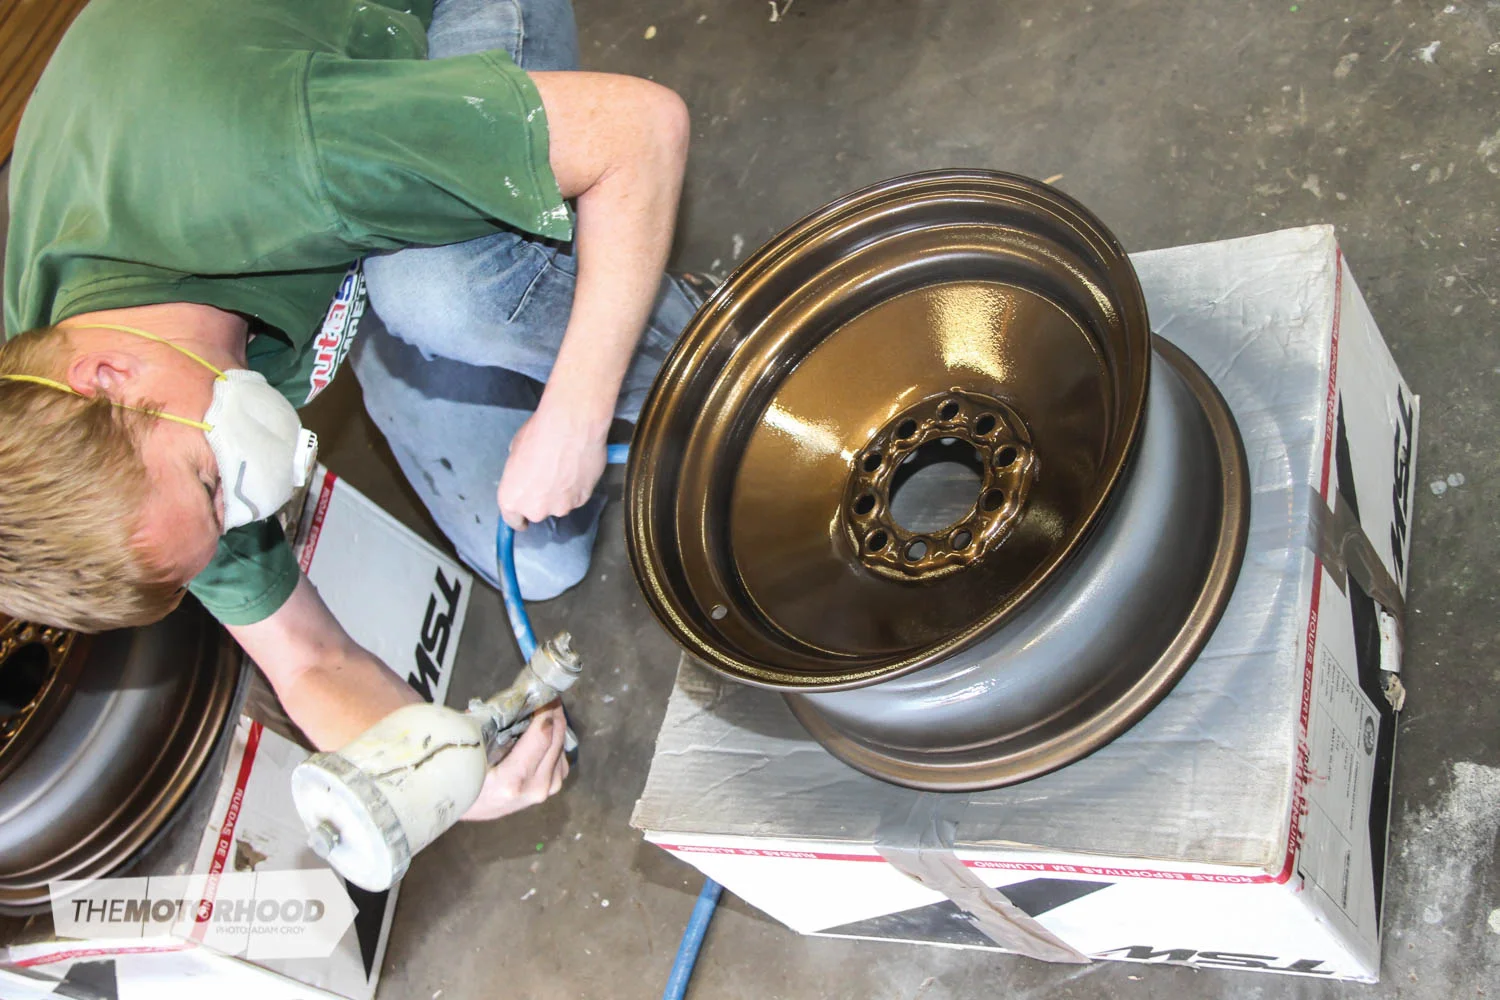
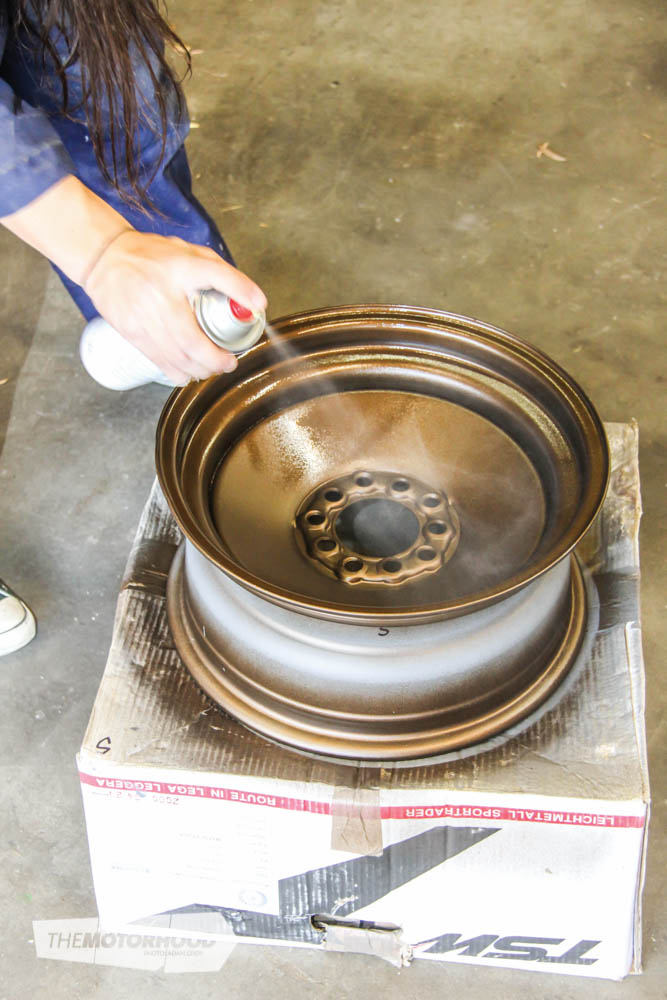
The aerosol method was fairly self-explanatory — we sprayed the wheel in gentle, sweeping motions, applying an even and consistent coat, to ensure there would be no runs in the paint. With a 10-minute drying time between coats, the process was quick, and we were able to get two even coats on the rear and three on the face.
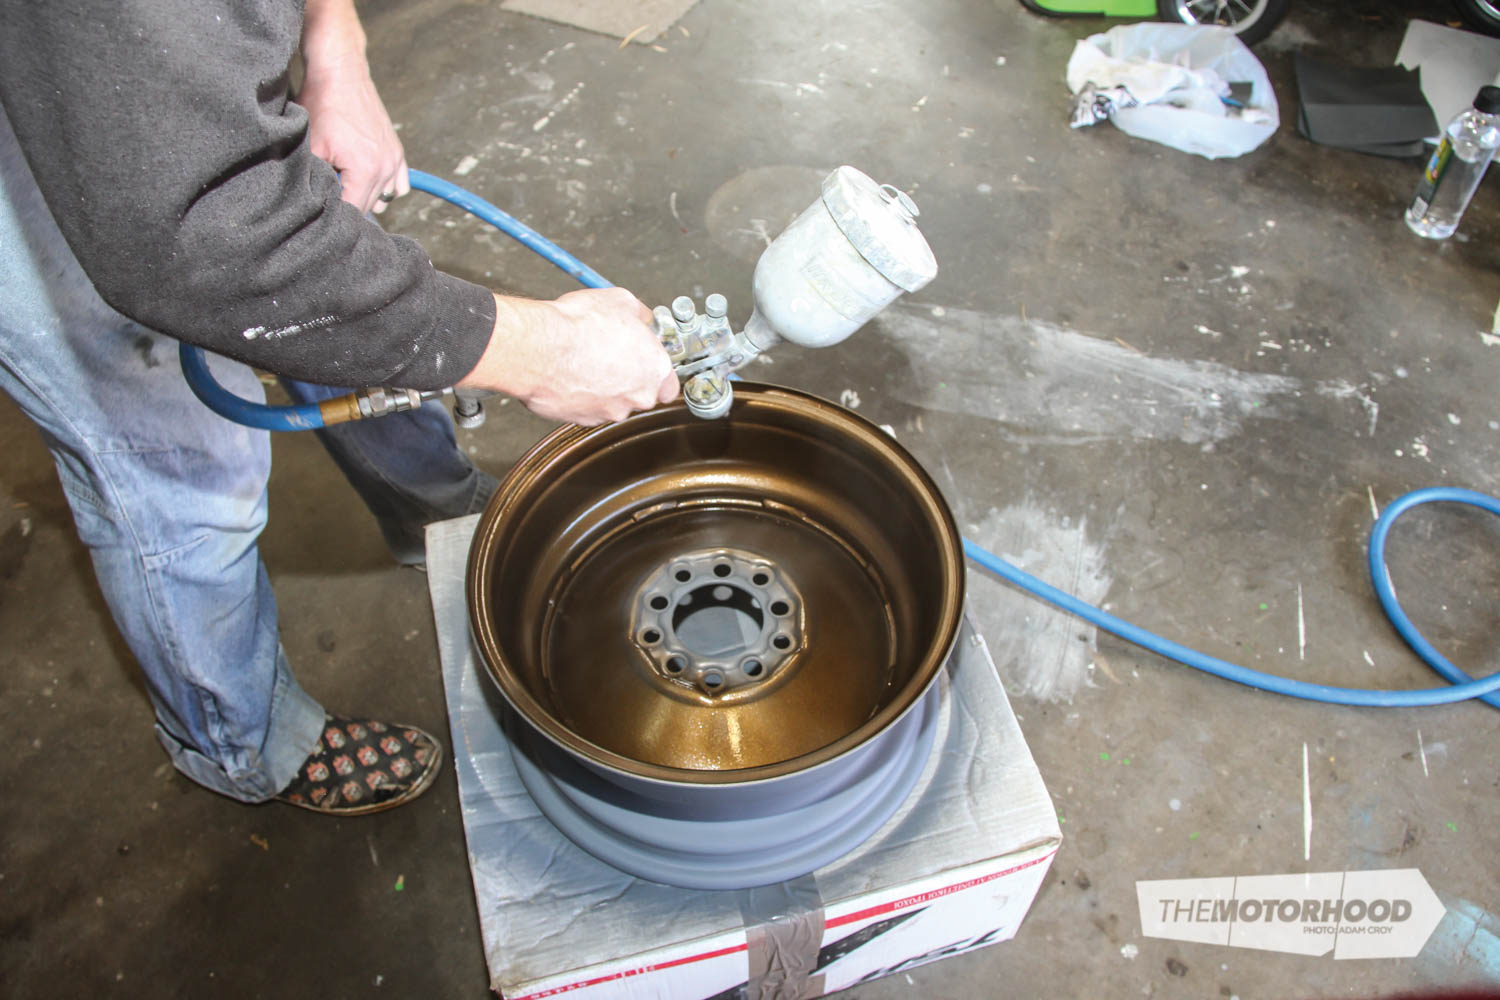
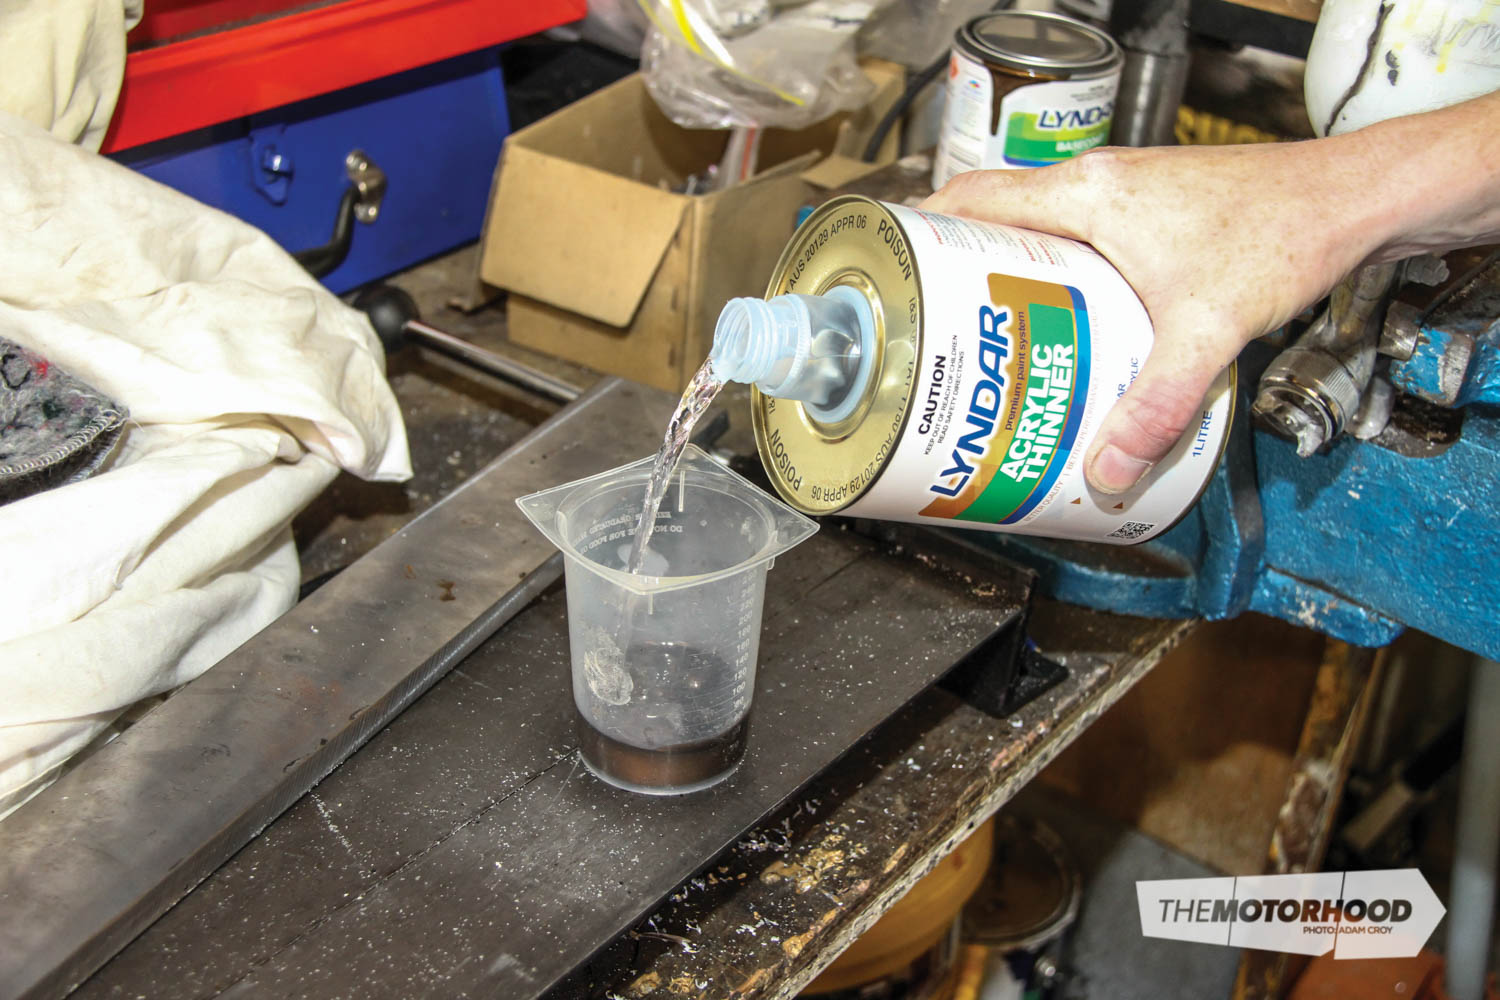
The Lyndar paint tins recommend a 50/50 mixture of paint and thinner. Mixing in batches of 50ml of each was enough to give us some good coverage on both faces of the wheel — if you’re only painting the face of the wheel, and not the rear, 250ml of base coat should be enough to finish a full set. We were also fortunate that the wheel had a very simple ‘smoothie’ design, with no awkward spokes to try and coat evenly.
We could notice a difference between the two wheels at this stage, with the spray-gun finish definitely looking more vibrant than the aerosol result — that said, the aerosol finish could hold its own, especially considering how easy it is to apply.
In the clear
Adding the clear coat was pretty much a repeat of the above, with the same even application with the aerosol can, taking just as much care to avoid paint runs. We went for two coats of clear on both the front and back. These coats came out well — even though, ideally, we’d sand them back with 2000-grit wet-and-dry before polishing, we wanted to compare the end result of the two different painting methods.
Unfortunately, the only Lyndar clear coat currently available is in aerosol-can form. As that would hamper our experiment a bit, we opted to use a generic acrylic clear because it was the colour-matched base coat that was the priority. We mixed up our clear and started spraying. Two coats of clear later, and the sprayed wheel looked a bit richer in finish than the more satin-looking aerosol finish.
We mustn’t have cleaned the airbrush properly, as, during the spraying of the clear, some old paint flecks also came through. We cleaned these off immediately with acrylic thinners and a clean rag, though they still buggered the finish a tad. Important lesson: clean your tools properly!
Result
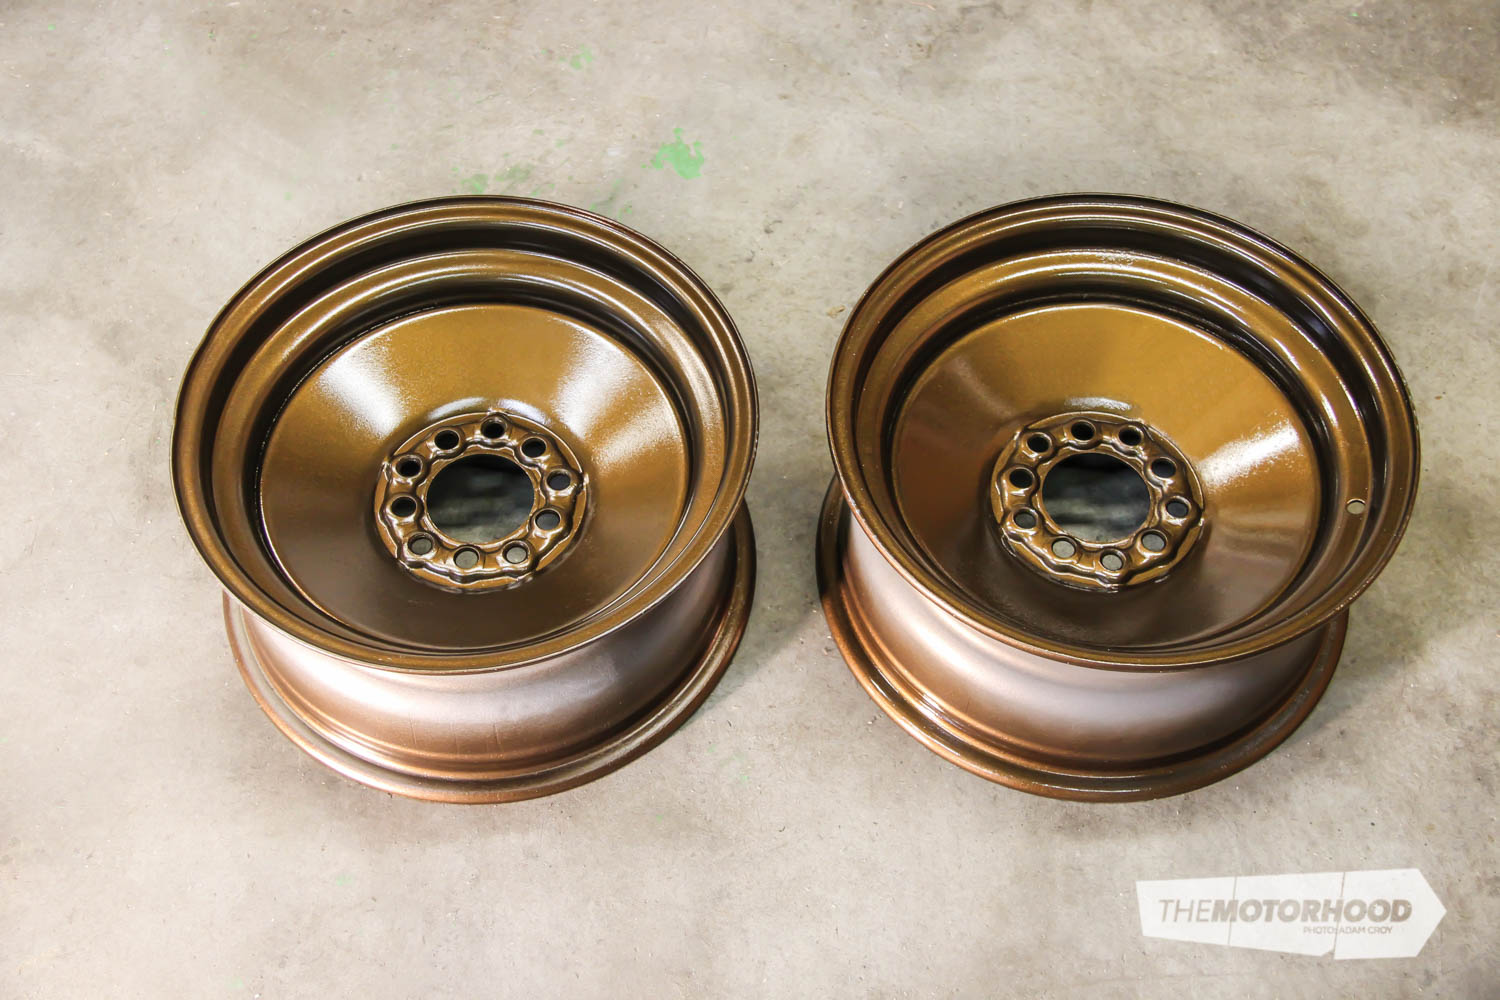
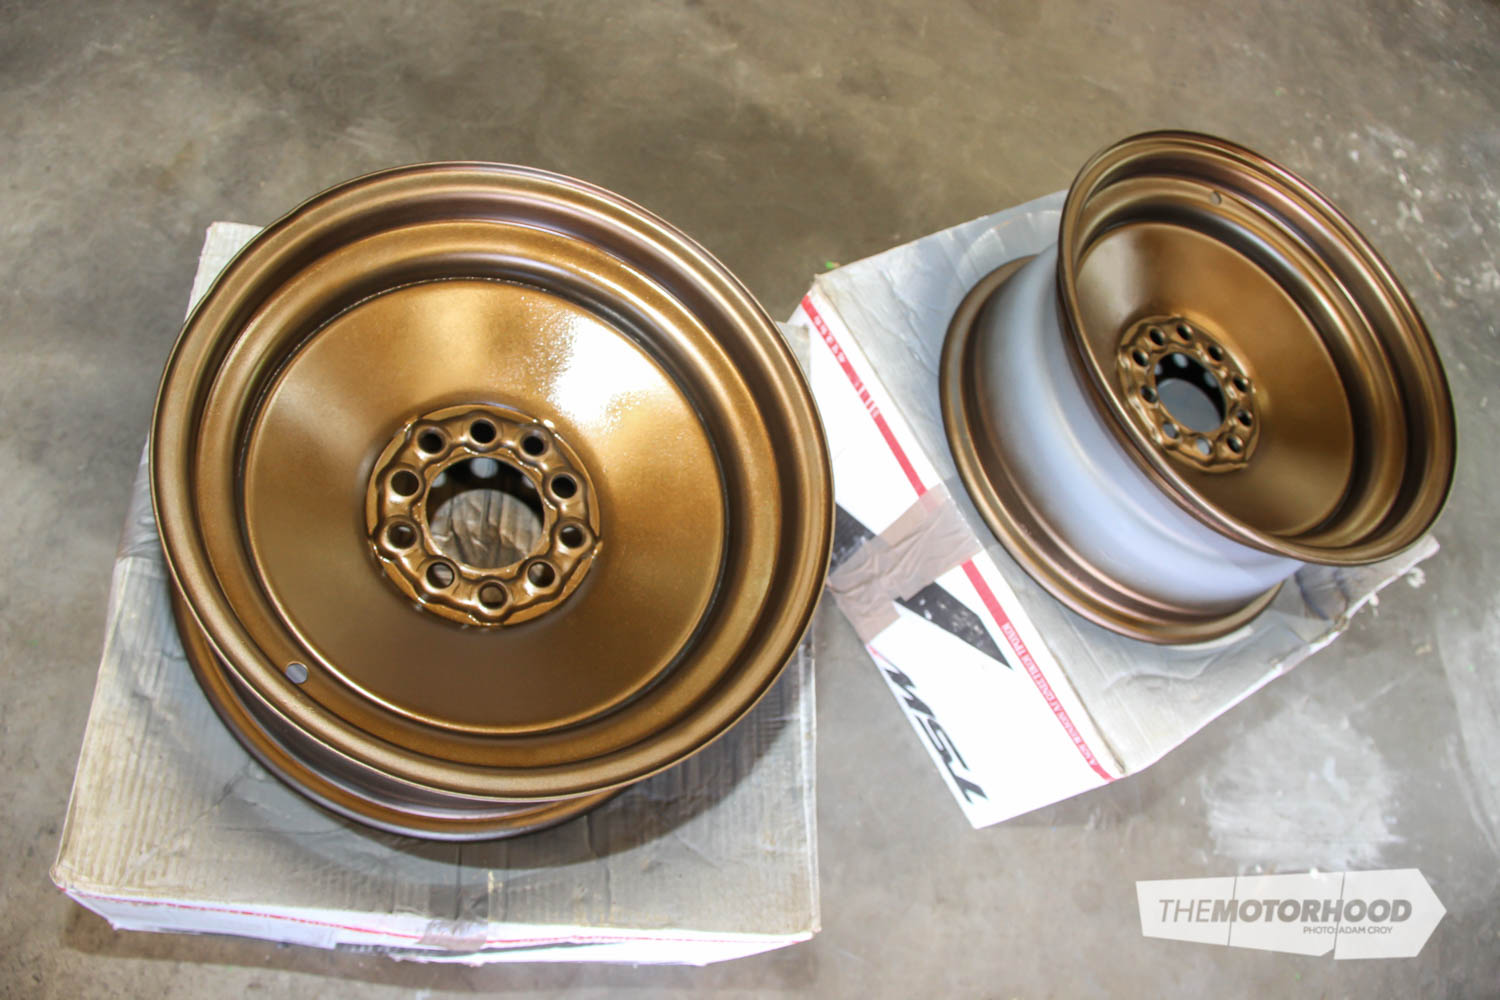
Overall, the difference between the two methods is pretty much as you’d expect, although it’s more in terms of the overall finish. Colour wise, the aerosol and spray-gunned paints are indistinguishable — reassuring, considering they’re the same formula.
While the professional spray-gun gives a better result straight off the gun, when you factor in the tools required — appropriate air compressor and spray-gun — you can see why the almost-as-good aerosol finish has appeal for the average home handyman. Just point and shoot — how easy is that?