
data-animation-override>
“Think that painting a car involves sanding it back and blowing it over? Think again, as there’s a whole lot more to it than that”
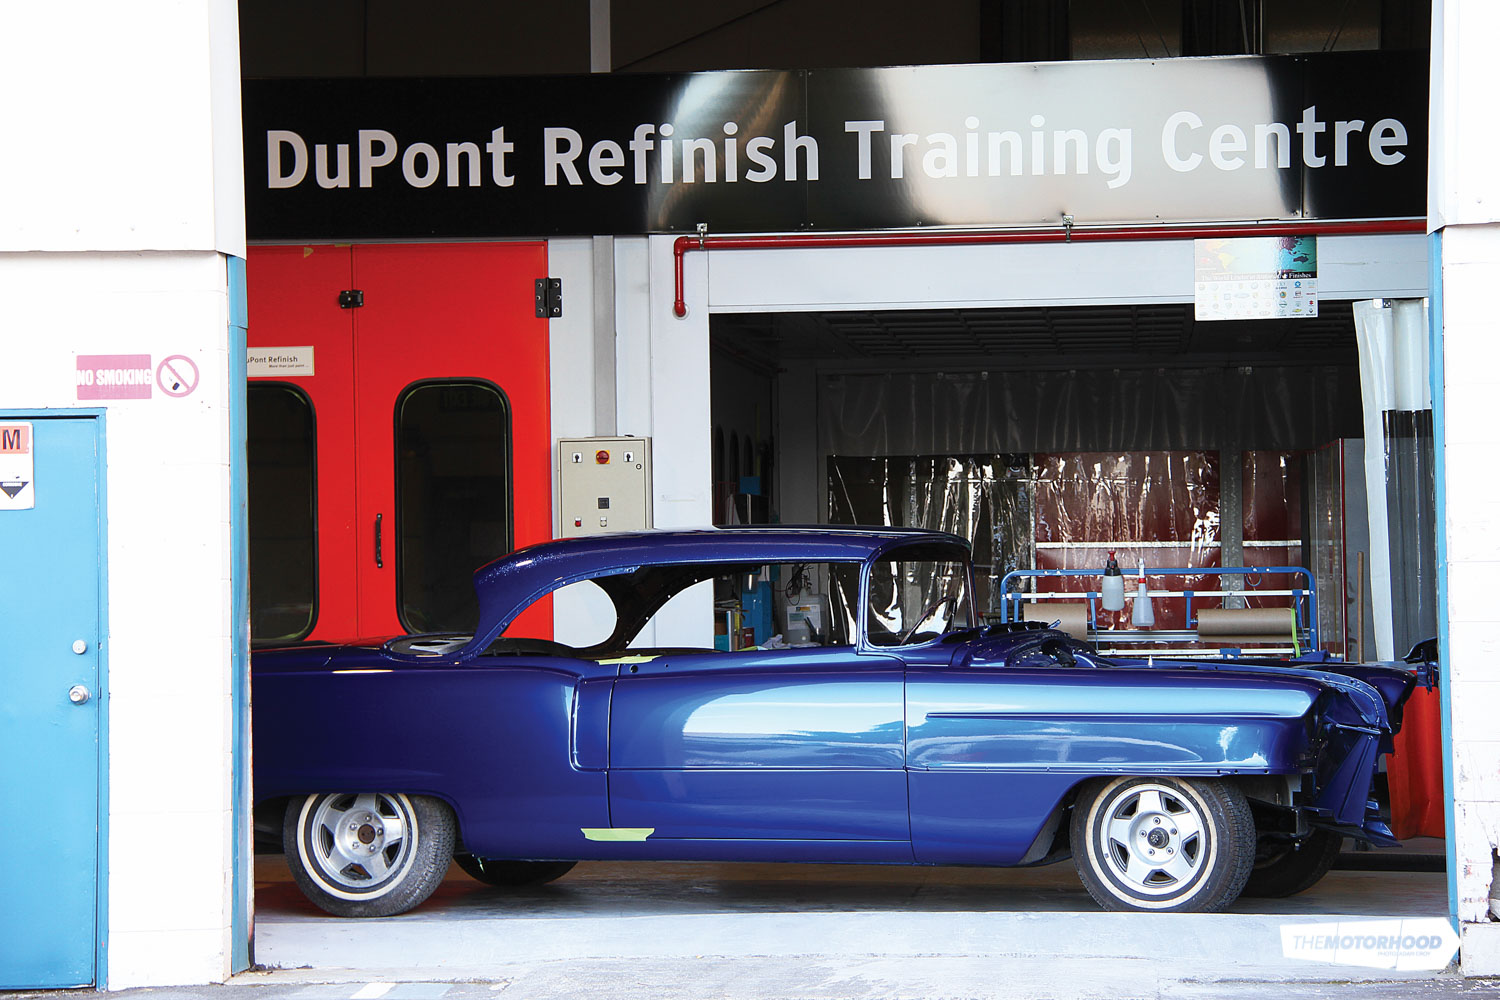
With help from Resene Automotive & Light Industrial (RALI), we’ve shown you the dramatic transformation that a quality paint job can do for a 1956 Cadillac (see part one here, and part two here).
Until now we’ve focused on the exterior of the vehicle, but when painting a car such as this there’s plenty more than just the surface that needs to be sprayed with paint. It’s these small and fiddly bits that make the difference between a car that looks great from a distance, and one that looks great up close.
As each of the small parts requires different techniques and products for a quality finish, as you scroll down you will find information on what’s needed and how it’s done. While the parts you see here have all been worked on by professionals, there’s nothing to stop you following the same processes at home. All products used below are available at your local Resene Automotive & Light Industrial outlet, of which there are 14 nationwide. To ensure your project achieves your desired result you can contact any RALI store for further information to assist in determining the best way forward for your project (including any recommended safety equipment).
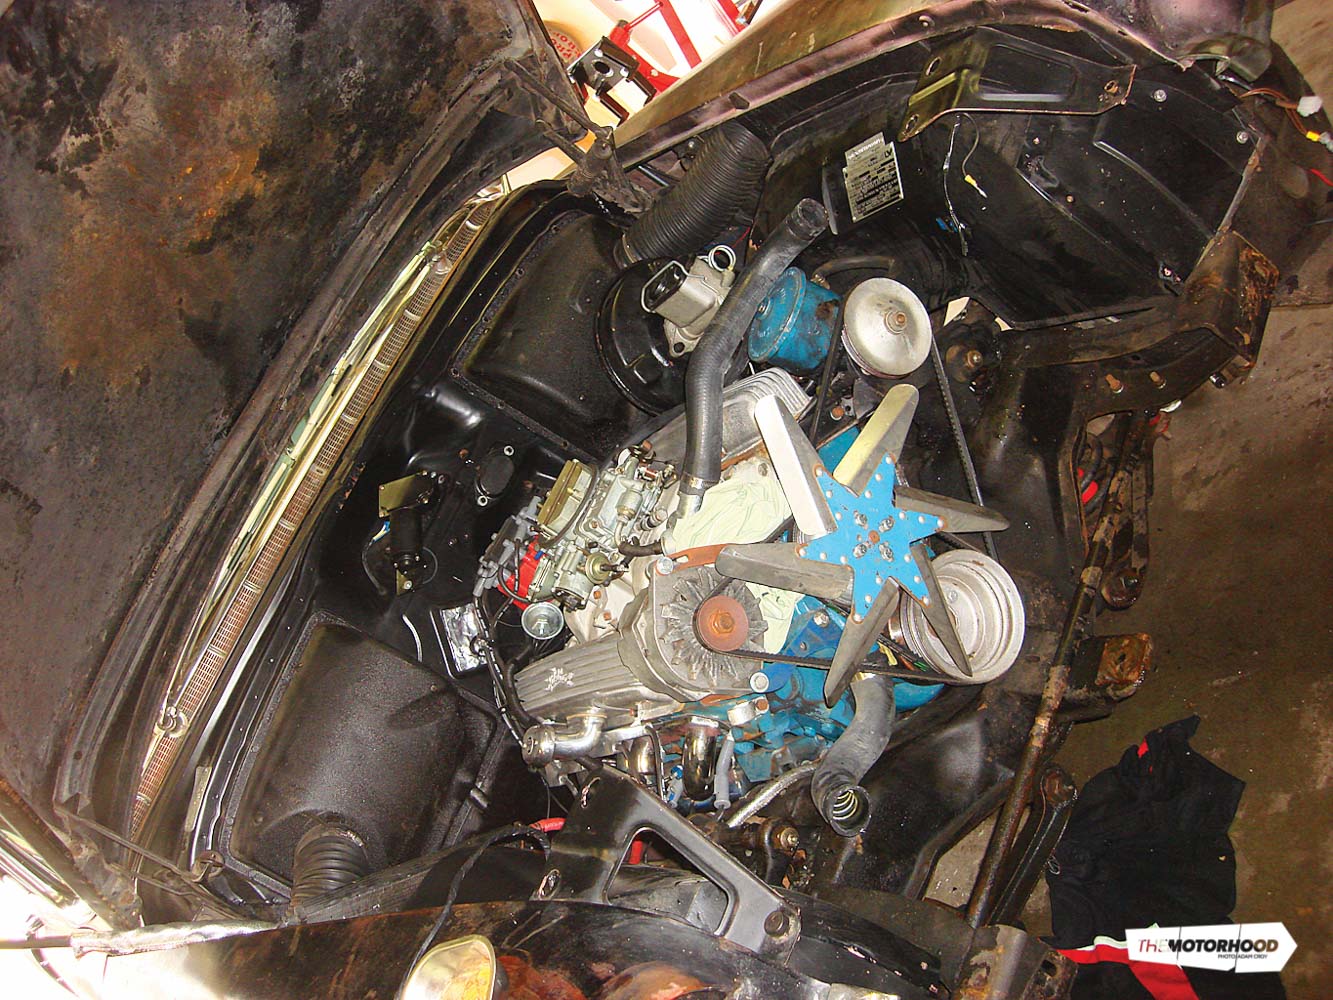
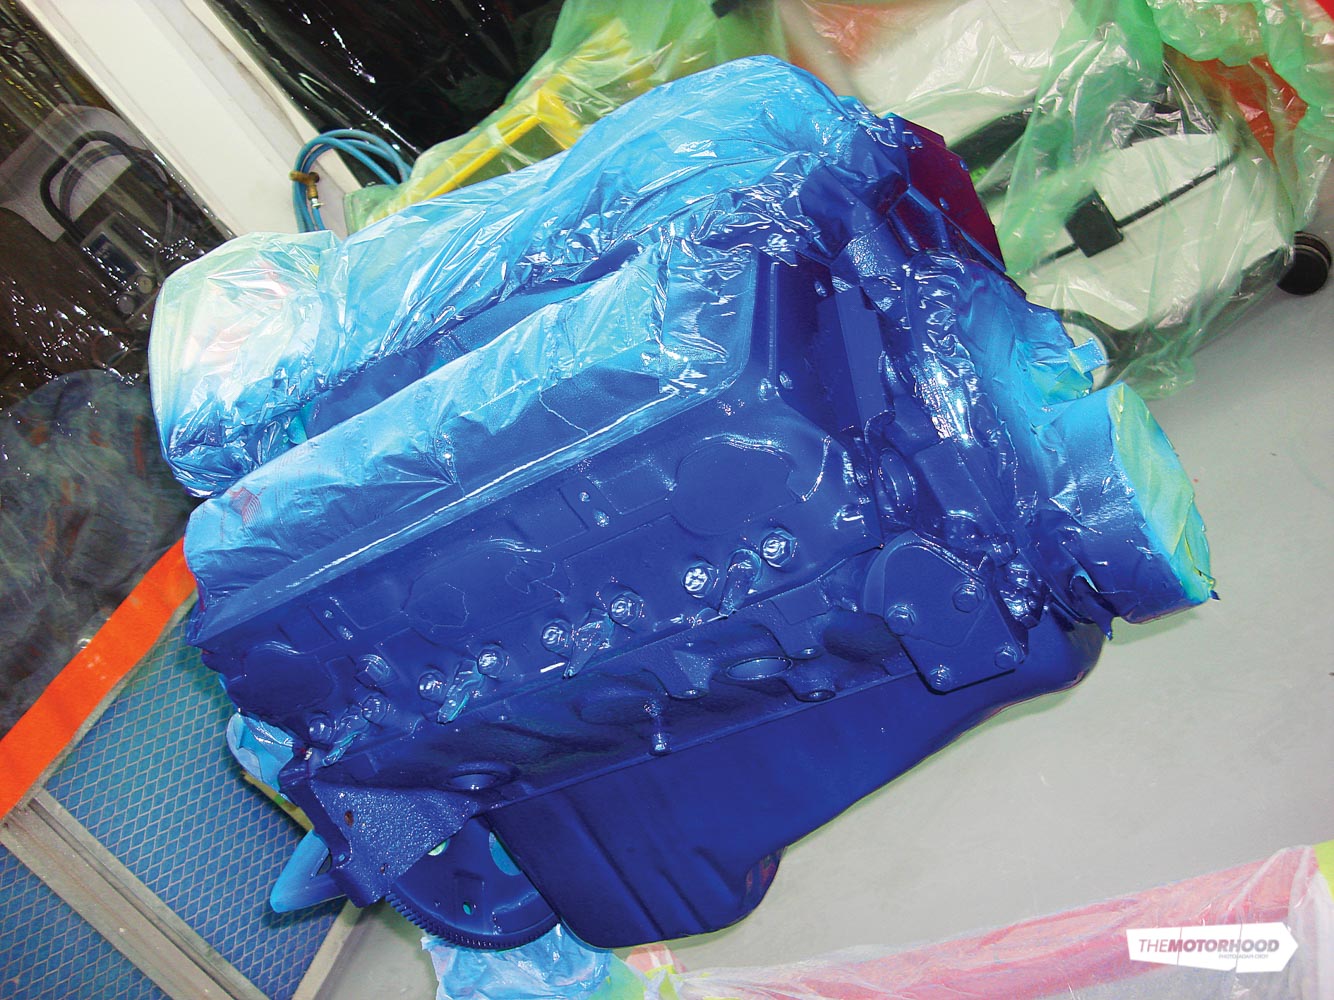
Engine block
The first concern when painting an engine block is generally the heat that the paint will need to endure. Equally as important — though often less thought about — is the difficulty of painting a surface that has most likely had years of oily substances and grime accumulating on it. As with any paintwork, the paint itself will only ever be as good as, and last as long as, the surface preparation allows for. Poor foundation equals a poor-lasting job.
In the case of the Cadillac’s engine, it was removed from the vehicle and fitted to an engine stand. With ancillary components removed (to be painted separately) the block was covered with engine degreaser —but not before any holes were well and truly covered up (the last thing we needed was grime or water inside the engine). After applying liberal amounts of degreaser the block was water-blasted. If you’re in a position to use a steam cleaner, that’s even better, as it gets right into the baked-on grime. For OSH and environmental reasons, a clean like this mustn’t be done where the run-off will cause contamination.
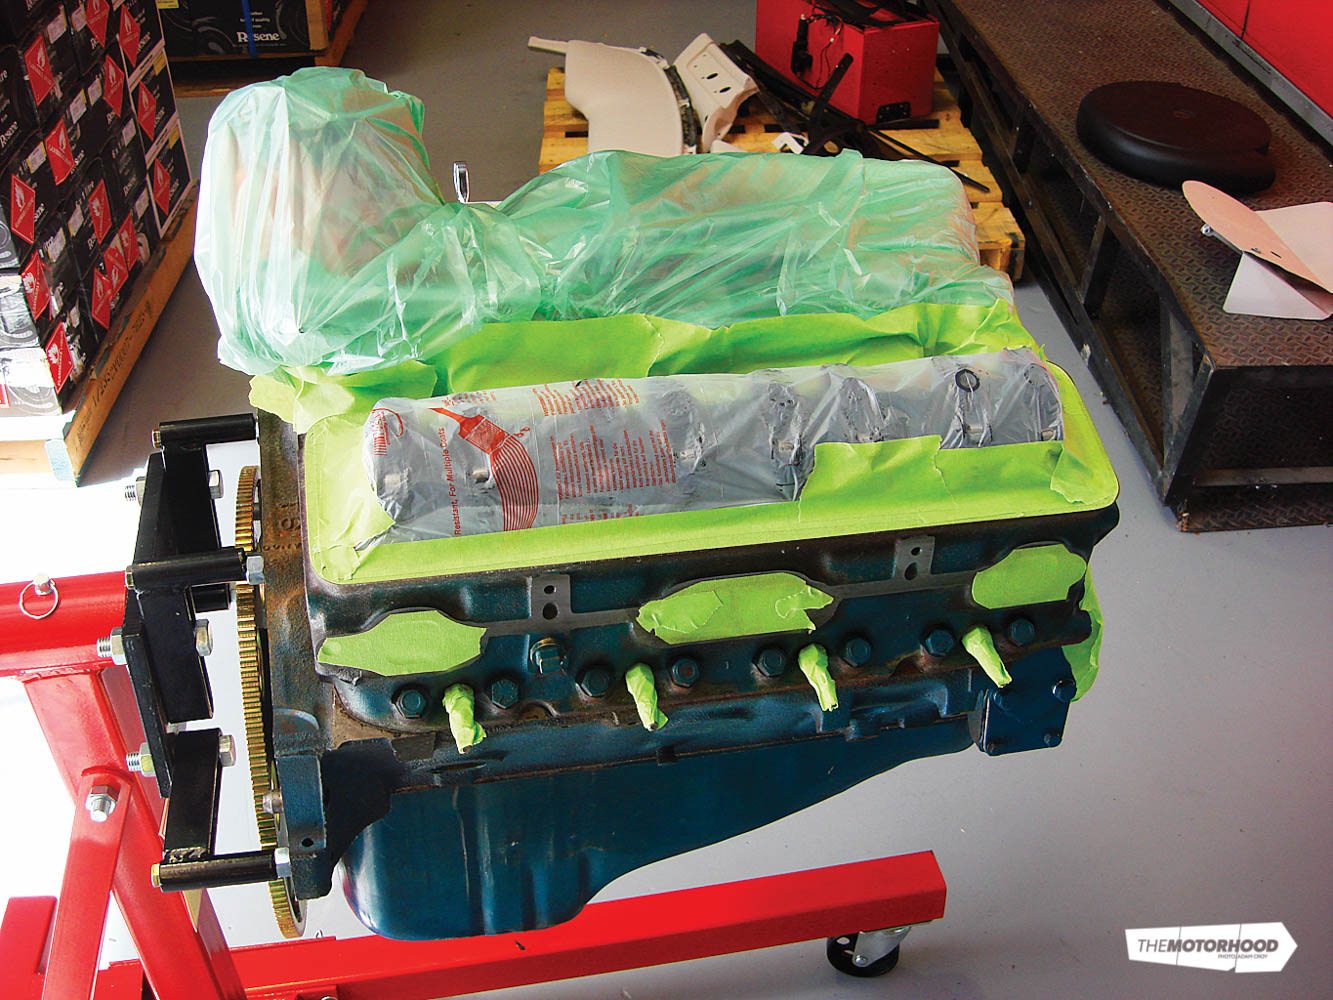
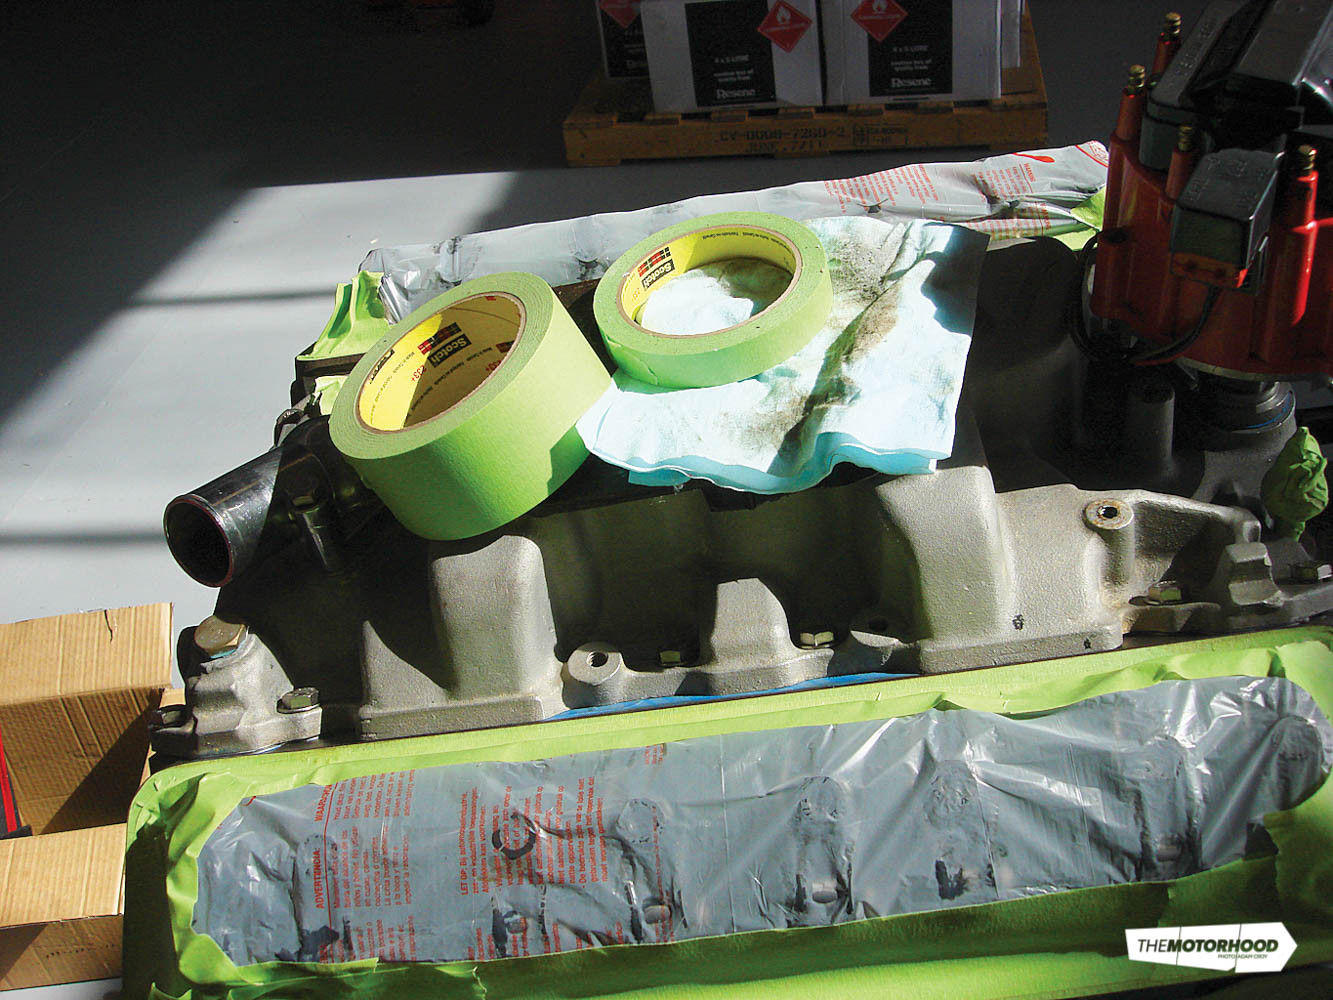
Once the engine is thoroughly dried — best to allow plenty of time, rather than try and force dry — the masking process begins. Great care must be taken to ensure gasket faces are not painted, and that no paint goes where you don’t want it to. For this, we decided to leave the spark plugs in the holes and replace them afterwards, while the front cover, intake manifold, distributor hole etc. were all masked over with great care. In reality, we could have removed the manifold, but with proper masking, it’s impossible to tell that we didn’t.
Once masked, solvent is used to remove any contamination, then wiped with a 3M tack rag, and every square millimetre of the engine was given a rub to get rid of any last traces of dirt.
The cleaned engine block was first primed using DuPont 840R VOC Epoxy primer, and, as with the bodyshell, this was also tinted to ‘value shade 5’. The tinted primer is used to not only match the colour to the rest of the car, but it also means fewer coats are required to achieve the desired coverage.


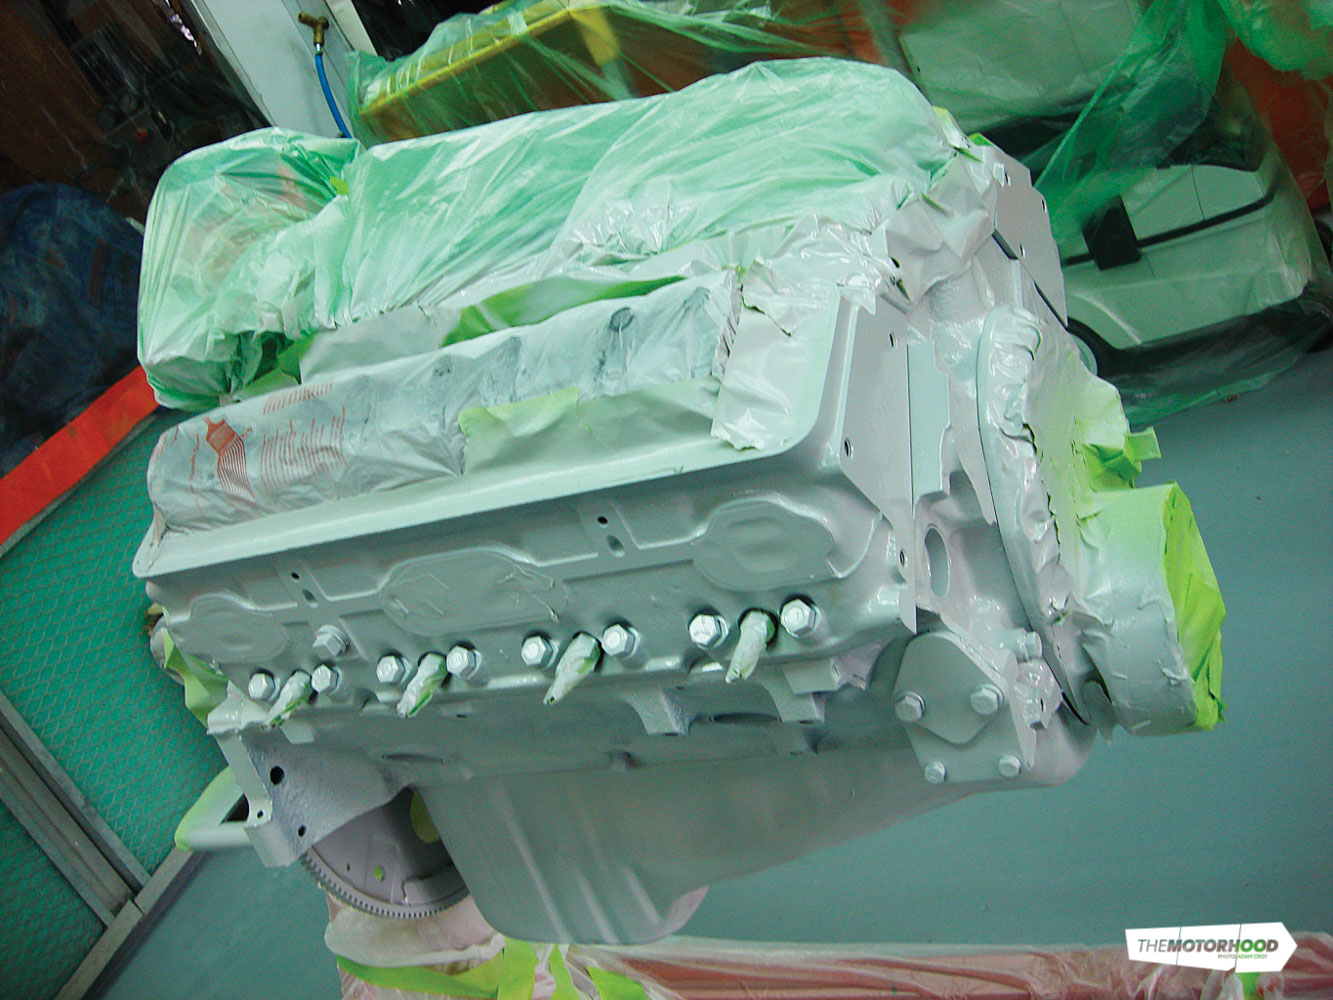
As with the exterior of the car, three coats of colour were sprayed, with each being allowed to tack off between coats. After the third coat, the block was left to dry for 15 minutes before DuPont 3050S Chromaclear was applied to the colourcoat. The ratio used was 4:1 with activator XK205. Obviously because of the engine’s shape, it can’t be buffed back, but the 4:1 ratio achieves a flawless, peel-free finish.
After standing for a day or two to harden, the accessories could once again be fitted to the engine, and it made ready for reinstallation.
Metal flake
Those with a good memory or attention to detail may have noticed that the roof of the car was a bit different to the rest of the body in the last issue. As the whole theory for the build was for the car to be a ‘Mild Custom’, the decision was made to go for a metal flake on the roof and some interior components. Rather than a contrasting colour however, the flake was matched as closely as possible to the body colour. The result is that in some lights/angles it blends in with the rest of the car, and on others it really jumps at you. Walking in a circle around the car, both the DuPont ‘Boogie Blue’ and the flake roof change dramatically, and not at the same time.


While metal flake is a great product, it is very time-consuming to get looking right. For the Cadillac, the roof was painted as per the rest of the vehicle — including preparation and clearcoat. Once the first layer of clearcoat had dried however, things became a lot more involved.
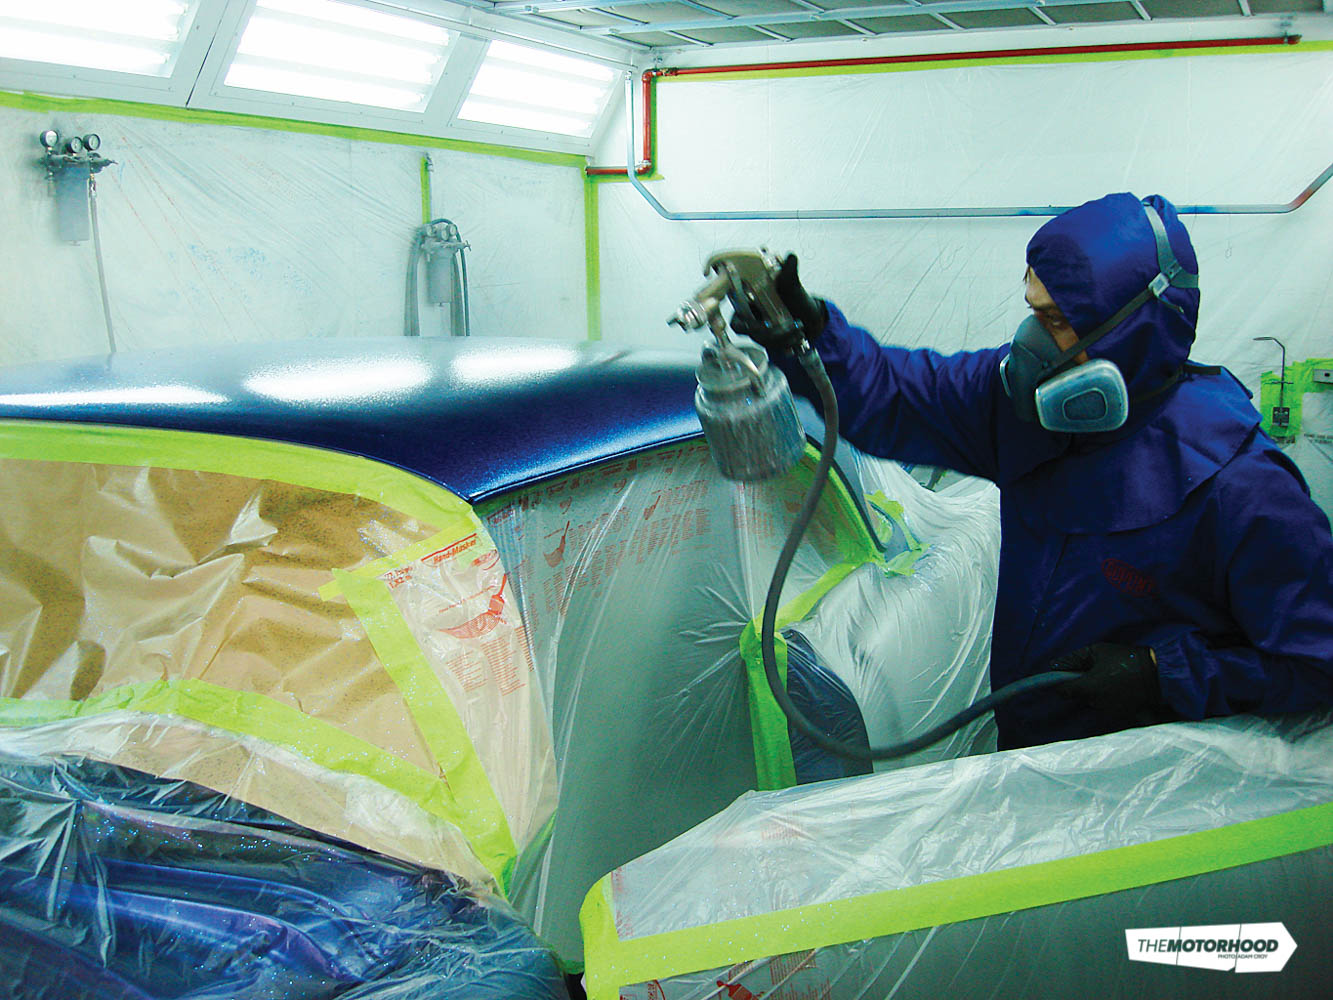
The metal flake (which is essentially a glitter, supplied in a small jar) is mixed with DuPont 3050S Chromaclear, and a further four coats were applied to achieve the right coverage we were after. Rather than a traditional ‘gravity fed’ spray gun, an older-style suction gun is required to stop the flake sitting at the bottom. To prevent it from glugging up, DuPont’s painter Andrew Town also had a large ball bearing rolling around in the spray gun, so it was mixed as it sprayed.

Unfortunately, this was the easy part. It’s trying to get the surface smooth after the flake is applied that becomes very time-consuming; however this is the most important part of the process.

With the flake dried, a further two coats of Dupont 3050S Chromaclear clear were applied, before the whole roof was dry sanded with 3M P1000 discs. Even after the sanding, some areas of the roof were still not as flat as desired so each individual peak was smoothed off with a razor blade before two further coats of clear were applied. The buffing process then began, which again included more sanding (as seen in part two). The copious amount of sanding has resulted in a finish which is as smooth as the rest of the vehicle though, and the flake creates an eye catching look — not that the striking blue on the rest of the vehicle didn’t already have that effect, mind you!
Interior trim
Unlike modern-day cars where everything inside is made from plastic or fabric, the Cadillac has a lot of metal interior trim. Around both windscreens and along the top of each door is a metal strip, and as you’d expect from a car this old, they’d seen better days.
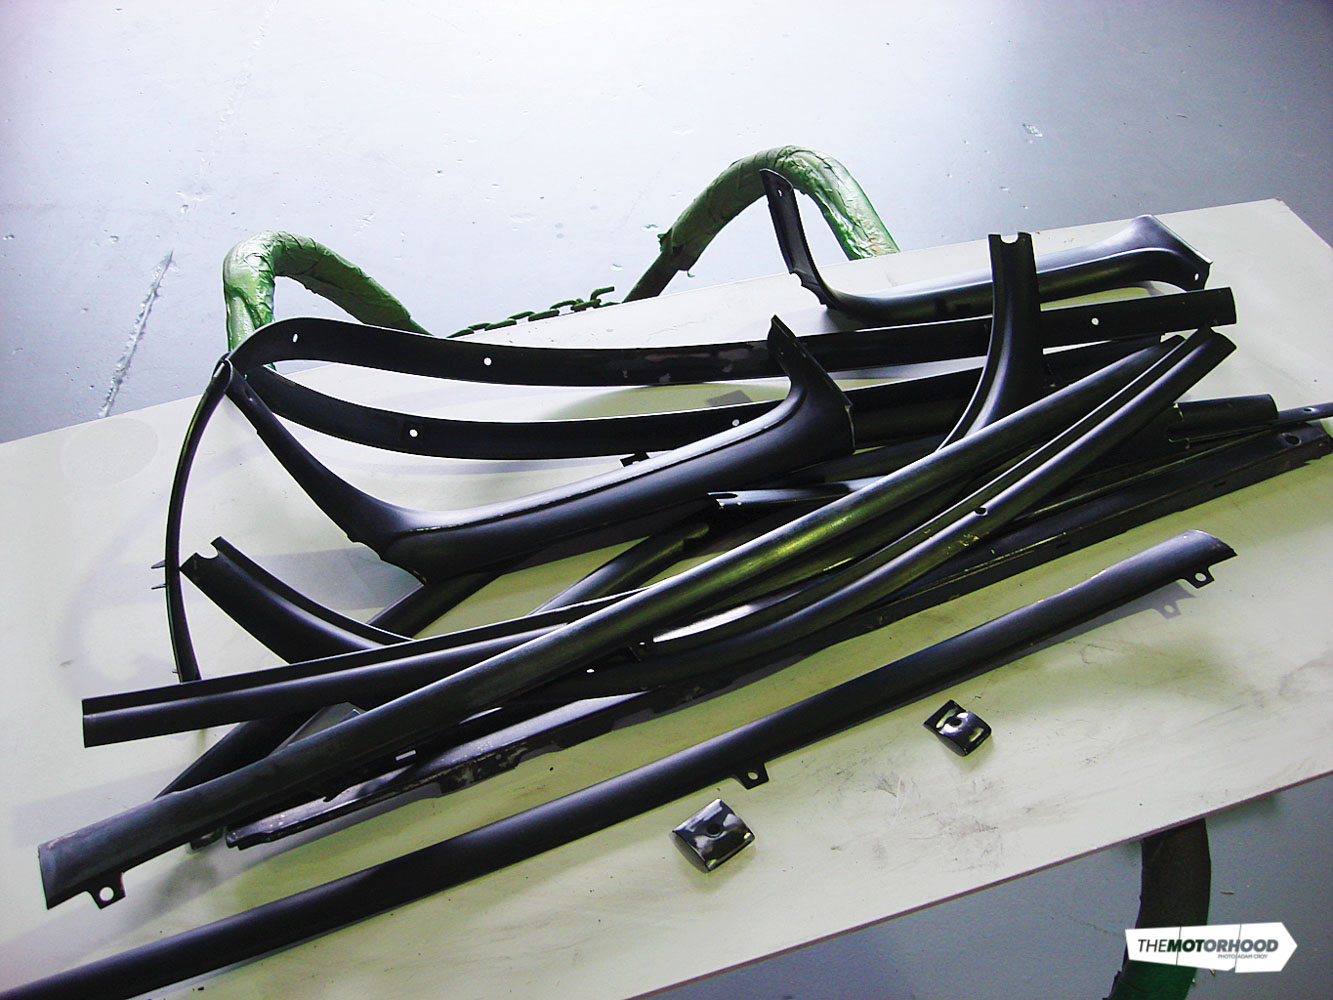
It wasn’t just the exposed faces of these parts that presented problems, the underside of each trim was even more problematic, where a light coat of surface rust had covered each part.


DuPont 5717S Metal Conditioner is the perfect product to use on parts such as this. The metal conditioner is mixed with two parts water in a plastic paint cup. With rubber gloves on, and using a Scotch pad, the trims must be rubbed over. The catch is that the metal conditioner isn’t allowed to dry on the surface. Once rubbed, the majority of the surface rust will disappear.
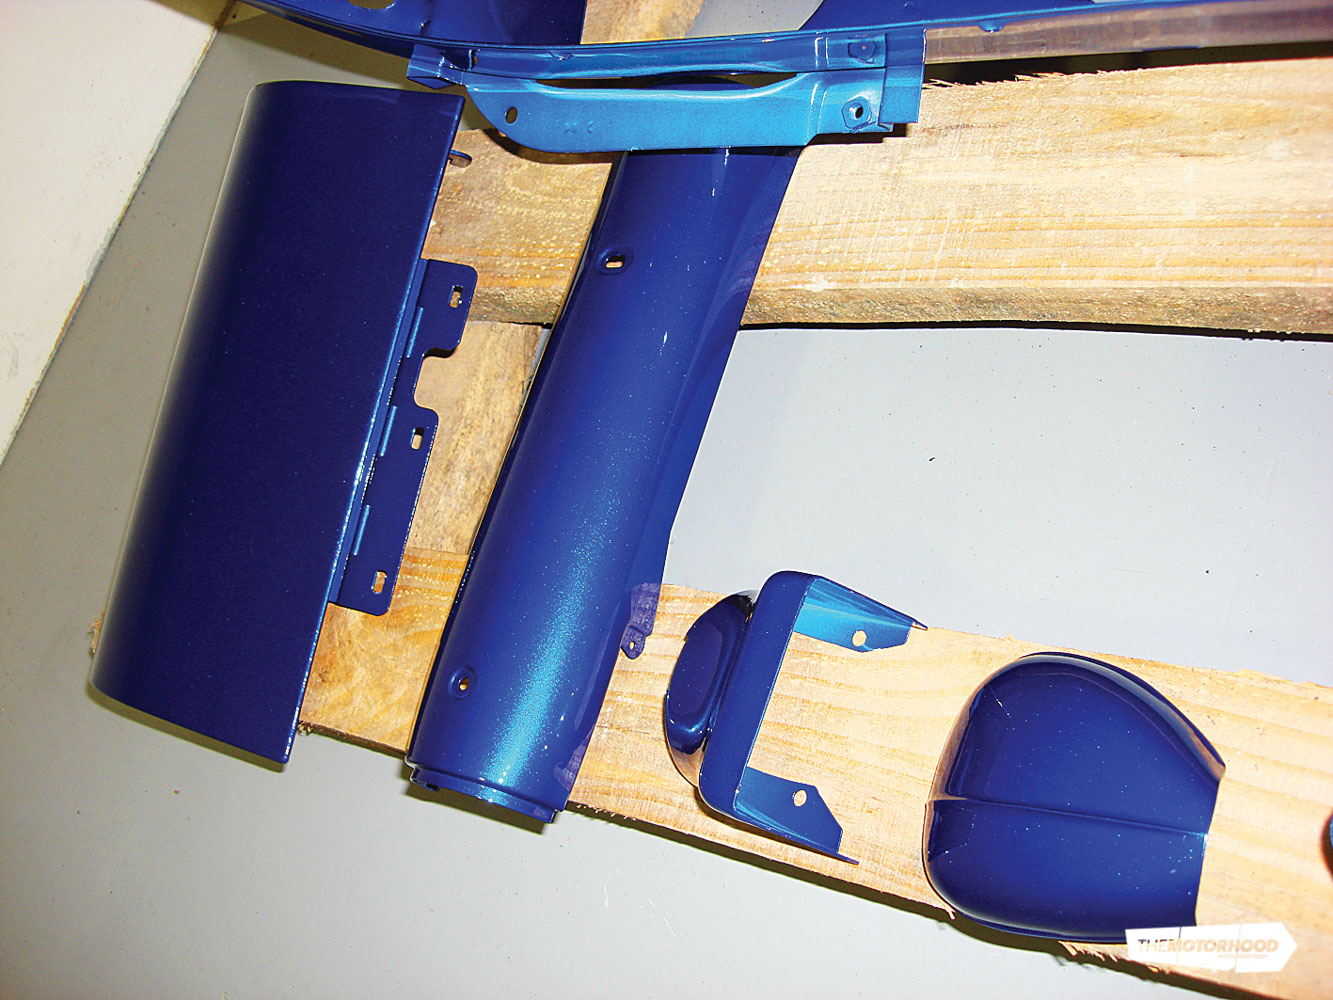
Whilst still wet, the items are then rinsed under a hose with fresh water. The colour of the remaining surface rust will notably change as it is neutralized. Once dried, the items are ready to go through the painting process as per everything else.
Engine accessories
With the engine bay and engine itself painted, there were still a few parts that were letting the side down: the pullies on the front of the engine being the main one. Rather than boring old black or silver, we decided to try something different, and use a shadow-chrome style of DuPont paint. The product is called DuPont Alloy Silver and gives a very unique finish — perfect for an application such as this.
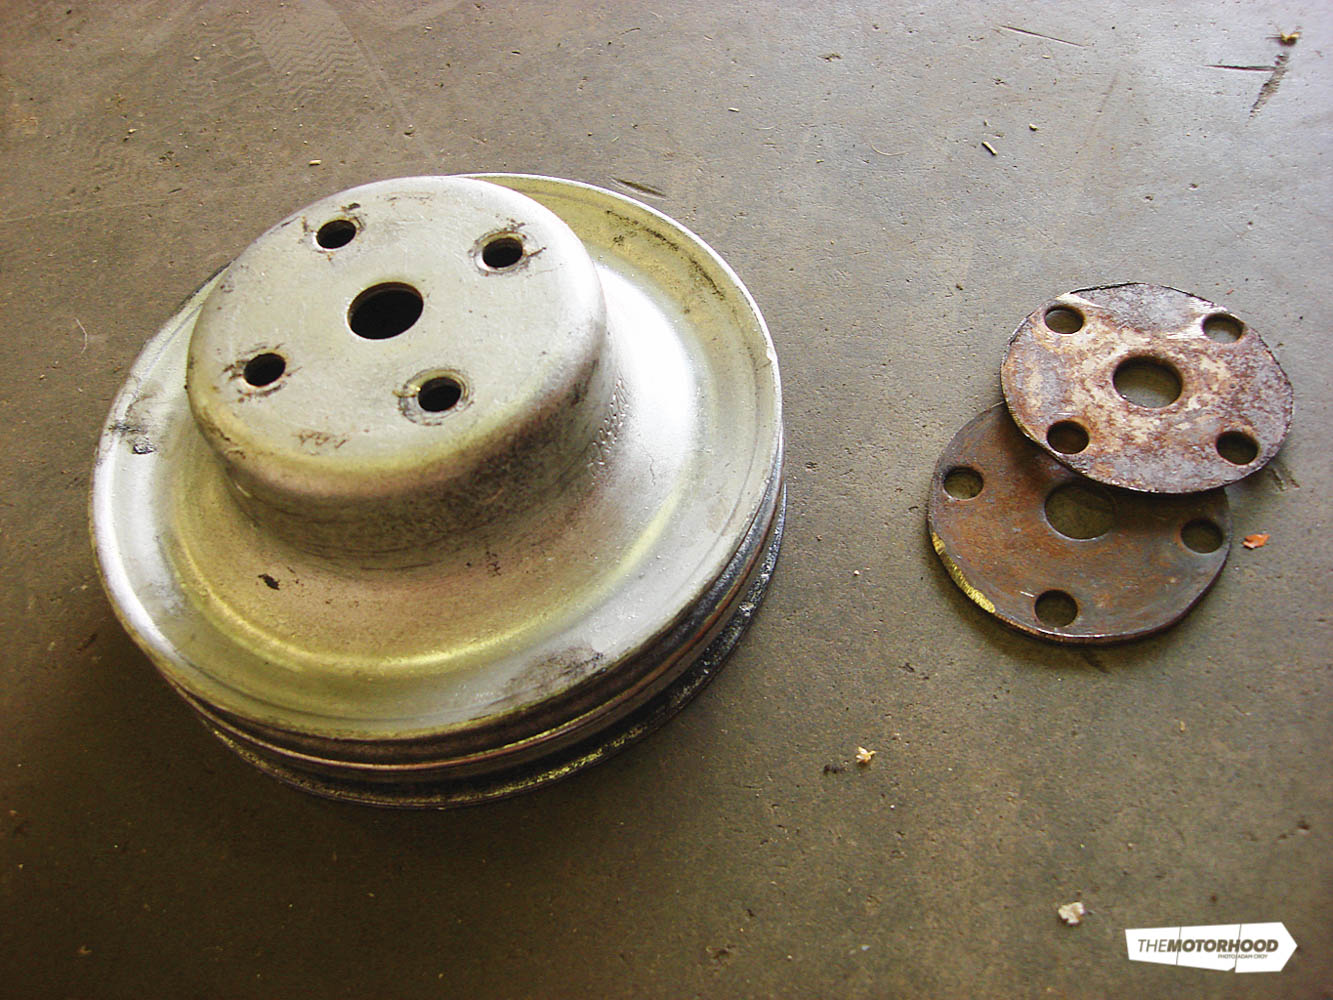


First, SodaBlast NZ blasted all the old paint and debris off the pullies, as because of their shape sanding is impractical and you’d be trying to do so for hours, and would never get the finish to as high a quality as what blasting can do. The cleaned items are then primed with DuPont 840R VOC epoxy primer (mixed 4:1:1 1/2, four parts primer, with one part activator and 1 1/2 part thinners) and left to dry for an hour.
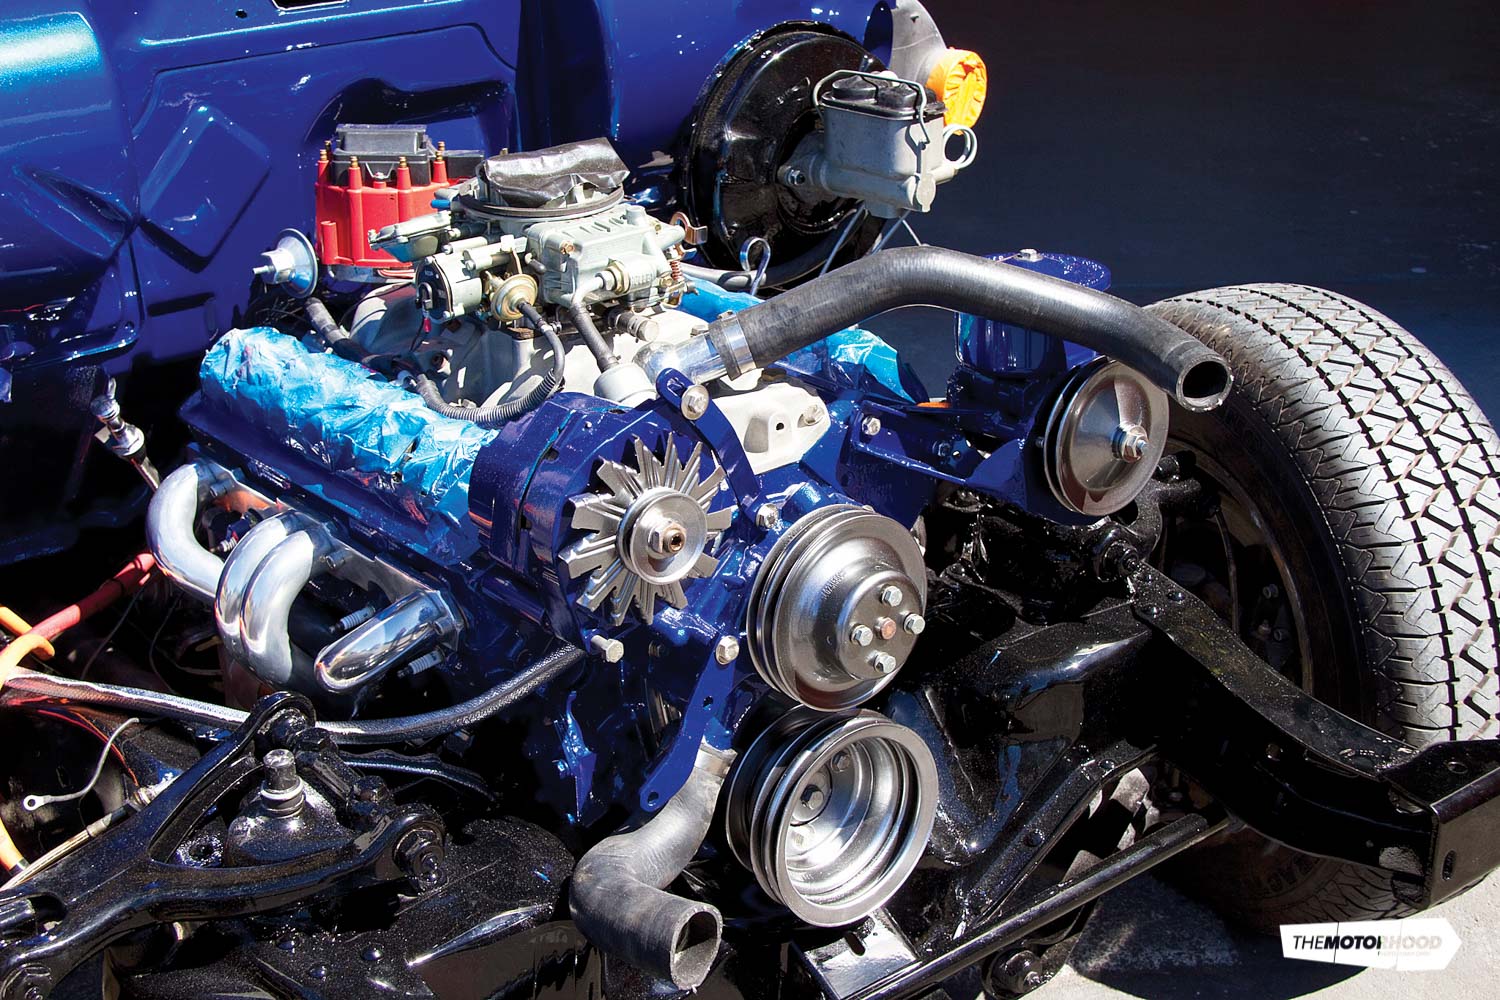
Then DuPont HDC black is sprayed straight over (3:1:0.6) with no prep and left to dry for a further four hours. Next up is the Alloy Silver itself, which is applied in three to five light coats directly to the unprepared shiny surface; it’s thinned at 1:1 with no hardener added. Then finally, as per all other parts, more DuPont 3050S Chromaclear was used to create a hard-wearing and lustrous shine.
Plastic parts
On a car like this there’s not too many plastic parts, but as soon as we’d reassembled the engine with its perfectly painted block and beautifully finished DuPont Alloy Silver pullies and accessories, there was one part that was staring us in the face needing paint, and that was the bright red distributor cap.
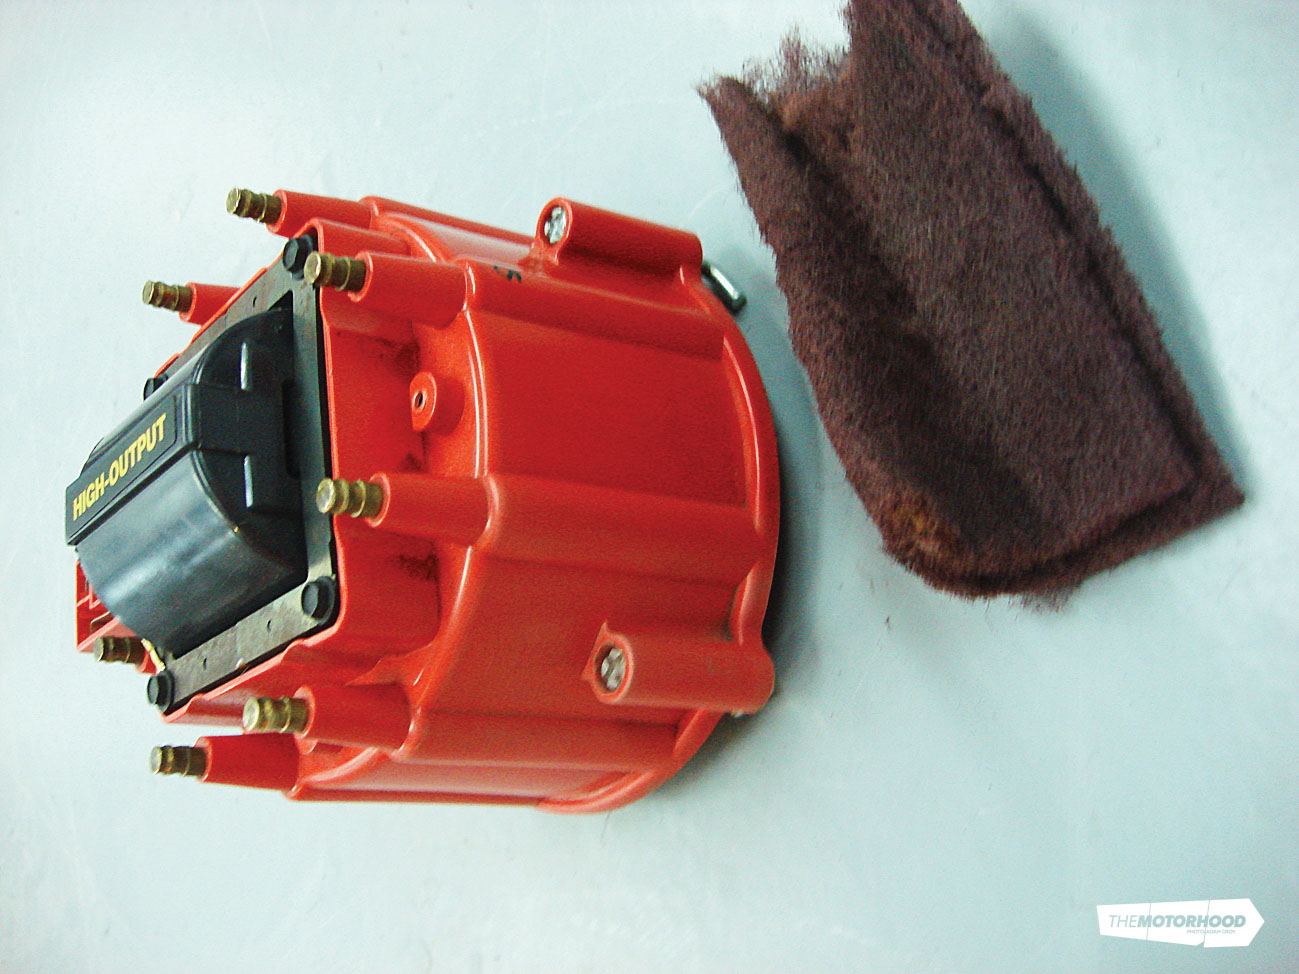
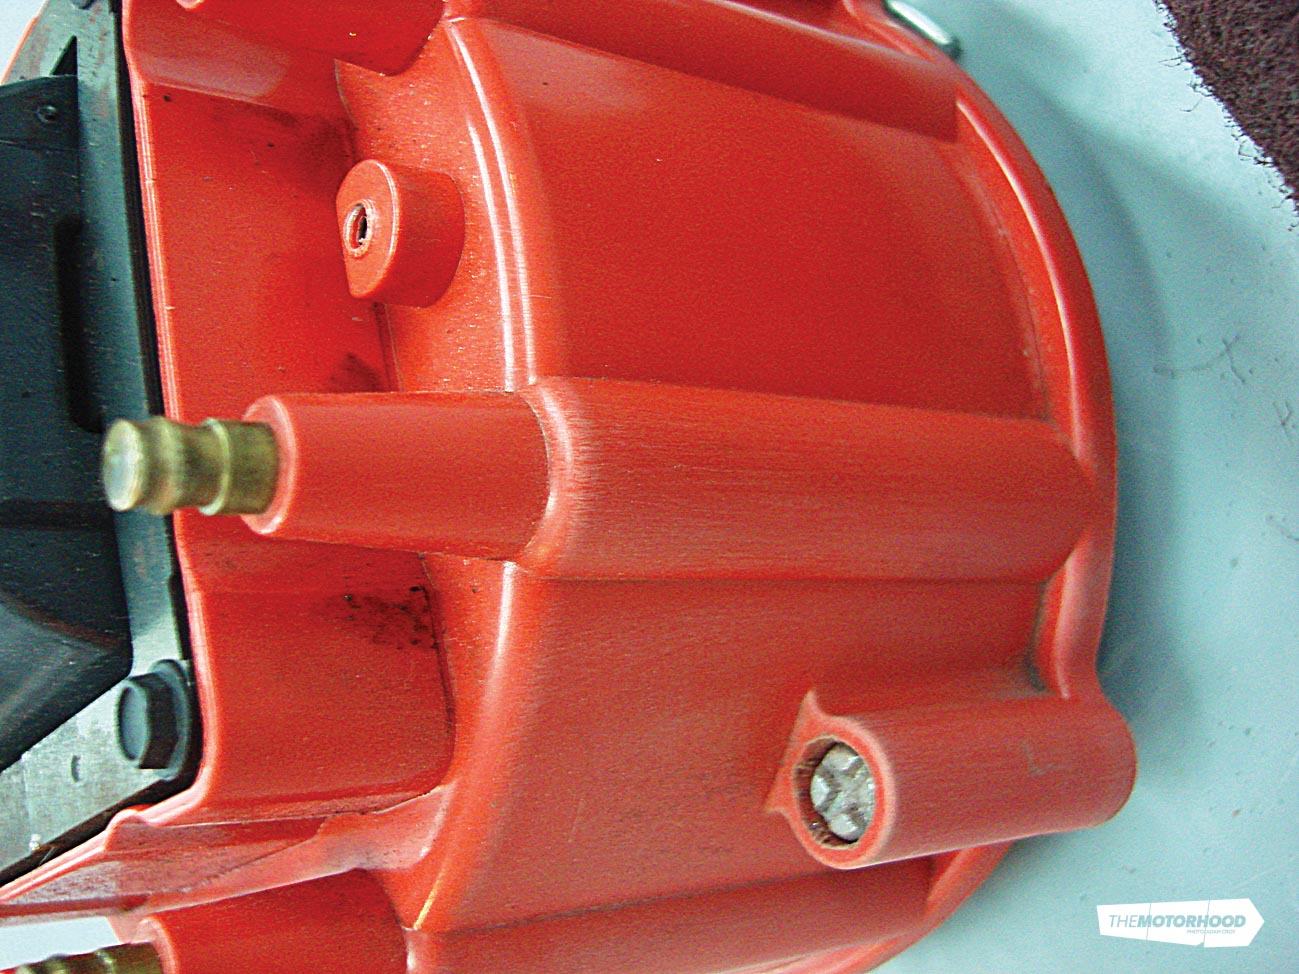
When painting plastics, ensuring adhesion is the biggest concern, especially with an odd-shaped part such as this. The trick is to make sure you scuff the surface to provide the primer something to stick to. For this, the best thing to use is a Scotch pad, as while it scuffs, it does not leave deep gouges as sandpaper would.

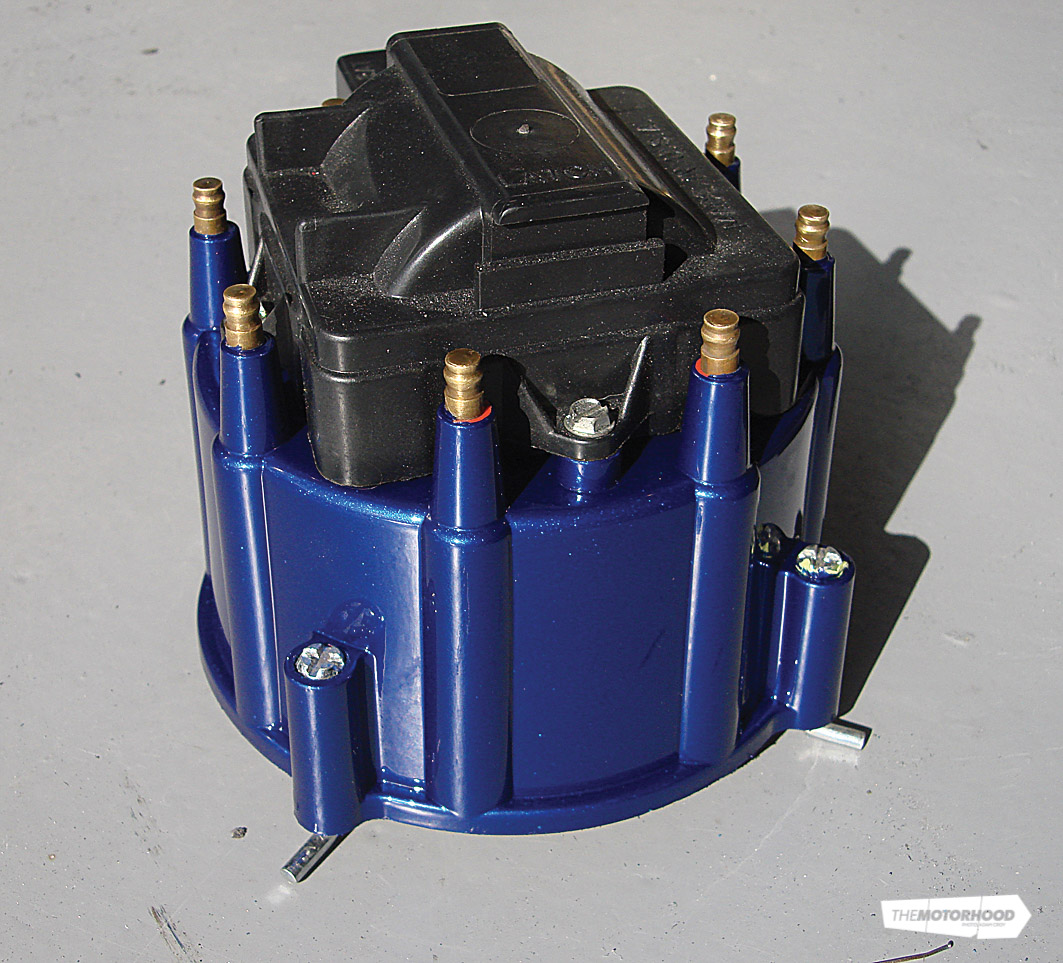
With the DuPont paint system using separate binders for different materials, the process from there on was simple. Rather than a traditional primer, a coat of DuPont 800R Plastic Adhesion Promoter is sprayed onto the item. After a five-minute flash-off time, it’s ready to paint with the already-mixed colour, and clearcoated with the DuPont Chromaclear as per the rest of the vehicle. It’s only a small amount of work, but it makes a huge difference in a vehicle like this, where all other surfaces are painted.
Chassis
With the engine painted, and the firewall and inner guards already done in the previous issue, the chassis was now looking well and truly out of place with its 1956 paint job. Rather than go to the extent of painting the chassis the same colour as the body, the decision was made to instead go with good old, reliable black.

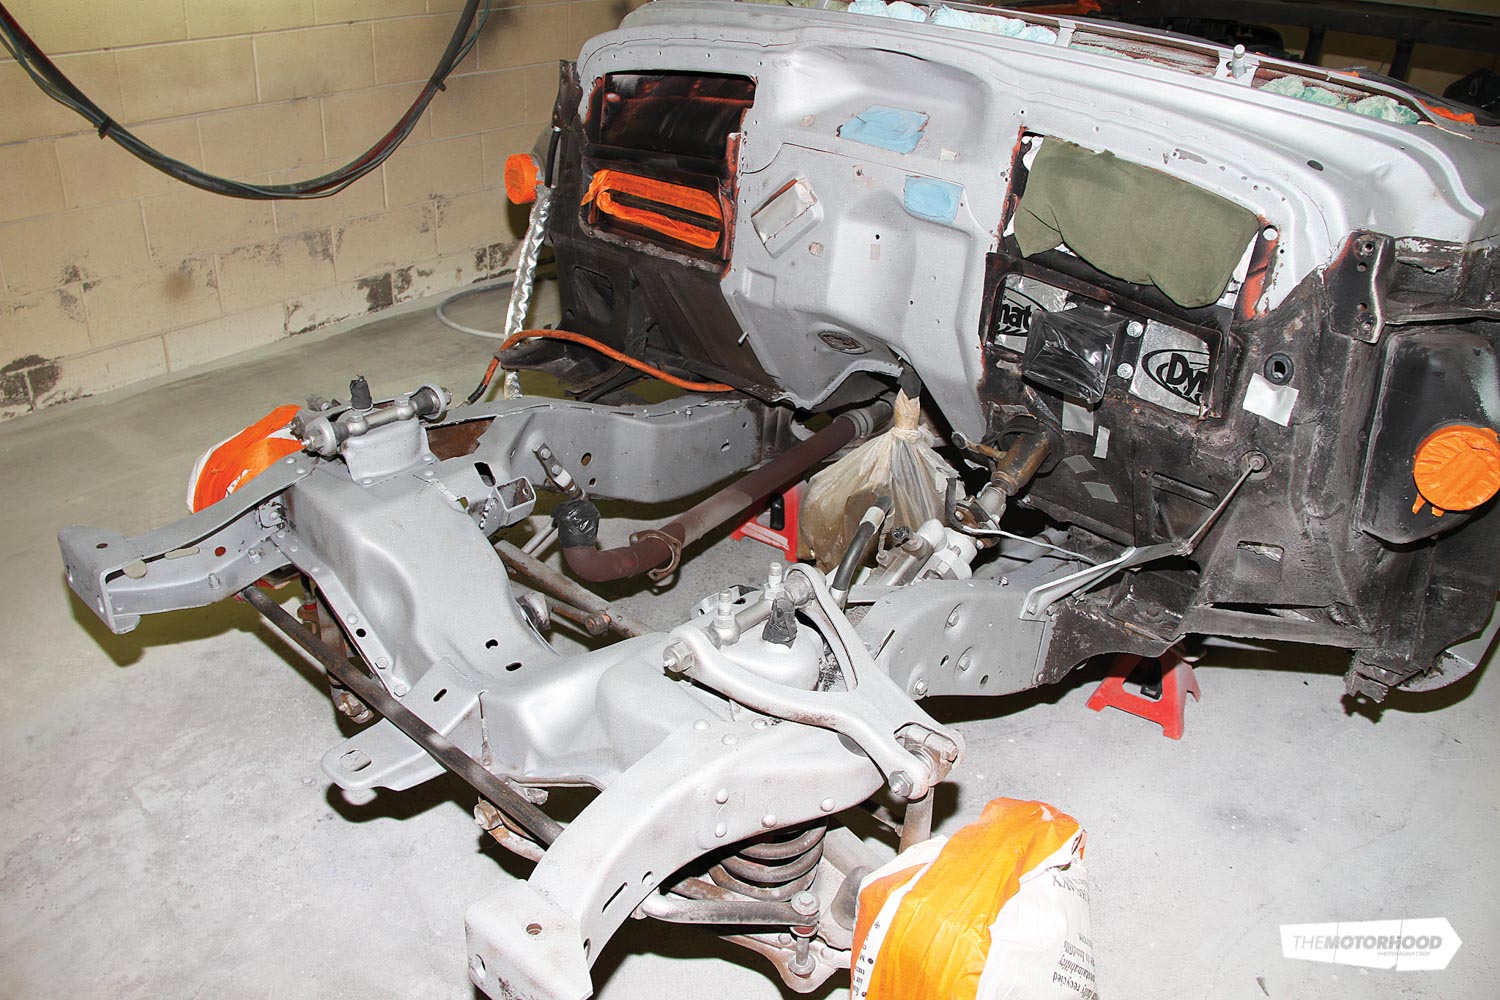
With this in mind, we had Soda Blast NZ blast the chassis with an abrasive glass-based media when they were doing the exterior of the car. The thick, old black paint and over 50 years of grime came off remarkably well, exposing bare steel — the perfect starting point.
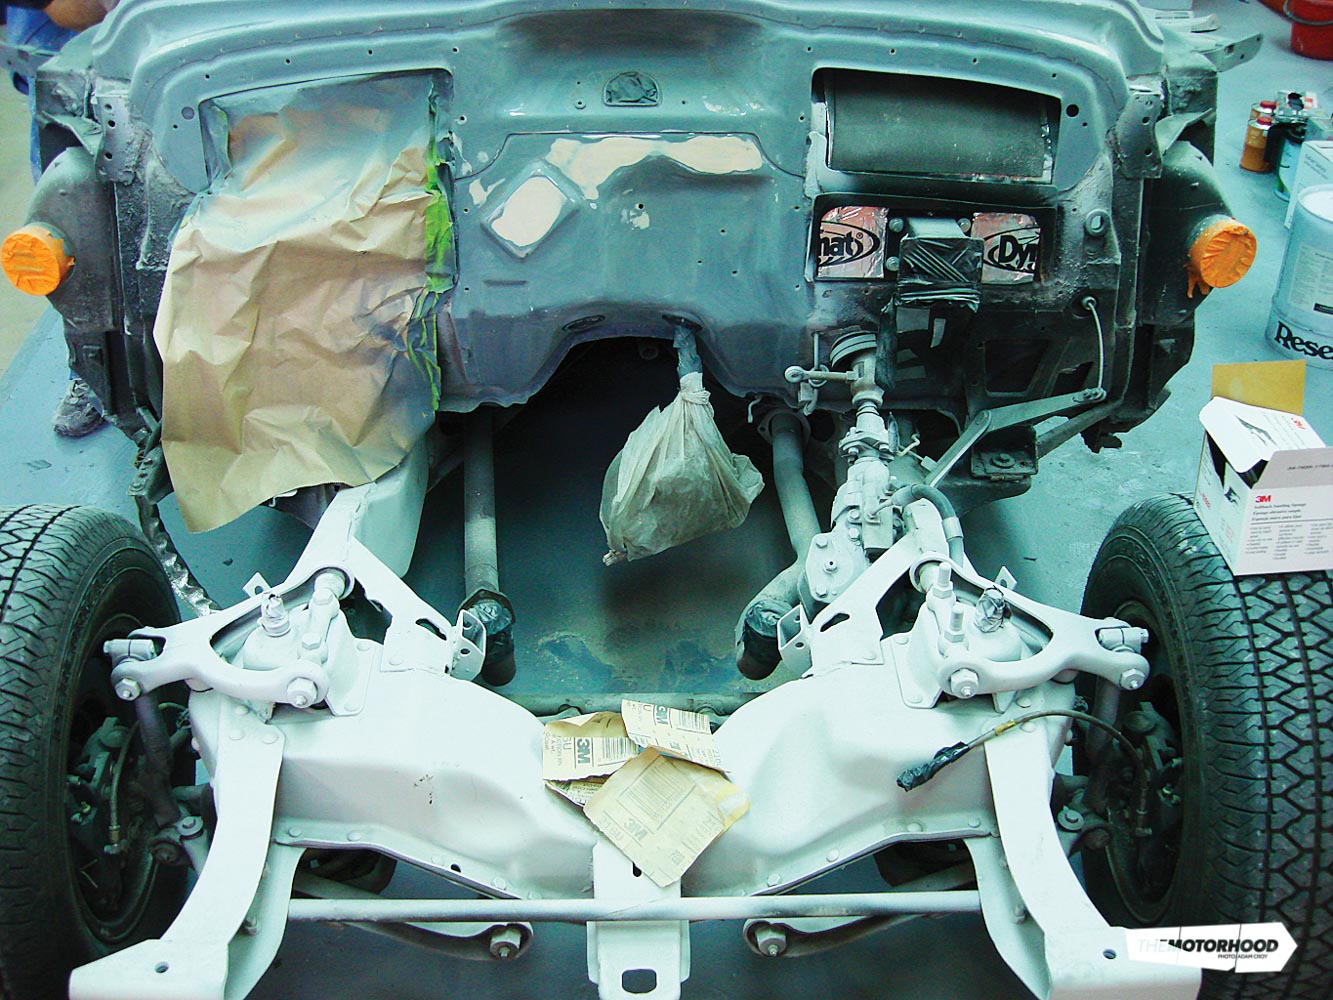
DuPont 840R VOC epoxy primer was sprayed over the blasted areas before the vehicle was exposed to any moisture, as even a tow truck trip across town with bare steel could potentially create disastrous results later on. While not having to worry about high temperature, the chassis’ paint needs to be extremely strong to cope with the various rocks and debris that will pummel it when on the road.
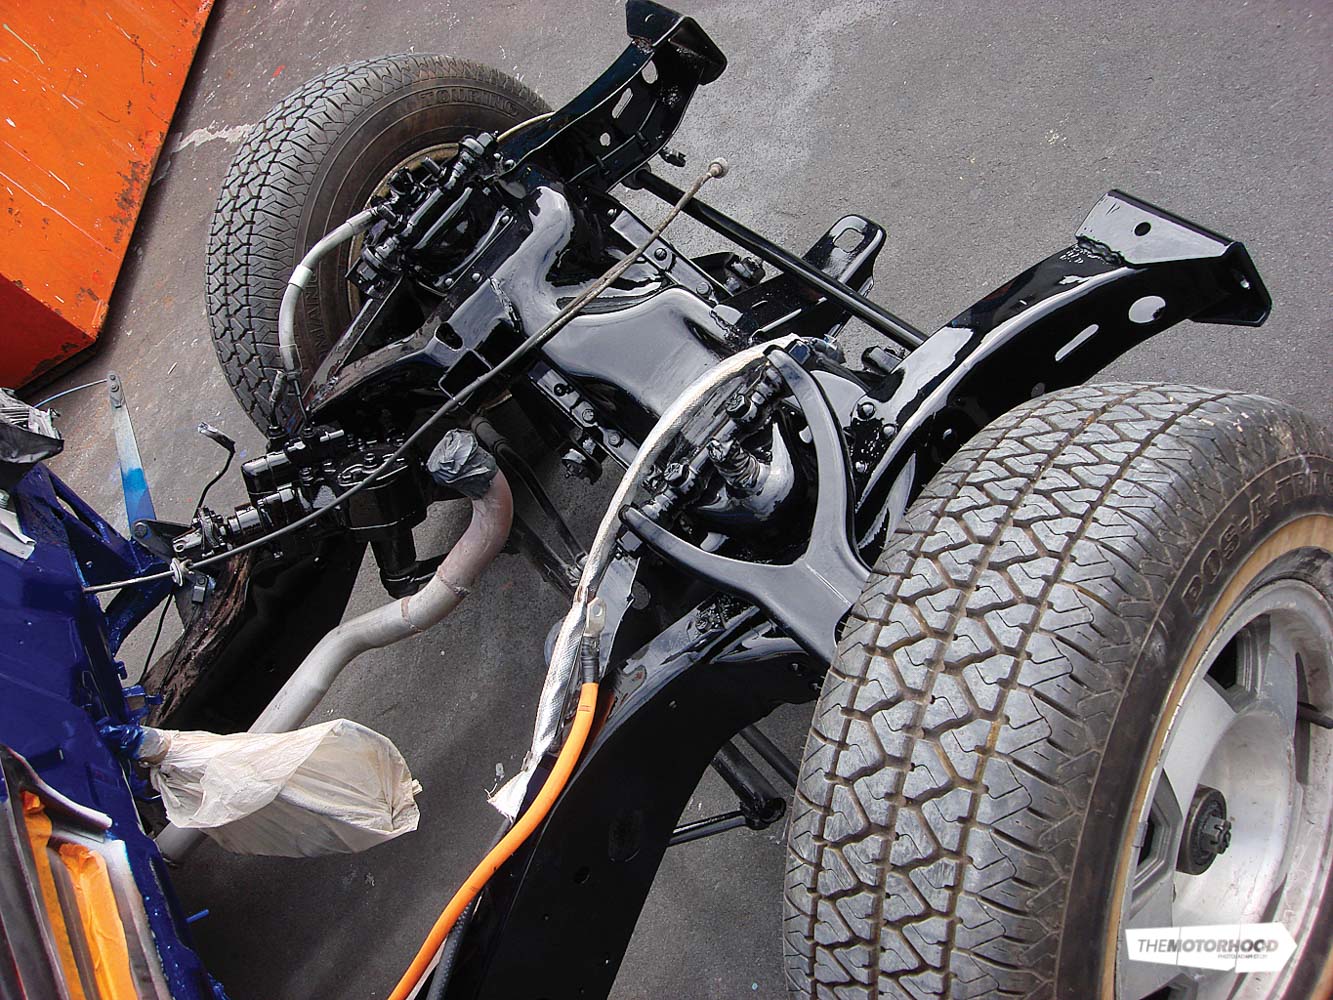
DuPont Heavy Duty Coating (HDC) is used in these situations, and the black is mixed with a hardener at a ratio of 3:1 and thinned for spraying. With the thickness of the paint, it’s relatively hard to go wrong, and easy for even the most novice of painters to achieve a decent run-free finish. Of course, it does need to stand for a day or two before you set about fitting anything back onto it.
Once again, a big thanks must go to New Zealand’s supplier of DuPont Refinish products, Resene Automotive & Light Industrial (RALI), for their help with this project. You can find out more about the DuPont Refinish range of products and locate stockists near you on their website, www.rali.co.nz.
This article was featured in NZV8 Issue No. 87 (August 2012).