
data-animation-override>
“Think that painting a car just involves sanding it back and blowing it over? Think again, as there’s a whole lot more to it than that!”
With money tighter than ever these days, the thought of taking the cheap and easy option when it comes to paint jobs is one that probably many people have had. However painting a car is the perfect example of a ‘you get what you pay for’ scenario, and sure, while your mate around the corner may offer to do it for bugger all, you can bet you’ll end up with orange peel, wavy body lines and a miserable final finish complete with swirl marks, sanding lines and plenty of contamination.
Doing the job properly takes a ton of preparation and care before the final paint scheme can even be considered. Sure, it all takes time, but if it’s done right the paint will not only last, but significantly add to the car’s value and appeal.
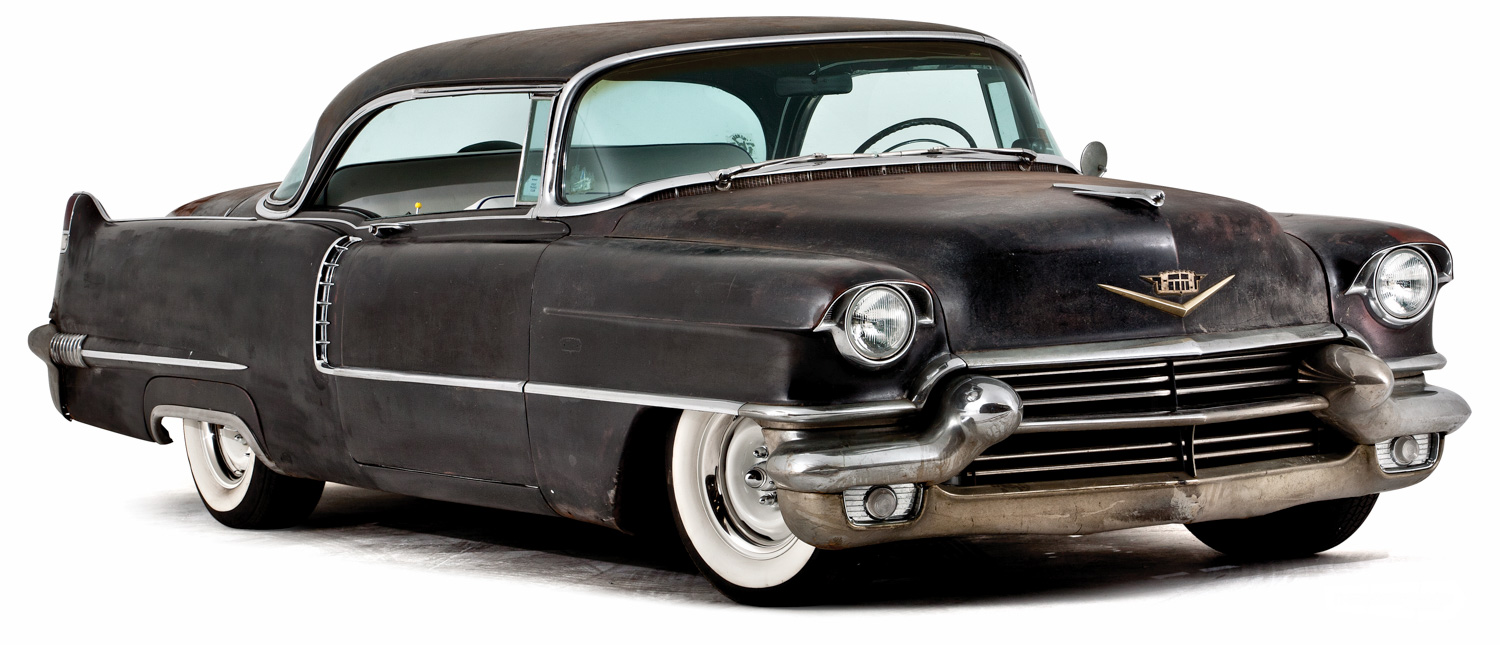
When it came time for the 1956 Cadillac that the NZV8 team cruise around in to be repainted, we decided to follow the process step by step, and over the next few issues we’ll take an in-depth look at what’s involved.
Resene Automotive and Light Industrial (RALI), who supply the DuPont Refinish range of products and are one of the country’s largest automotive paint suppliers, were looking for a vehicle to test some product on, so we were able to observe them while they undertook the complete paint job in-house at their DuPont Refinish Training Centre. Between RALI and a couple of other suppliers we got to utilise some of those products in the other stages of the process too.
One: The key to a great paint job is bodywork. Hours and hours and hours of bodywork.
In the case of the Cadillac, it started out as what people refer to as a ‘straight car’. Having come from California, it was severely sun burnt, but nice and dry and predominantly rust free.
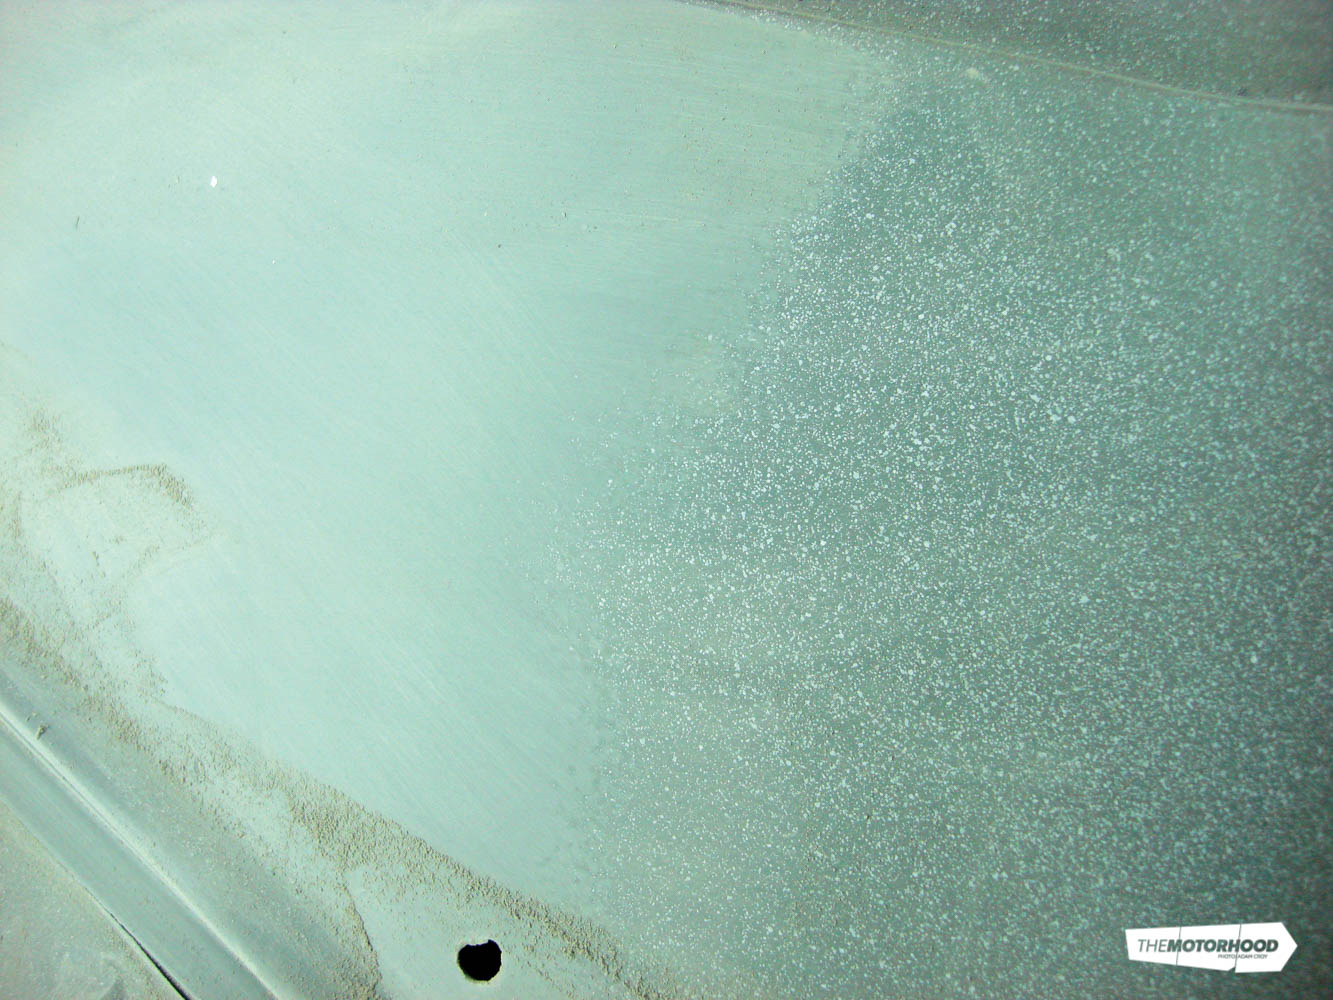
The problem the sunburn created was that since it had been rained on many times while on the road in New Zealand over the last few years, the ‘burnt’ areas were becoming pitted. This became obvious when the first step in the painting process took place. The theory is to sand back the existing paint, however it soon became obvious that only the high points were being hit, and the rust and grit stayed below the surface in the pits.
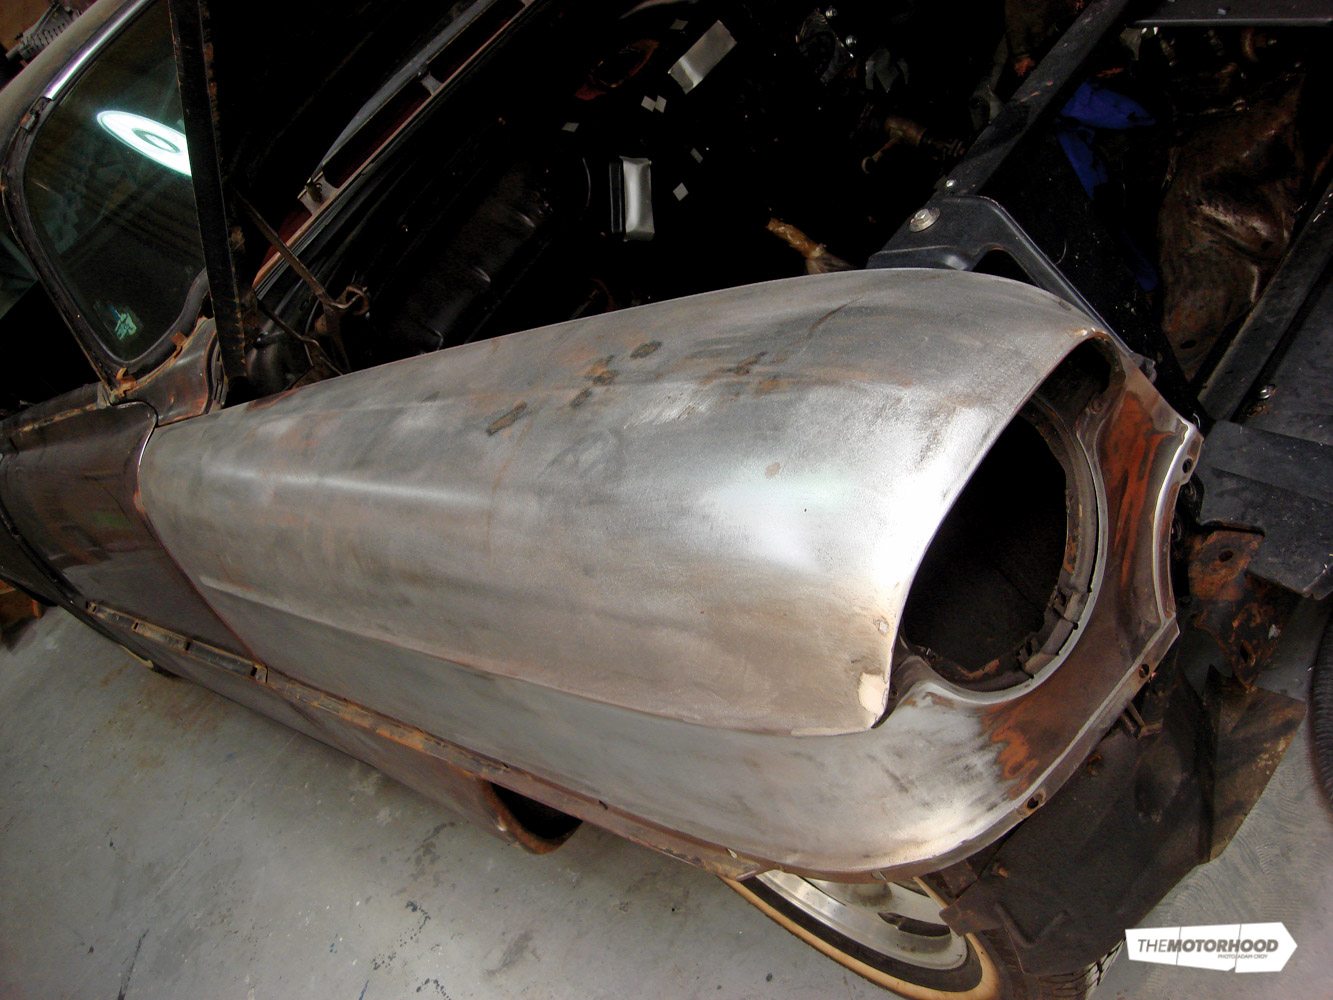
Two: While we could have continued and decided simply to go over the top of the pitting, in just a few years it would bubble and need to be re-done. There was only one option to get it done right, and that was to media blast the whole car.
Media blasting is a scary step to take, since it reveals the true condition of the metal — every rusty spot, gash, dent, and imperfection becomes visible. But that’s what you need to discover to end up with a good paint job that lasts.

Three: NZ Soda Blasting was responsible for the blasting work, using a special compound created from crushed glass. It’s not as abrasive as sand, so it doesn’t warp panels, but it’s stronger than soda blasting, and so it was perfect for what was required in this situation.

Four: The blasting exposed what we already knew — a repair through one rear quarter — as well as a few things we didn’t expect, which were patch panels in both lower rear quarters. Considering the car is 56 years old, it wasn’t bad at all.
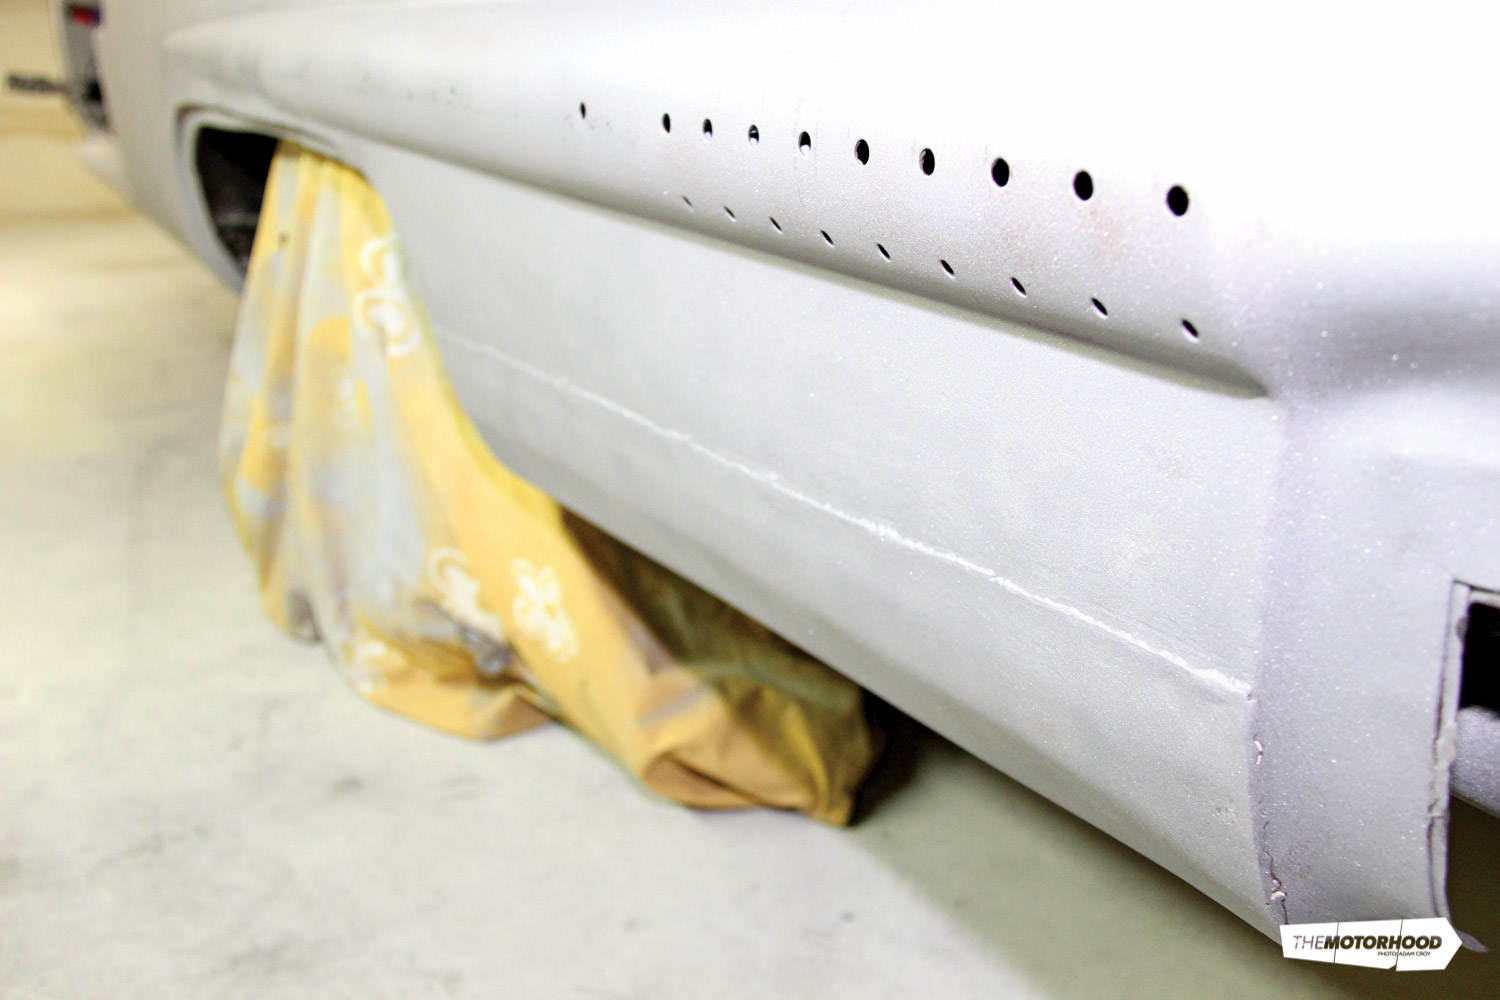
Five: The important thing with blasting is to prevent the bare steel from being exposed to the elements, so it must be covered straight away, as rust starts to form almost instantly, even say, during a 30-minute tow truck ride across town. As with painting over the pitting, if the body were left bare, even for the truck ride, it would be a recipe for disaster in a few years’ time.
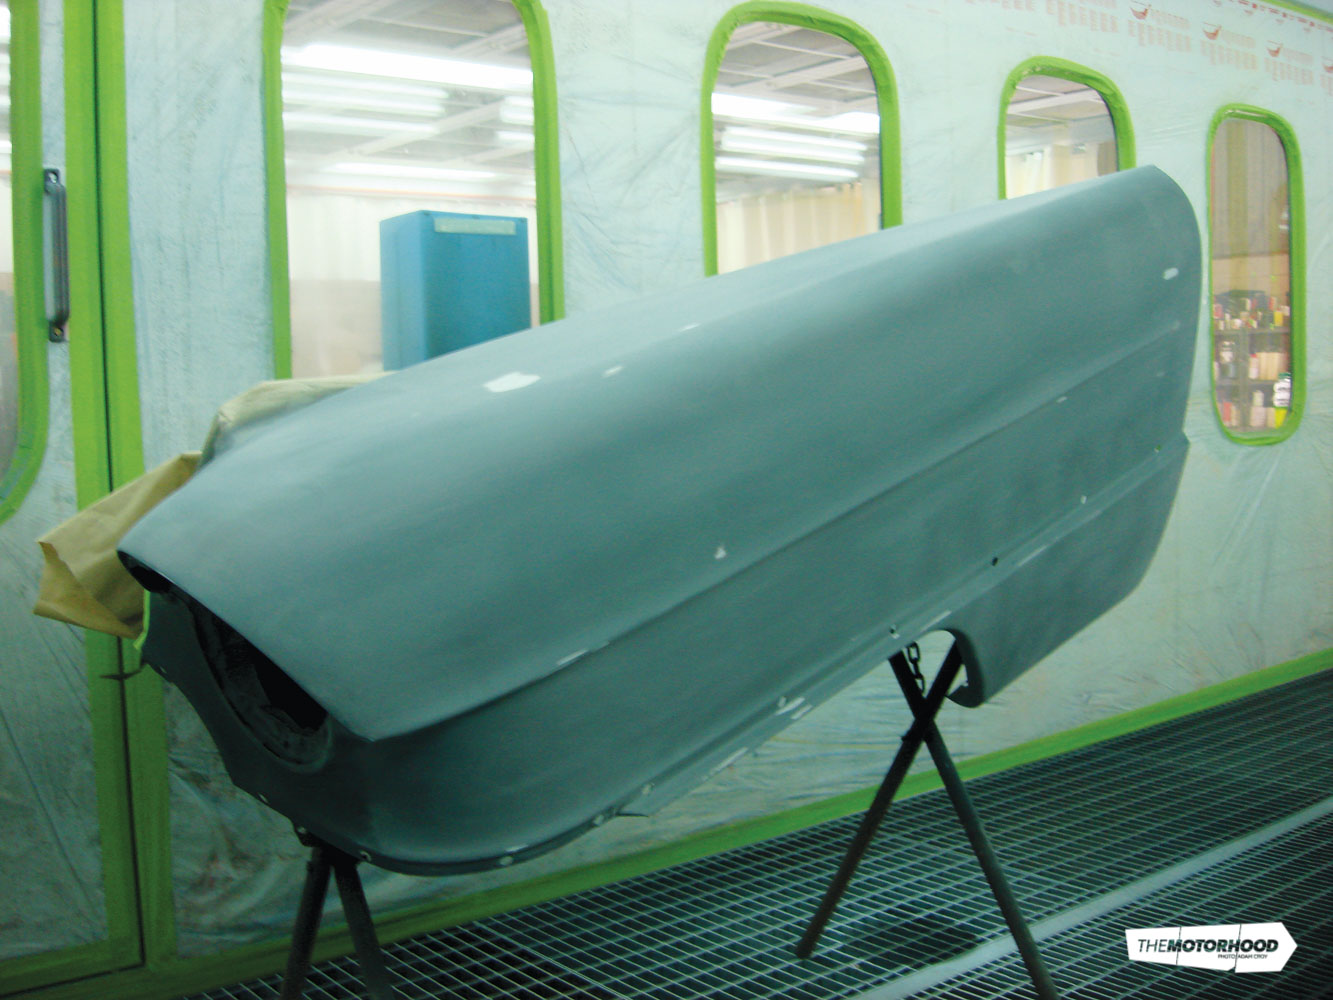
Six: Once all the blasting grit was removed and the body wiped with solvent, DuPont 840R Epoxy Primer was used to seal the steel, which was mixed to a ratio of 3:1:1 with hardener and thinners to ensure it dried nice and quickly and set solid as a rock. Although it gets sanded back, the key is to not have too bad a job here as it will only create more work further down the track, and there’s already plenty of work to be done, without creating more for yourself. The Epoxy primer is the foundation for the whole exterior paint, and if it fails, the whole paint job will too. The 840R offers excellent adhesion to bare steel and thanks to its high content of zinc phosphate it offers excellent corrosion resistance also.

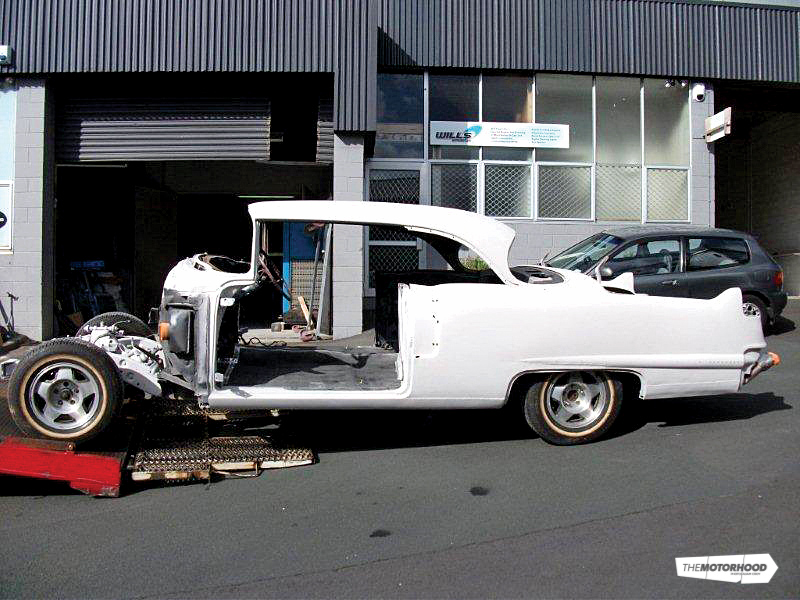
Seven: Once in primer the car was dropped to Boss Panelbeaters, who know their way around old cars and have a specialist ‘old school’ panel guy on staff just for projects such as this.
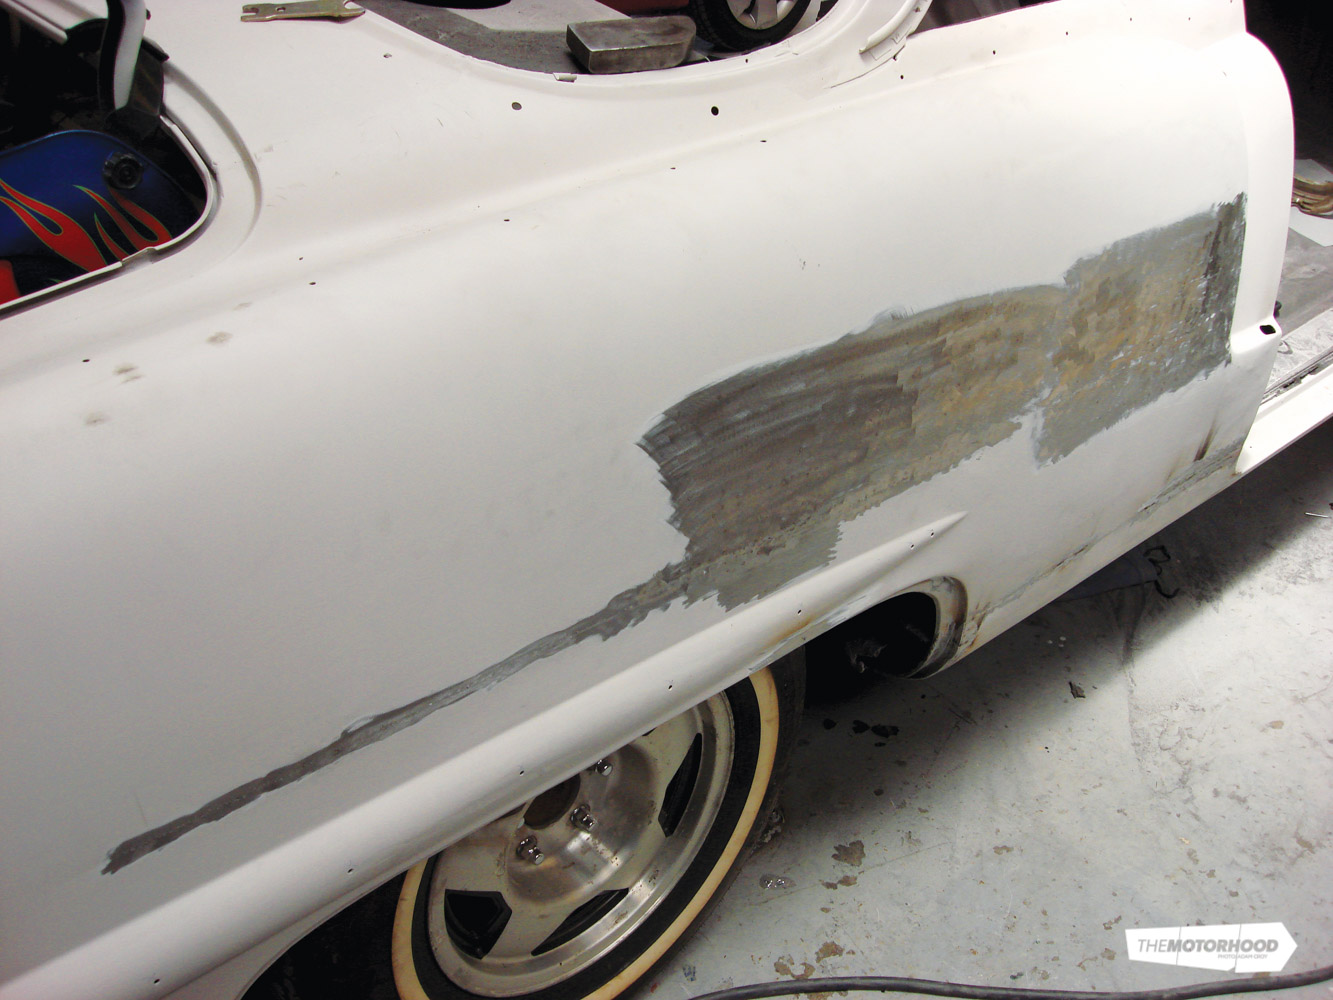
Eight: The repairs were fairly simple, although rather than bogged up, the metal was massaged back into shape as much as possible, with the least amount of filler used so as to ensure the car stays looking good for many years to come. Before it was sent to the DuPont Refinish Training Centre, where the paint work would take place, it was once again sprayed in DuPont 840R primer to cover any bare metal patches.
It’s important to point out that body filler should only ever be applied over the top of a dried and keyed epoxy primer, rather than straight on to bare metal. The epoxy acts as an isolator, where as the porous nature of filler may allow for moisture to build up, resulting in a job that will deteriorate over time.
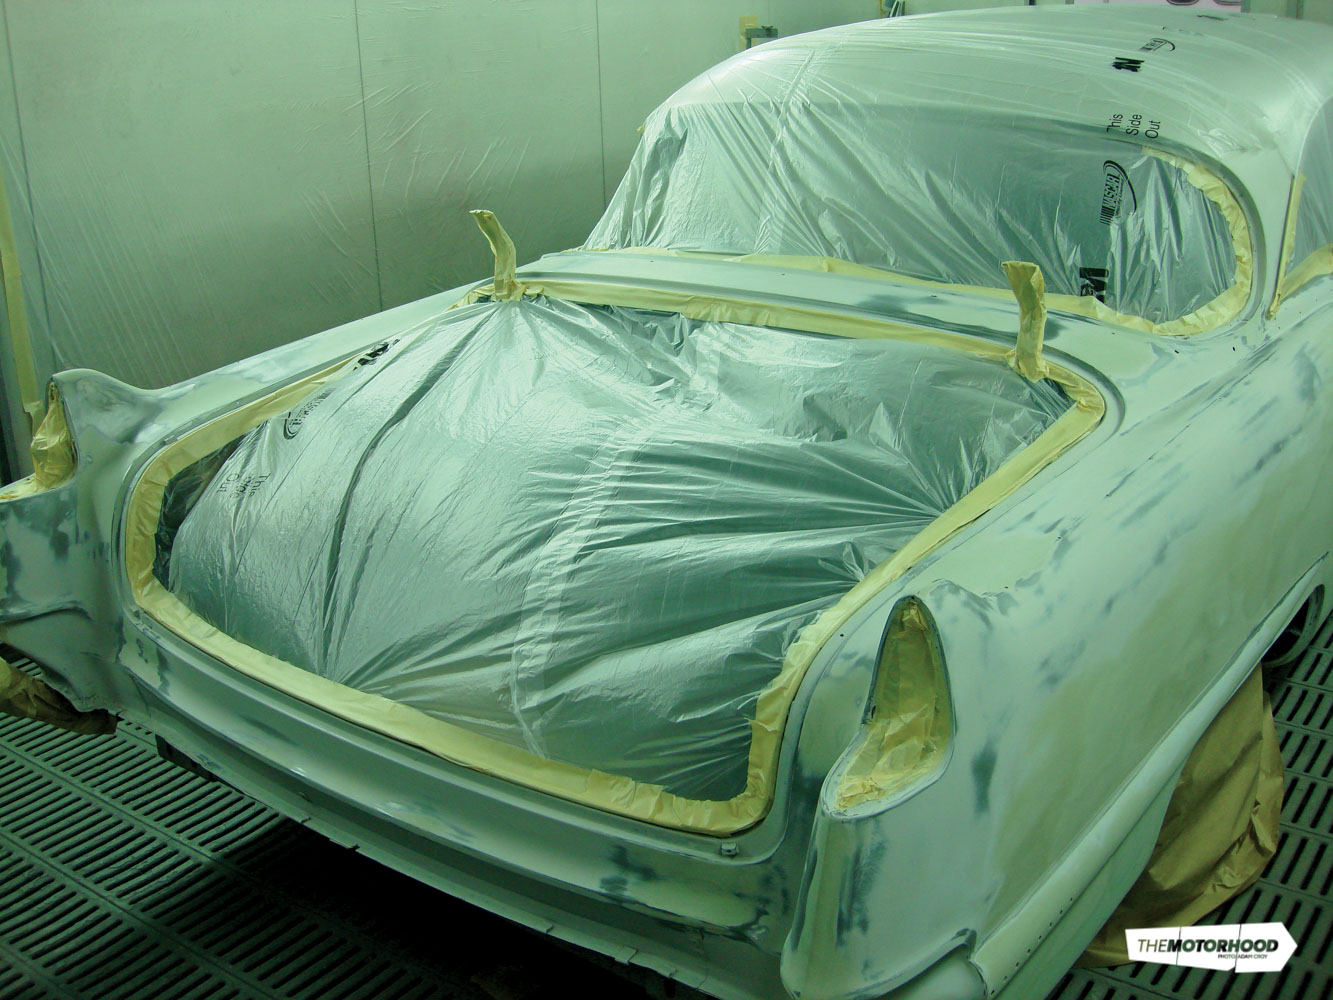
Nine: It’s here that the real work began. While the panel beaters got the car to a point that most people would consider to be straight, this is where the skills of a painter come into play. It’s what happens from this stage onwards that differentiates a quality job from one that will fall apart. Witnessing what it took to get the Cadillac from here through to being to ready to paint gave me a new appreciation for painters and those vehicles out there with a flawless finish.
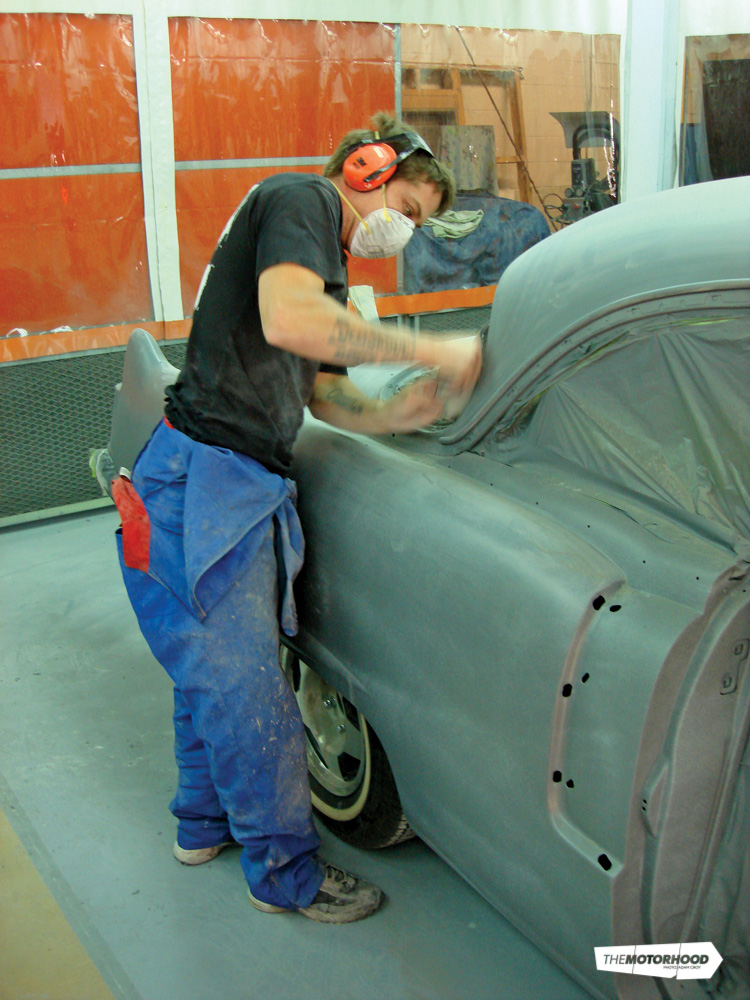
10: The first step the painters took was to sand the primer back, not breaking through the surface, but giving the primer’s surface a key for the next product that was being applied to stick to. While the panels were straight-ish, due to the size of them (the rear quarter panel is over 1.5m long) there were various high and low spots, which took hours and hours of hard work to bring back into line.
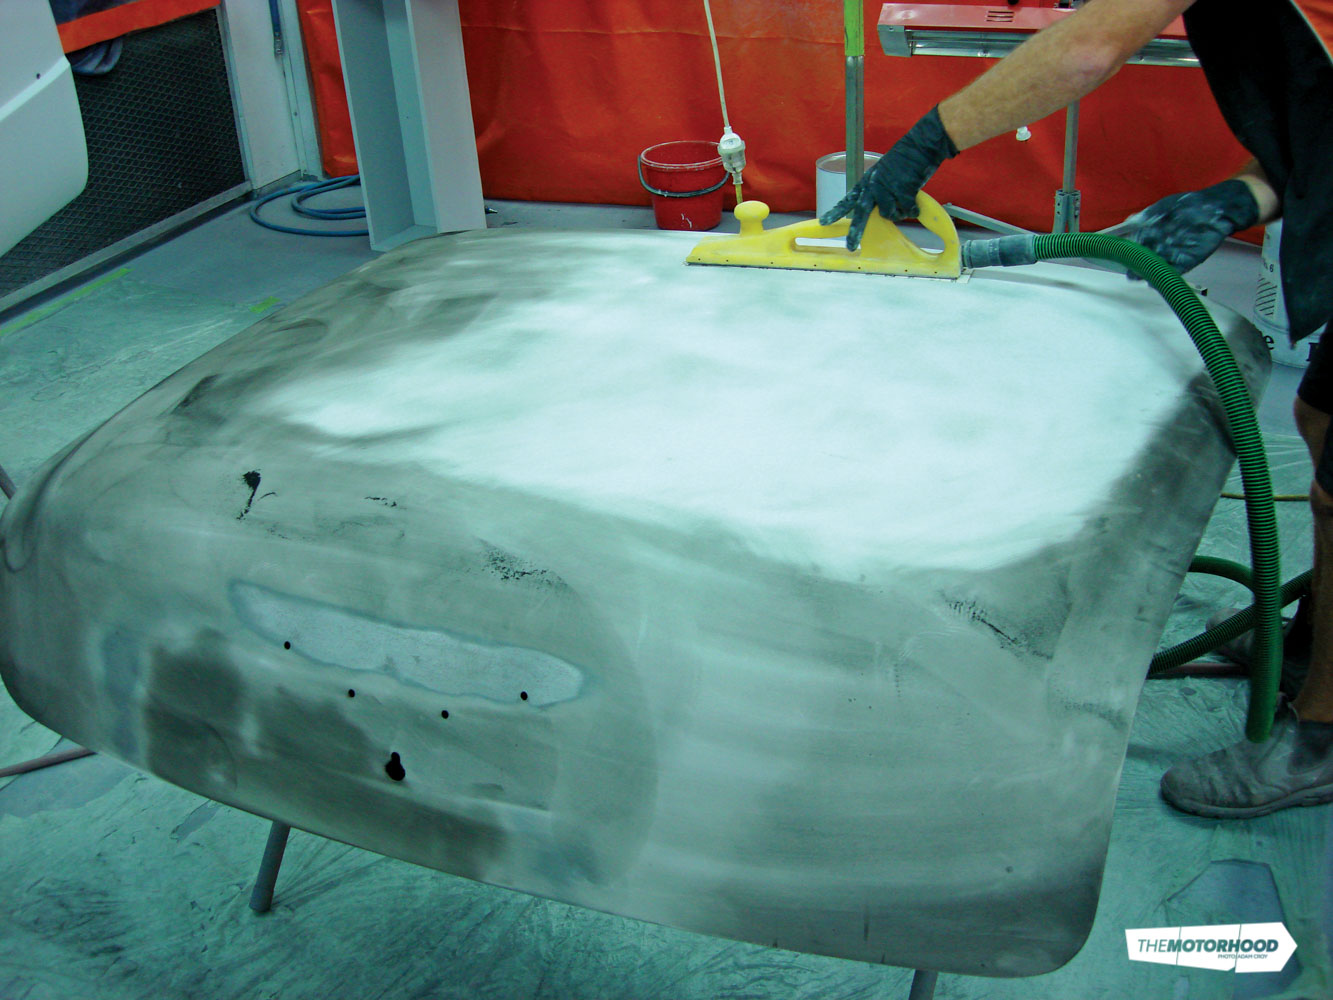
11: Wanting to get the smoothest body possible, a thick layer of DuPont 799R Spray-On Polyester Filler was applied over the sanded surface so any low and high points on the body’s surface could be seen more easily. The 799R gives a high film build but is easily sanded. Before spraying it’s mixed with five percent hardener, so it only has a pot life of around 20 minutes before setting solid. This allows the product to be sprayed at up to five coats at a time for a seriously high build. Because of its thickness, a large spray gun nozzle is required.
12: The guys then took to sanding the filler with long sanding blocks, cutting down any high points they found and noting any low spots in the finish.
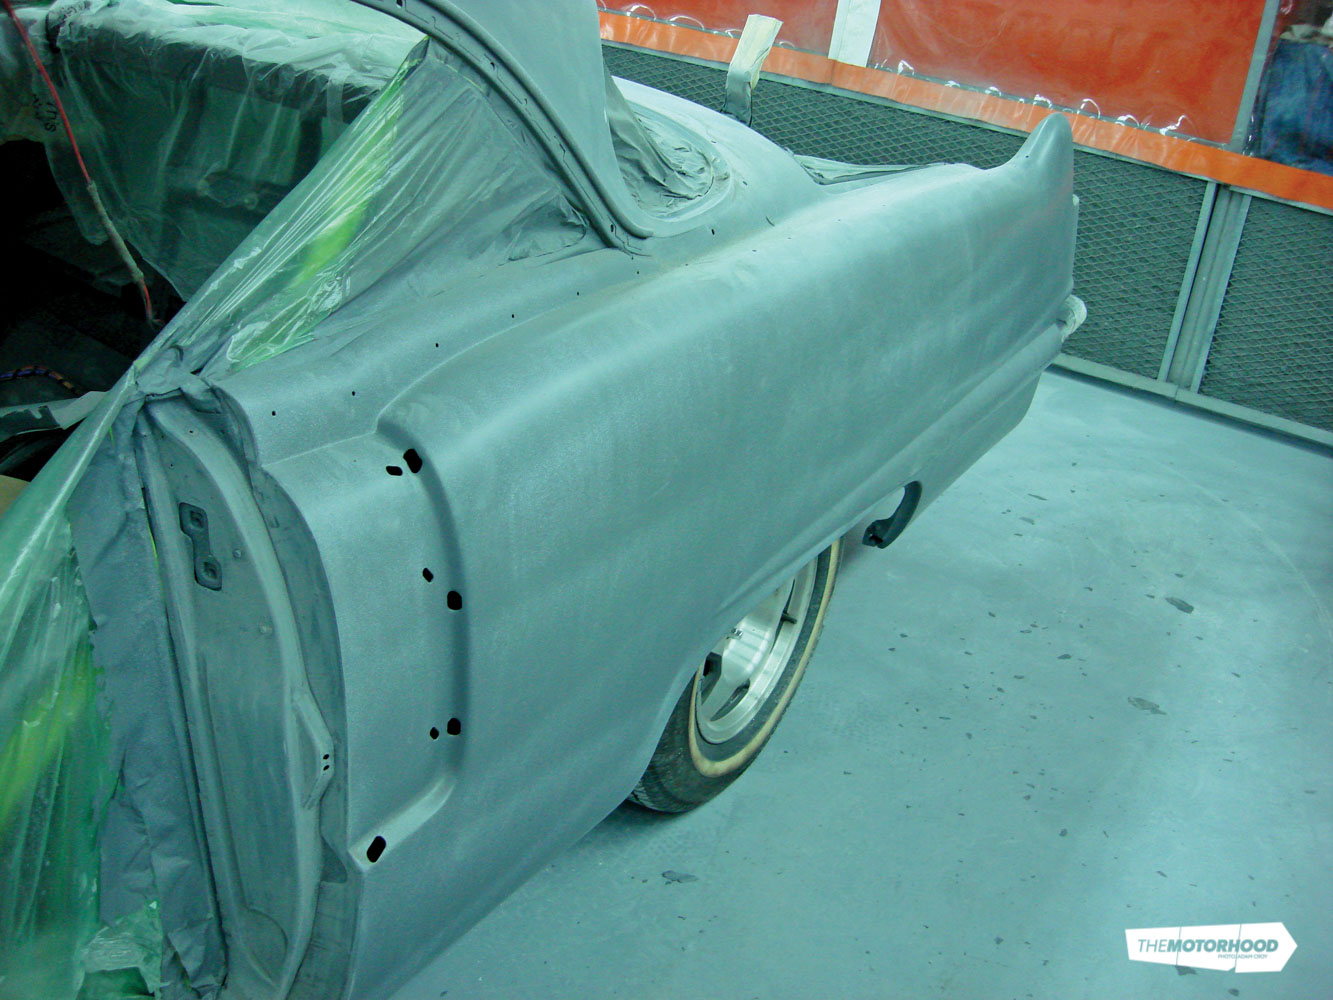
13: It’s hard to explain the effort that goes into this stage of the process. While it looks like not a lot changes, it is however by far the most important stage of any paint job. The rear guards saw plenty of blocking [sanding] taking place. To the naked eye, the car was remarkably straight after this stage, yet to the team of perfectionists at RALI, there was a long way to go, with the near 2m long rear quarters needing to be arrow straight to be at the required level of finish that the team were after.
With the big issues out of the way, it was time to really get into the detail side of things. It’s this part of the process that takes the bulk of the time, but also makes the biggest visual difference to any completed job. It’s never nice to see ripples in a freshly painted vehicle, and we can assure you, if you follow this process, you certainly won’t be able to.
To cover any bare metal areas created during the previous sanding, DuPont 840R Epoxy Primer is once again applied, however the mixing ratio is changed to 4:1:1.5 (with activator and reducer) rather than the previously used 3:1:1. This is so it can be used wet on wet or in non sand mode, meaning that as long as it’s had at least 30 minutes to dry it can be sprayed over with no sanding required.

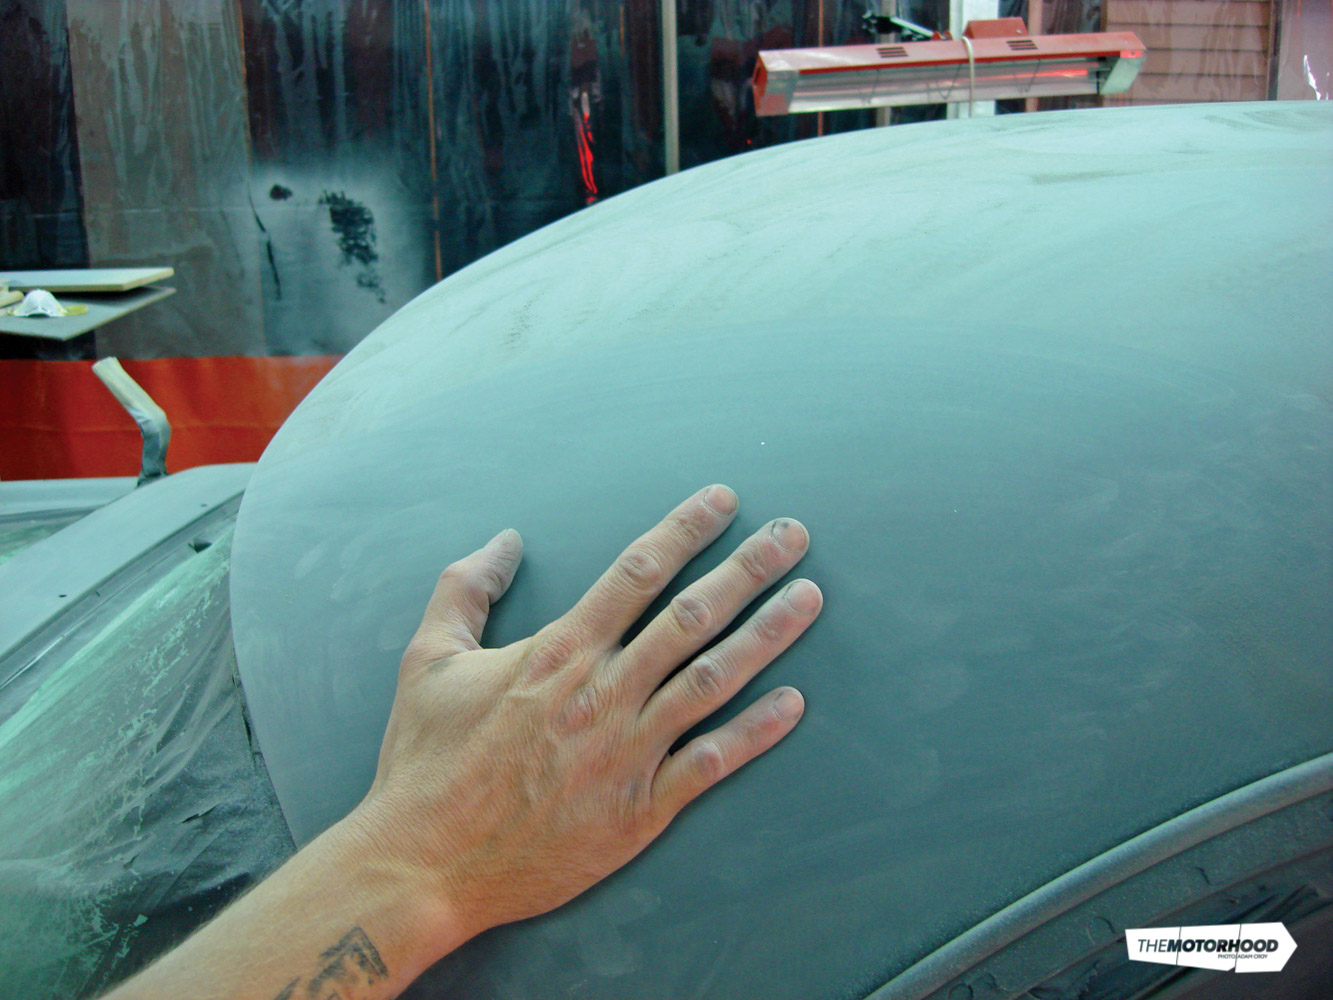
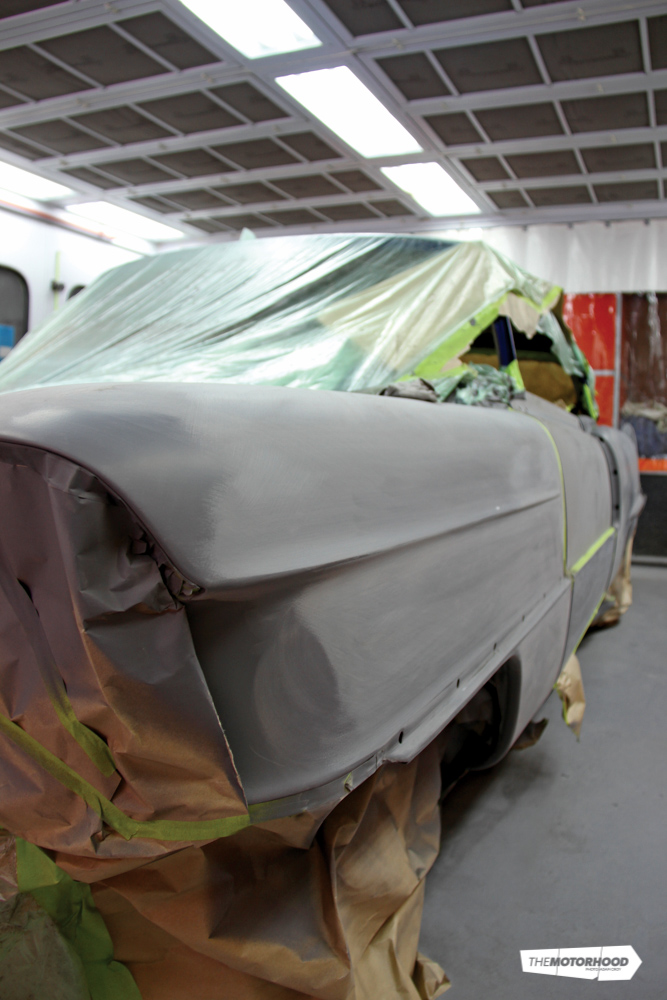
14(A): A high build primer is then applied in multiple coats and painstakingly blocked to perfection. With imperfections being invisible to the naked eye, a coat of 3M09560 Dry Guide Coat is applied after each time the primer is sprayed. The guidecoat is easily sanded off, and highlights any low spots due to its dark colour still being visible. This step is repeated over and over again until a flawless finish is achieved, and really is what separates a top-level finish from one with visible imperfections.
Where DuPont differs from all other paint companies is that their primers, such as the LE2005 that was applied next, are offered in ‘value shades’, a unique system developed by DuPont. The term value shade refers to how light or dark they are, and is a convention now used by nearly every new car manufacturer around the globe. The advantage of having different shades of primer is that fewer layers of topcoat are required to achieve the correct finished shade.
An easy way to explain how it works is by imagining every colour in black and white (or taking a photo and digitally changing it to black and white), with the shade of grey it corresponds to effectively being the value shade of primer that’s recommended. It’s a clever process, and one that can end up providing huge savings on the cost of product. The number ‘5’ in the product’s name (LE2005) indicates that it’s shade 5, just past halfway through the available range (1 being white, 7 being black), so you can assume from this that the final colour is just past halfway between white and black.
14(B): The LE2005 was mixed with XK206 slow hardener to a ratio of 7:1 and then reduced [thinned] with XB387 slow reducer. Up to three coats were applied, each being allowed to dry before the next went on. Once again, after each panel was deemed to be straight, a light guidecoat of 3M O9560 Dry Guide Coat was applied. A sand of this with a long block highlighted how straight the panels really were — or weren’t.
The blocking stage consumed countless hours, and around 20l of high build primer, which sounds like a lot, however, much of it was sanded off again during the process.
15: Although tedious, the multiple stages of priming, blocking and filling were needed to get the resulting amazing finish.

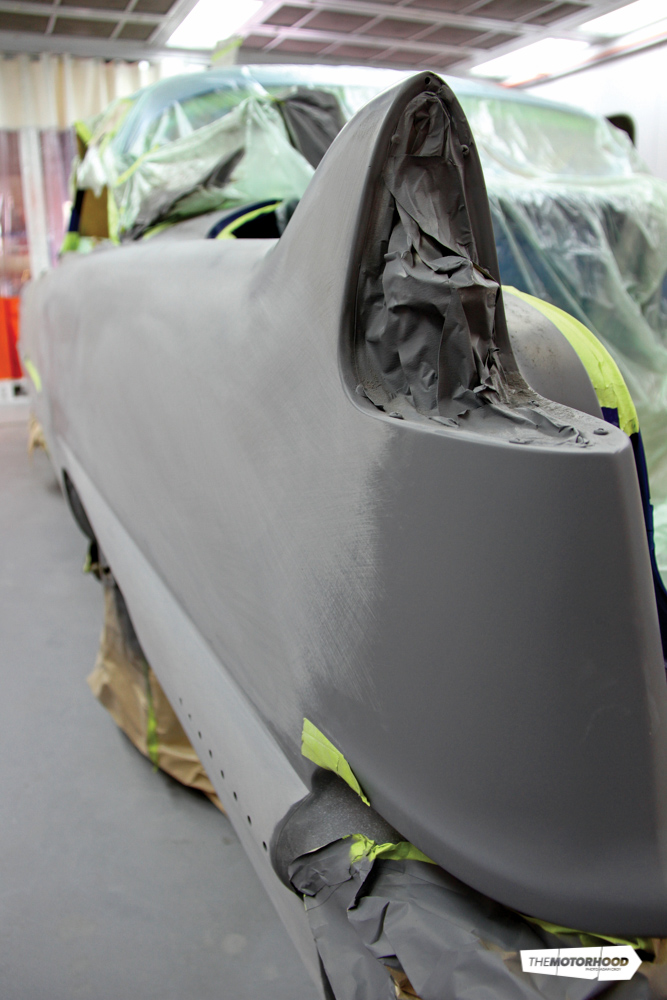
16: As well as the main surfaces of the panels, plenty of time was taken on sanding the intricate areas of the body, such as the doorjambs, and under the sills, as although they’re not seen very often, any imperfections below the paint surface may cause the paint to delaminate in the future.
17: The Cadillac’s body also has many strong swage lines, and great care was taken to ensure they remained dead straight even when layered with multiple thick coats of primer. The only way to ensure this is the case is to do the work by hand, as although machine sanding is quicker, the results gained by a passionate, well-trained professional doing it will always result in a far higher quality result.
So how straight did the RALI team get it and what happens next? Watch this space, we’ll be uploading the next stages of the process in the coming weeks.
This tech article was featured in NZV8 Issue No. 85 (June 2012). You can grab a copy here.