
data-animation-override>
“Simple metal-swaging ideas and inspiration to change the look of your ride”
More often than not, the details of a car project are as interesting as the end result. As we all know, there are a plethora of details to any build but it is craftsmanship and design that take a project from being “Oh, that’s nice” to “Wow – that’s really cool!”
A beautiful TIG weld or some funky sheet-metal fabrication are just two examples of what we are talking about. Another example is metal swaging, or bead rolling, panel work and sheet metal. Often seen on race cars featuring aluminium door panels and flooring, or custom projects with sheet-metal floors and wheel tubs, metal swaging or bead rolling can be a real case of form and function.
This article is not meant to be a technical how-to offering all the answers relating to metal swaging and bead rolling. It is a step-by-step description of how this writer, under the talented and watchful eye of Mike Roberts, brought two aluminium hot-rod interiors to life. For a first attempt, we are pretty happy with the results, but would also like to highlight the point that there are many ways to do any form of this work and, like most things, it all comes down to personal preference or taste. There are many different formers, or rollers, for doing any type of swaging you wish. In some cases, formers are custom made to suit a specific design.
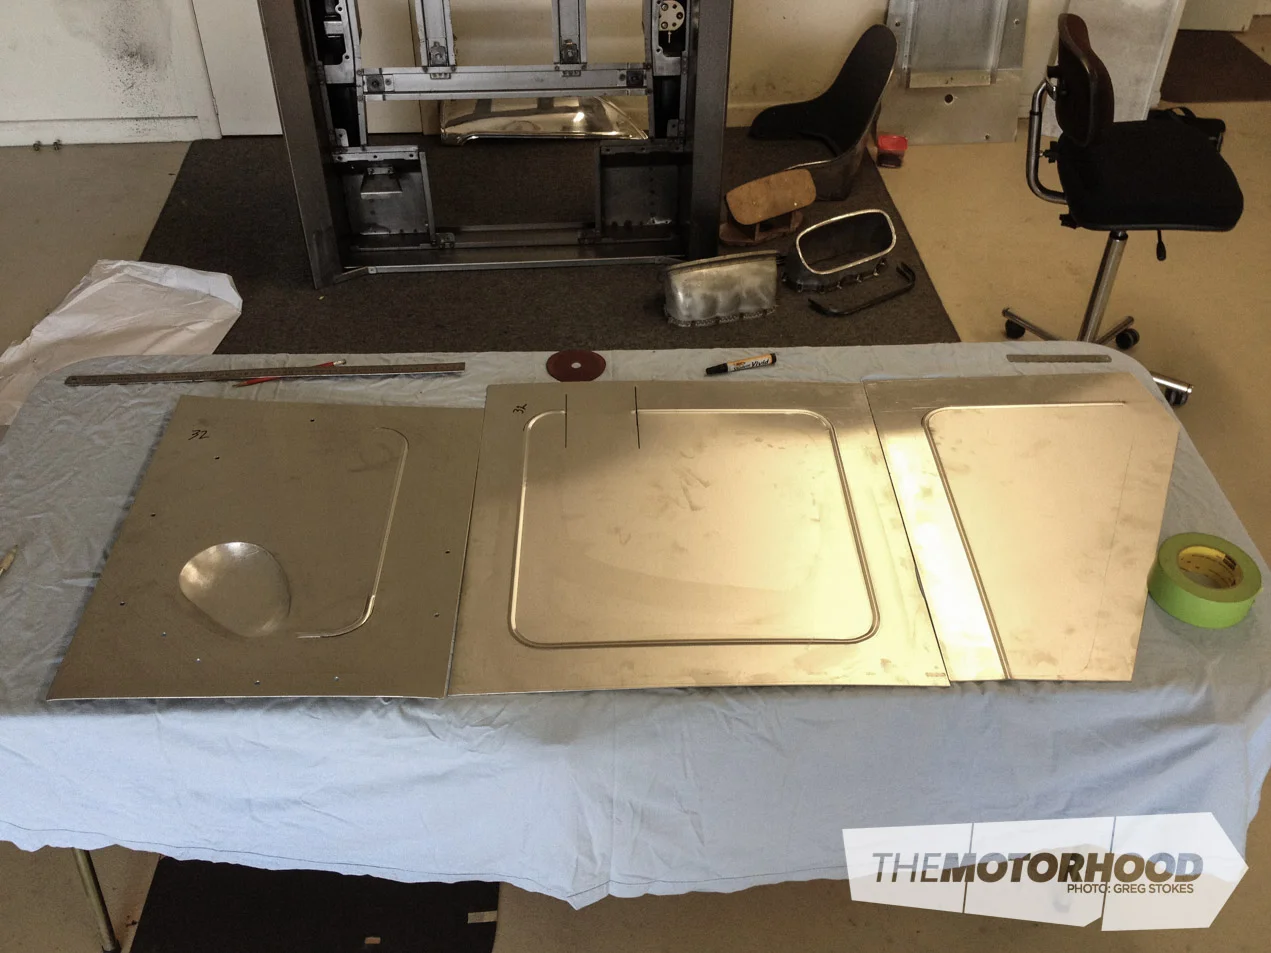
One set of interior panels shown here is for a ’32 Ford roadster. The panels are a basic bead-rolled design inspired by the late Pete Dore’s roadster. The other set is a little more complex in that it has been designed to emulate rolled and pleated upholstery, but in alloy! The ‘pleated’ alloy panels are more than fitting for the raw flavour of the car. You will note that both driver kick panels have had a teardrop or jelly-bean shaped blister hammered into them for accelerator/foot clearance.
The last point that should be made is that, whether you pay a professional or do it yourself, the sky is the limit as to the designs and styles you can swage or bead roll — so have fun.
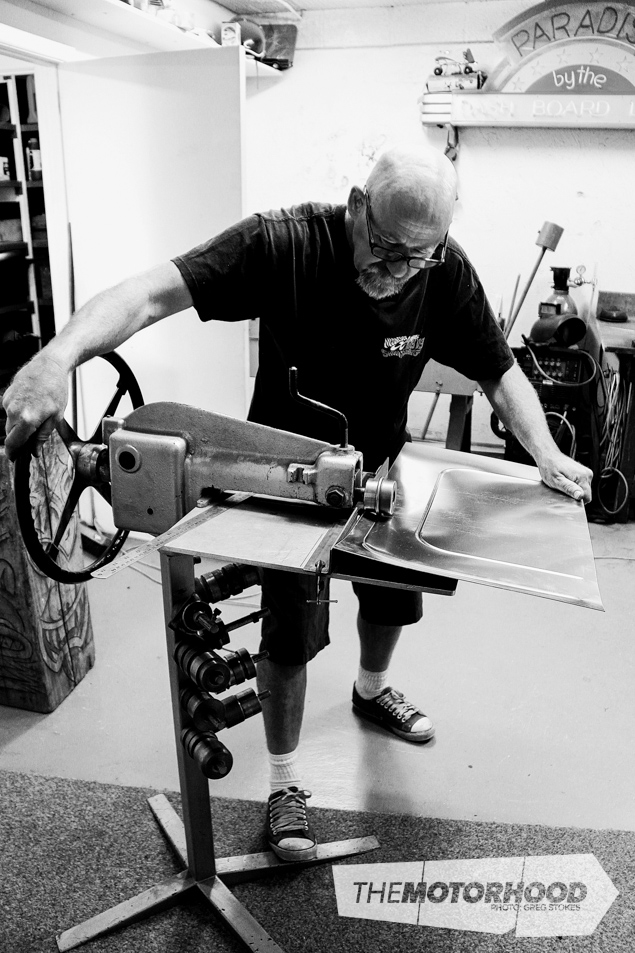
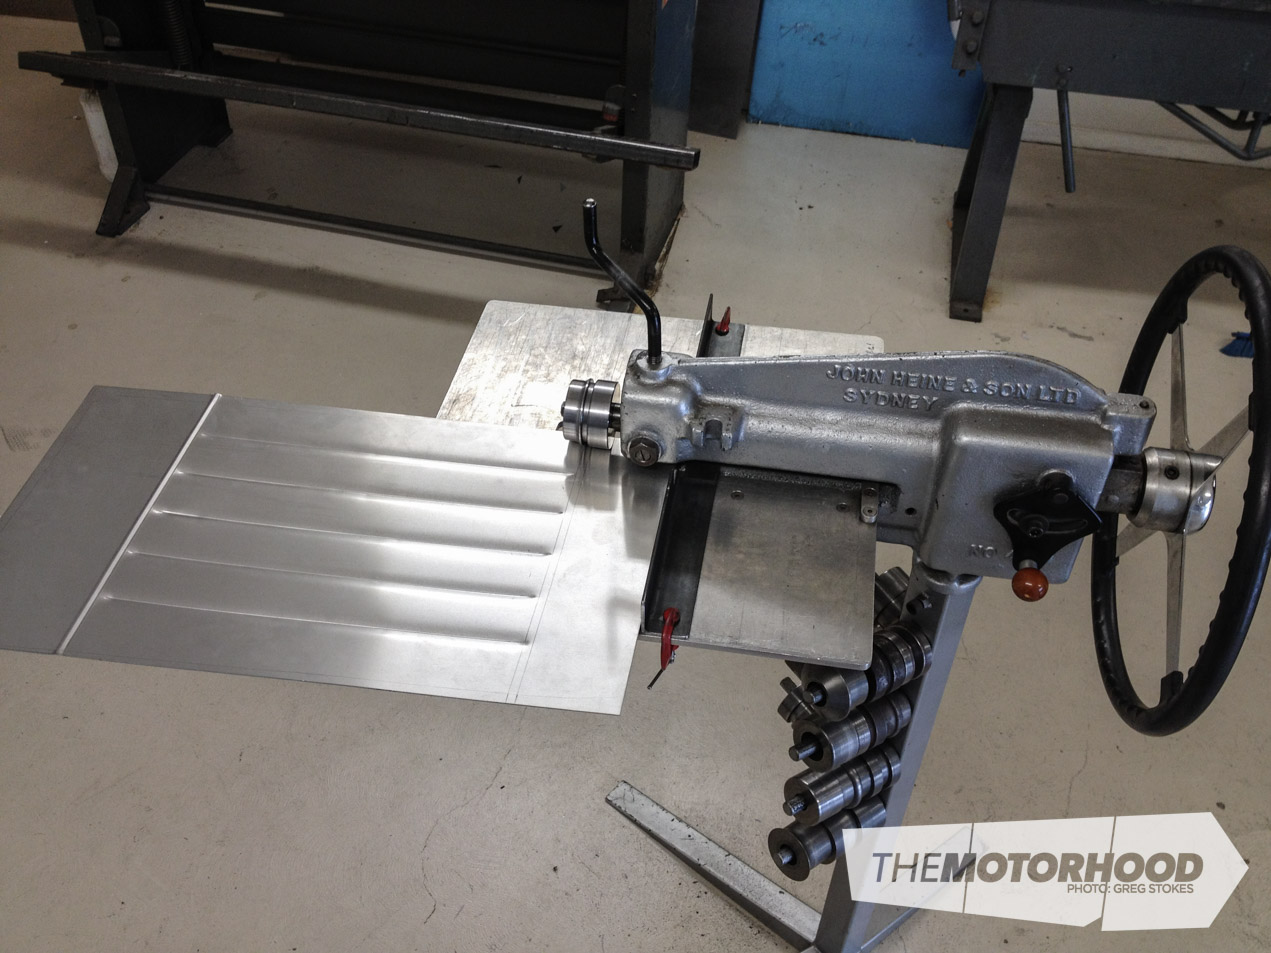
Mike’s cast-iron-bodied bead roller features a sturdy base, a flat alloy plate table, and a four-spoke Bell steering wheel, which enables smooth rolling.
His range of formers — some of which are custom made or modified to suit certain applications — can be seen under the table. Among the many configurations that can be achieved are step swages and round or square edged bead rolls.
One of the more important parts to this is the guide — a piece of angle iron that clamps to the table to ensure dead-straight lines. This is particularly important for ensuring that the swaging is parallel to the edges of your panels.
Due to the tight confines of an early hot rod, foot clearance for three pedals was required. Accordingly, the cardboard patterns of the kick panels were marked for a blister to be hammered in to provide foot clearance into the kick panel.

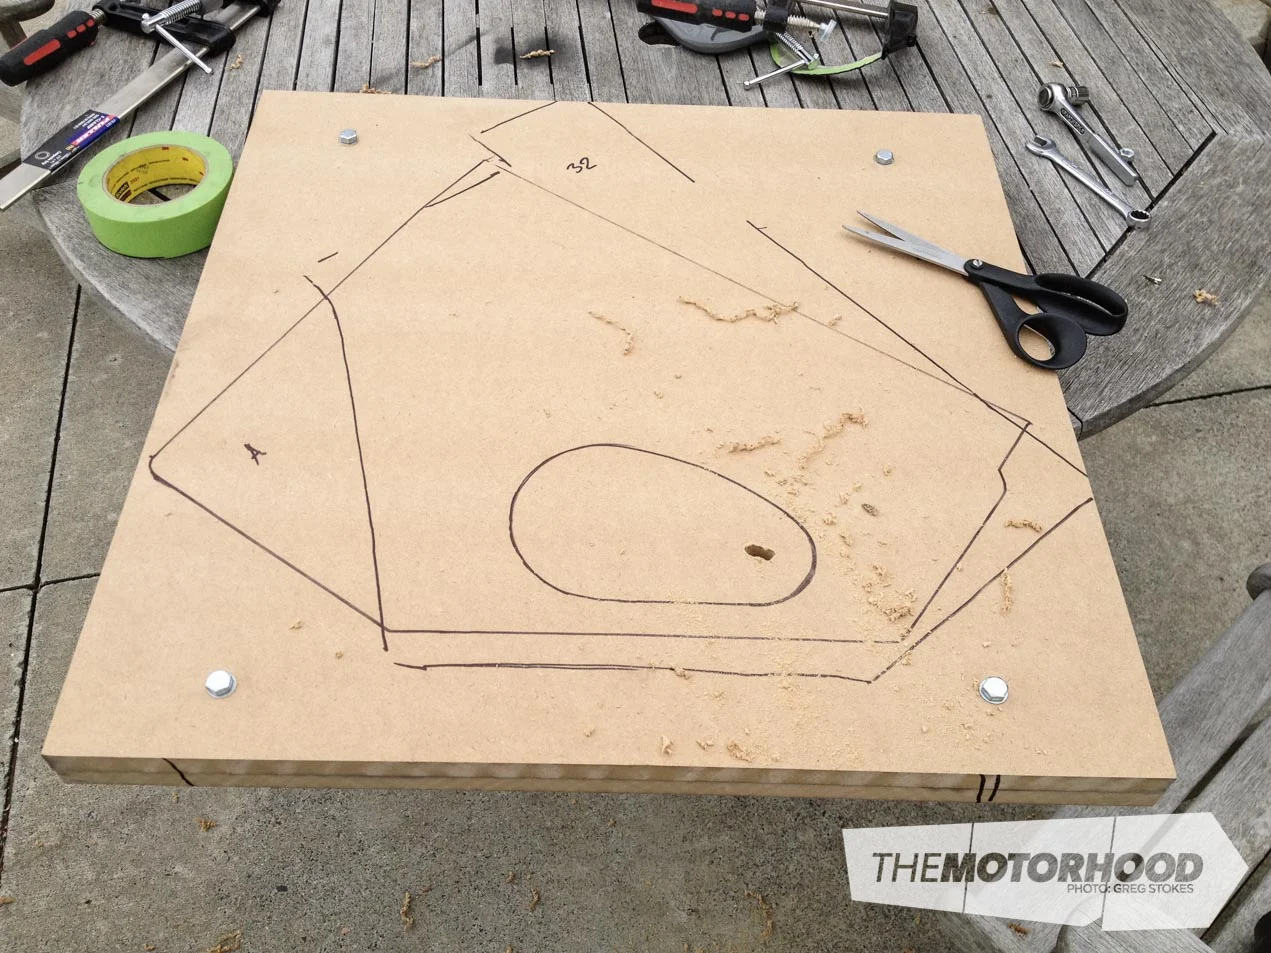
The alloy kick panels were sandwiched between one-inch thick MDF. Before that, the blister outline was cut into both sheets of the MDF so the board could be used as a buck to hammer into.


Using a variety of radiused hammers, the alloy was worked into a blister or bulge with gentle, even taps. Patience and care are essential but, as the alloy gradually takes shape, the results are impressive. Most of the high spots can be hammered and sanded out, and, if desired, given a polished finish.
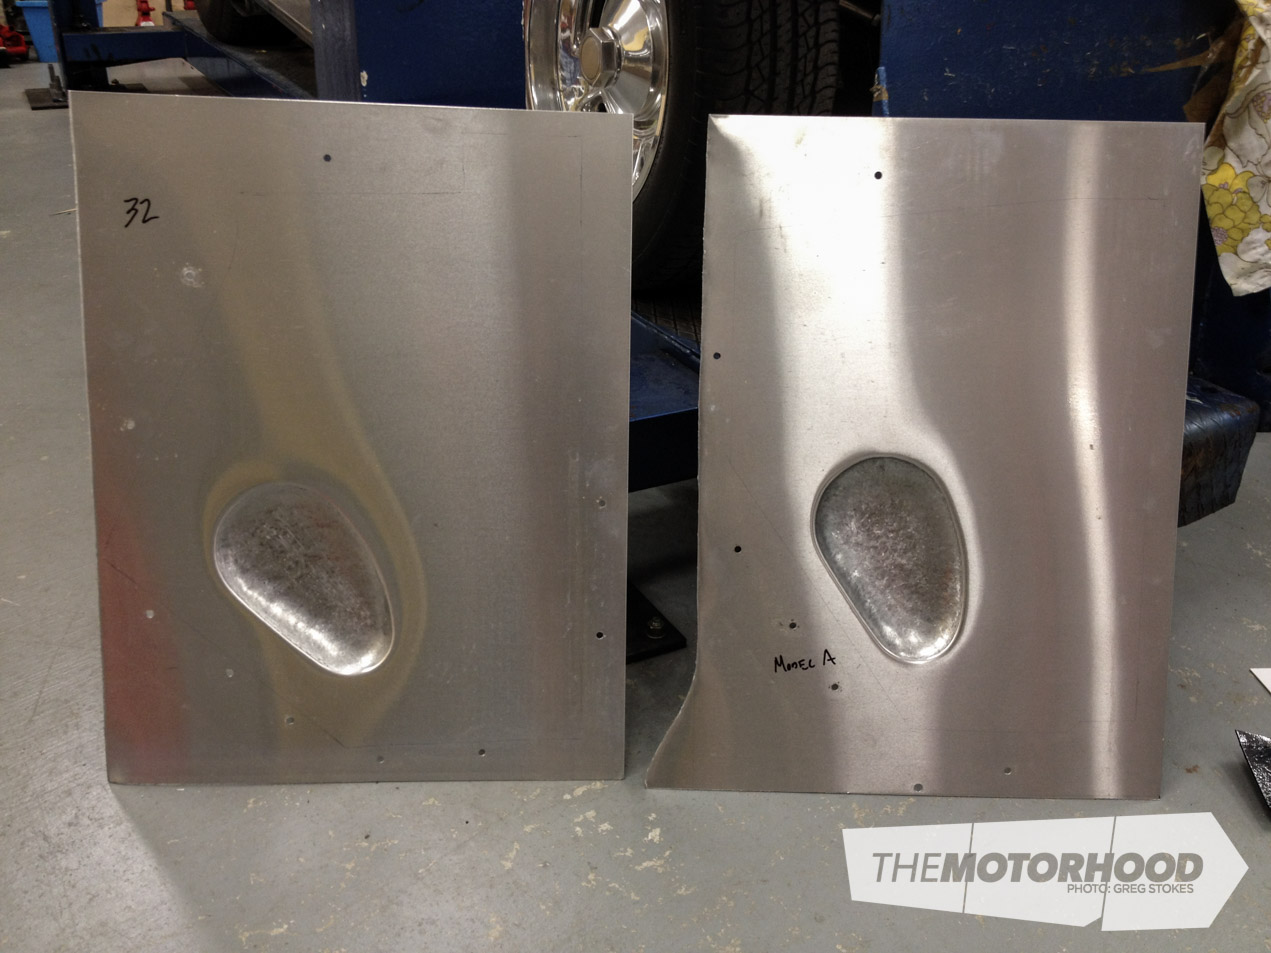
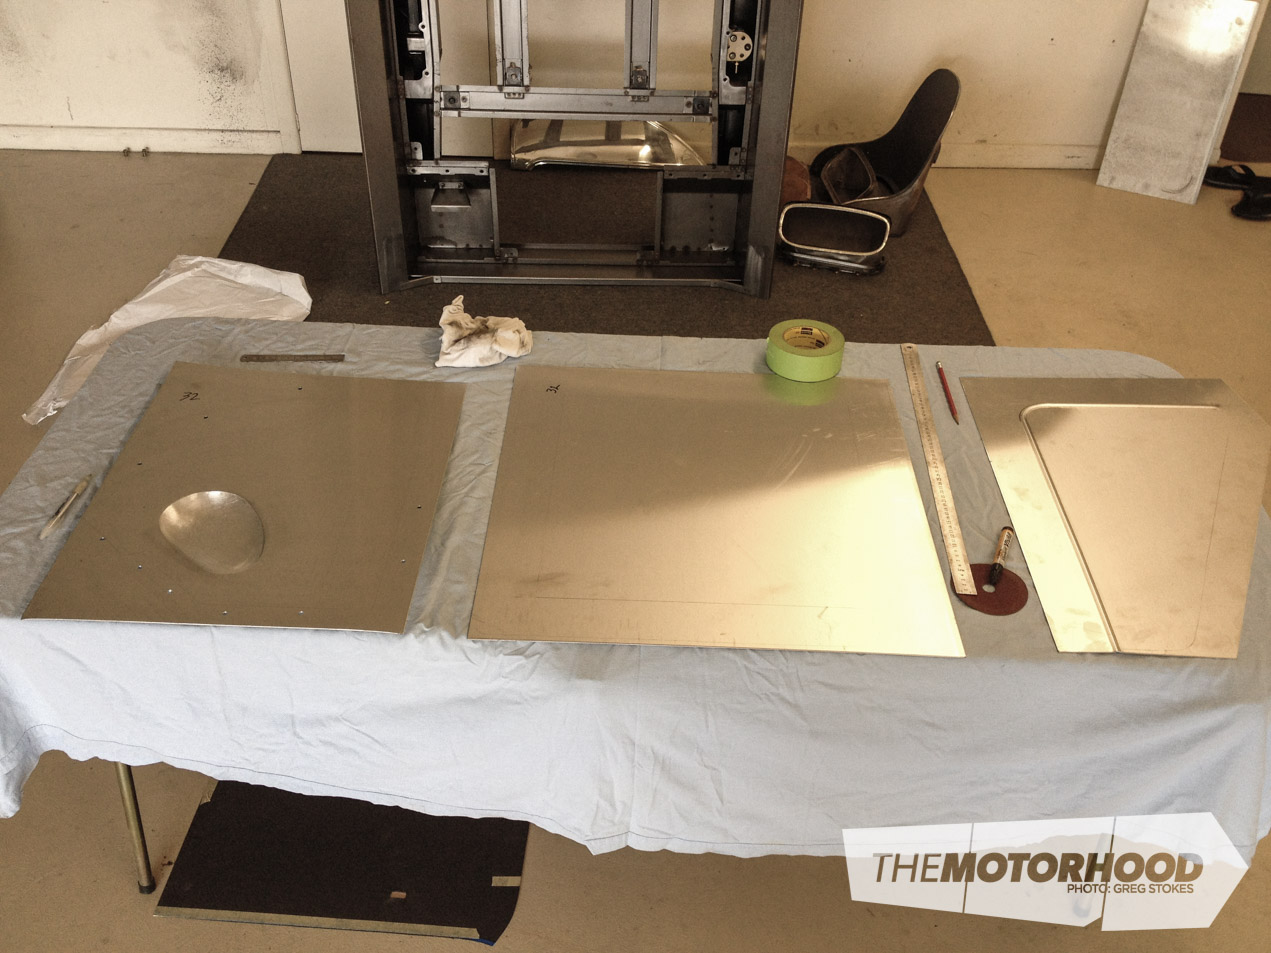
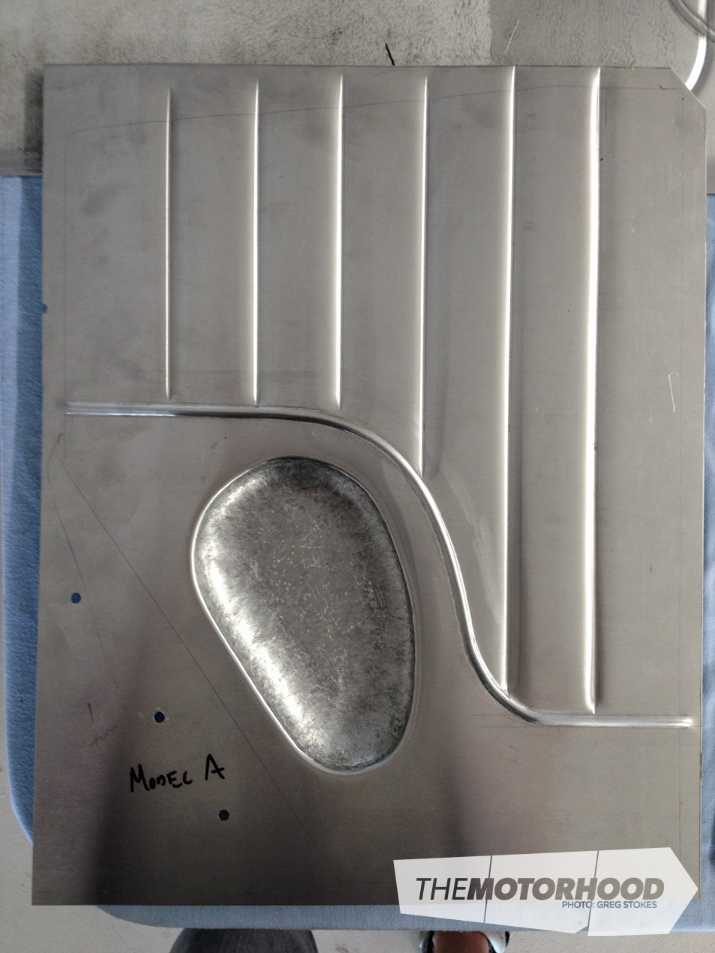
Here are the two kick panels for the ’32 and Model A respectively, with the blisters hammered in — the different angles are to suit the different floor angle in each car. The blister had to be done first; otherwise, the swaging would be squashed when the alloy was sandwiched.
It’s important to take the time to do exact cardboard patterns before cutting any alloy.
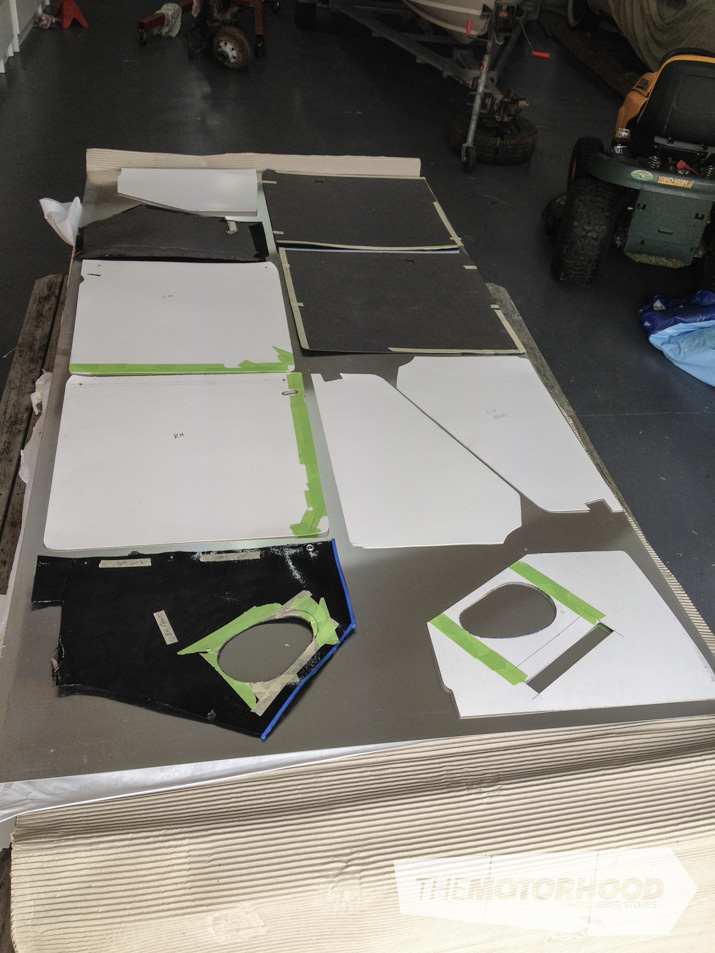
Cardboard patterns serve many purposes. It’s cheaper and easier to add to or trim cardboard while settling on the design of the panels, carefully trimming around door handles and catches, etc. This is also the time to mark out the pattern and start getting a feel for how it’s all going to look.
With the alloy panels cut and marked out, it’s now time to start bead rolling. We opted for a ⅜-inch round bead, which was 2½-inches in from the outside edge of the panels.
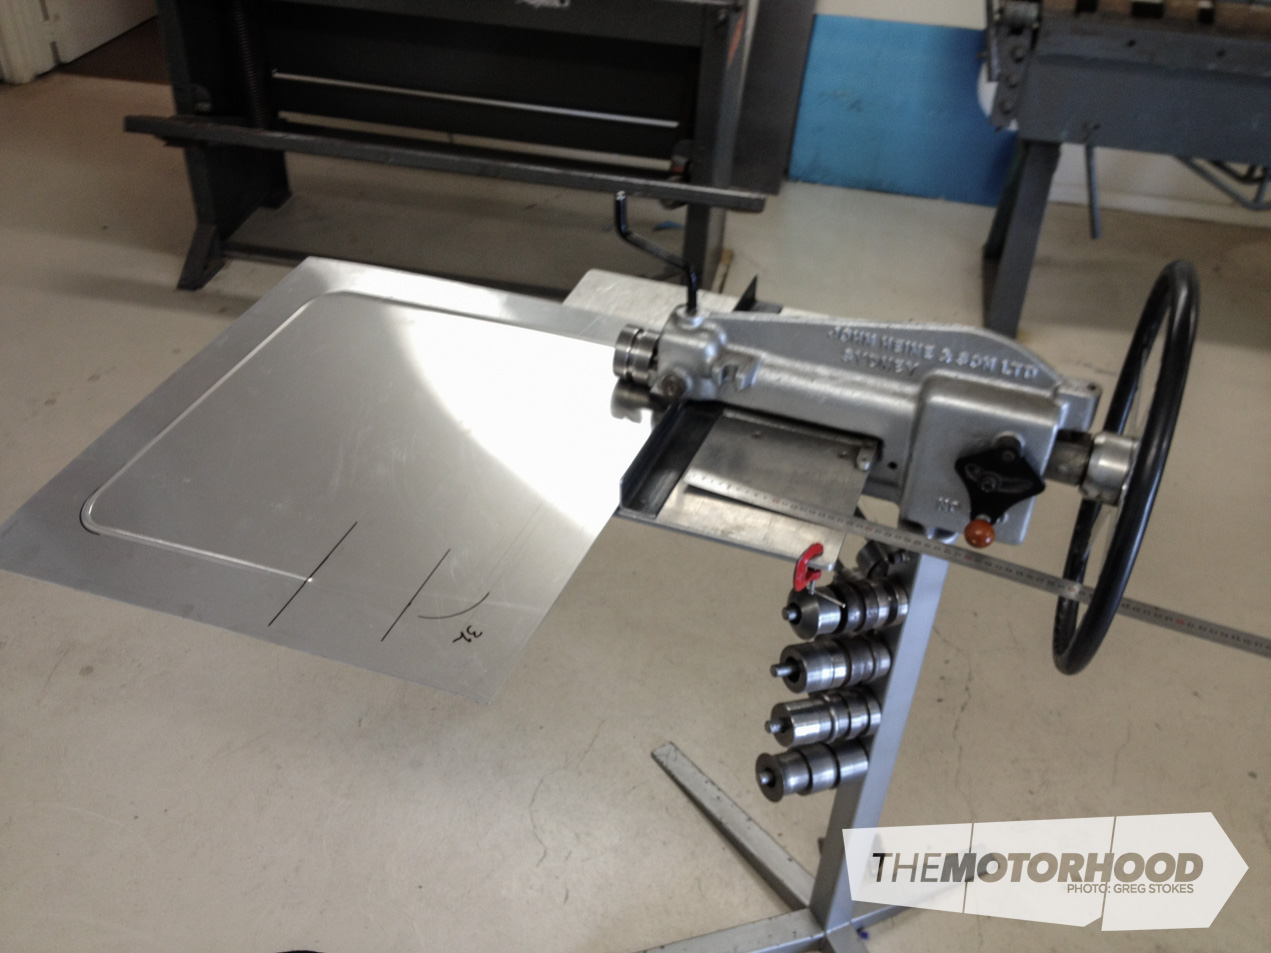
With the panel marked out and the guide set on the table, the straight passes were clean and straightforward, with a slow hand required for the three-inch radiused corners.
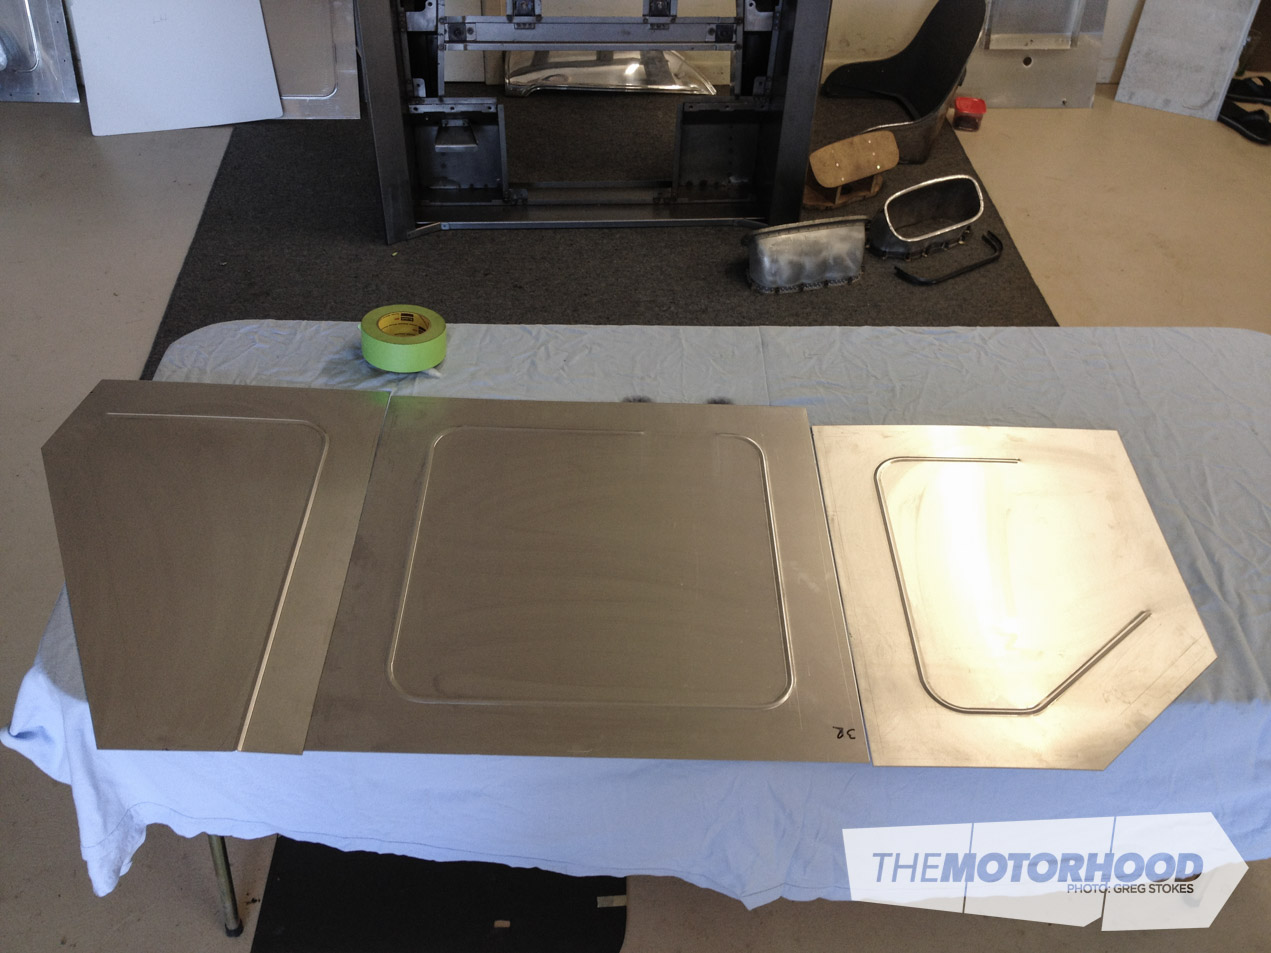
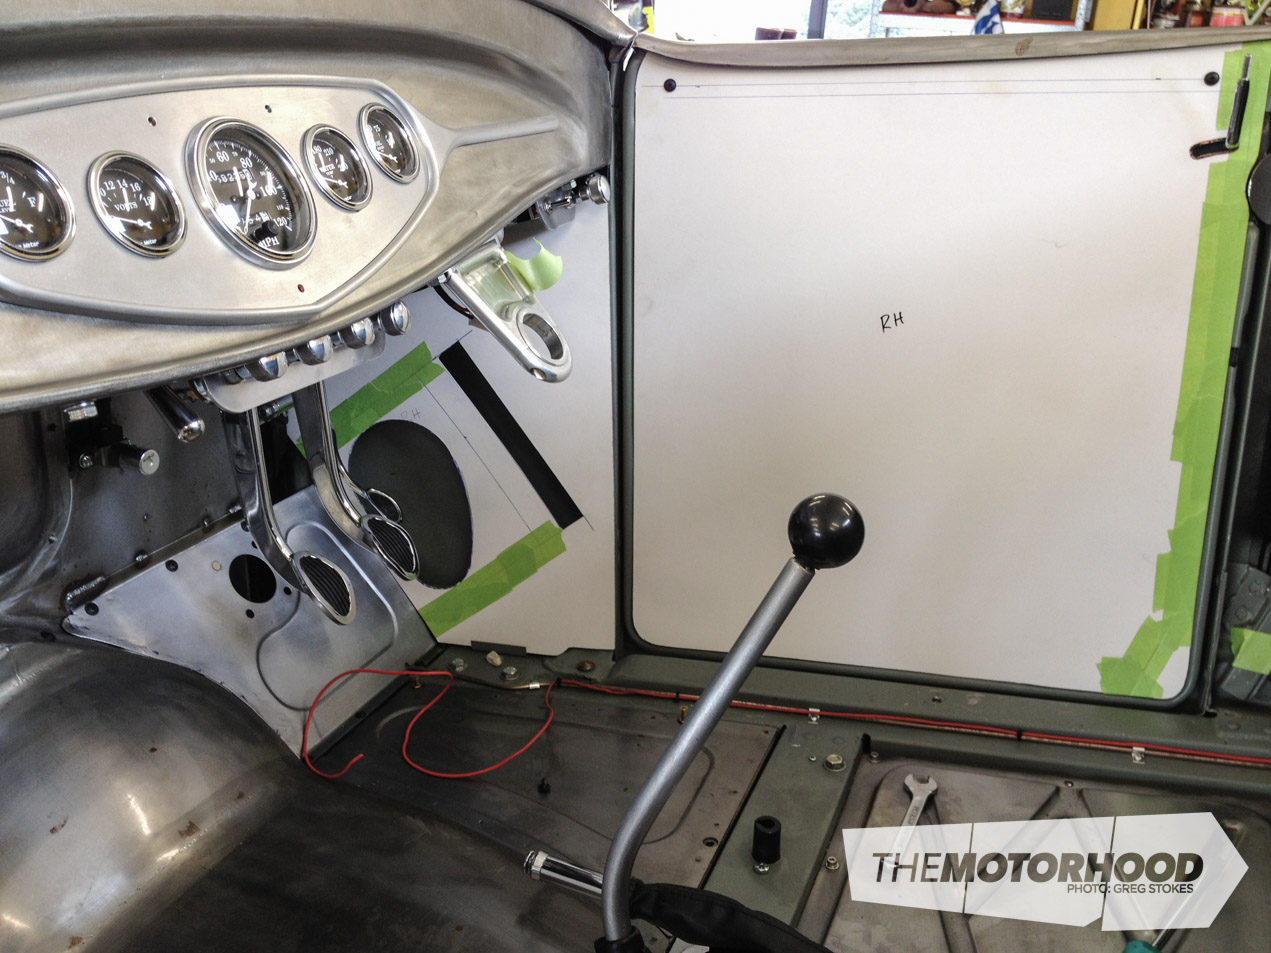
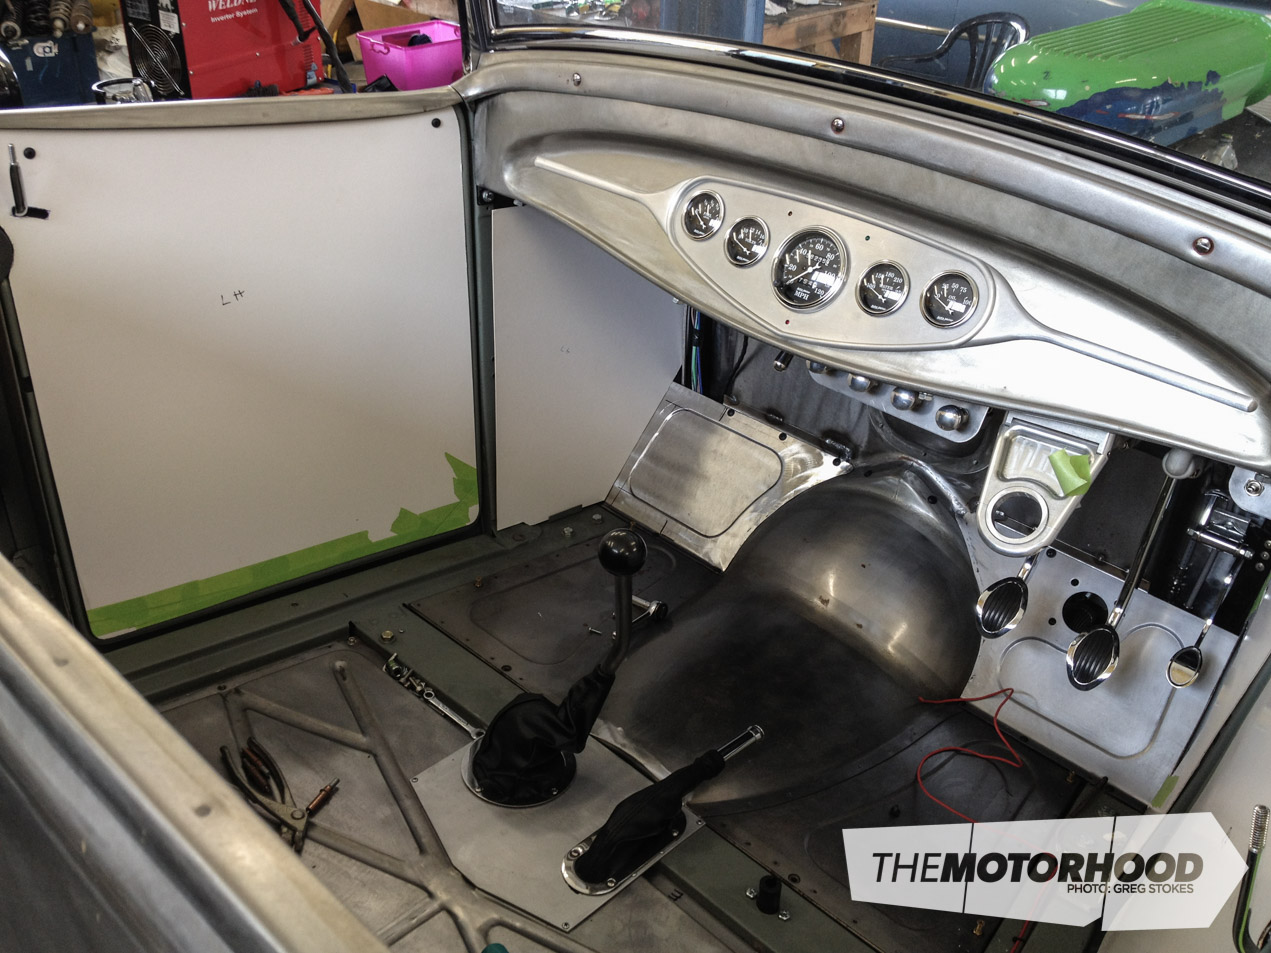
Here are the finished panels. When the holes for the door handles and door catches have been cut, the panels can be mounted on the car with stainless self-tapping screws.
The finished interior gives the ’60s to ’70s race-car vibe we were looking for. The panels have been ‘brush’ finished with Scotch-brite and are left raw. They could be anodized, painted, or polished if desired.
The design for the ‘pleated’ alloy panels for the Model A was intended to emulate the seat, so there would be thin piping between the top roll and the two-inch pleats on the seat. The pattern was marked out on the alloy to replicate that.
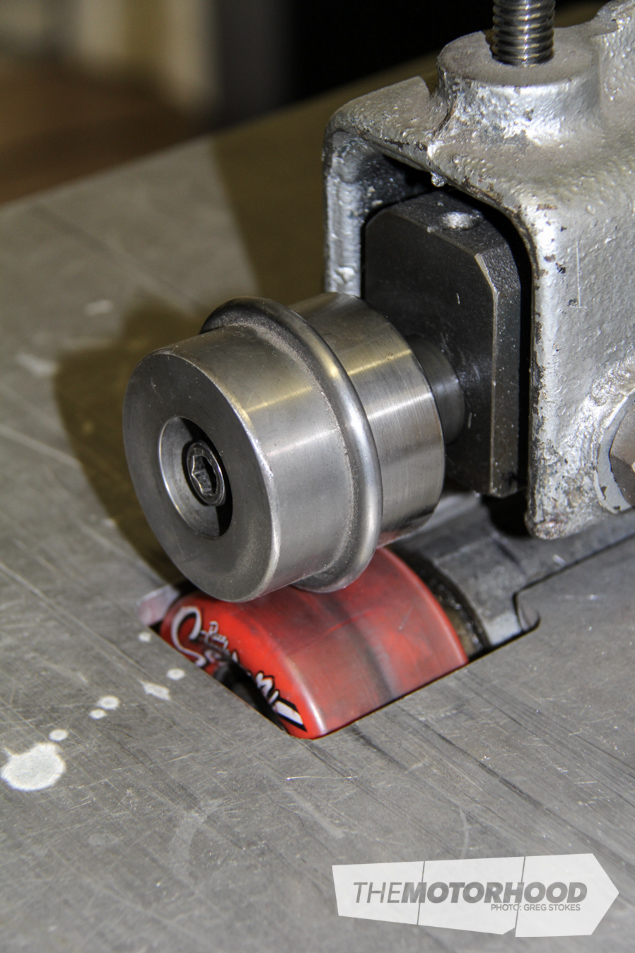
Much thought was given to how to duplicate the look off a ‘puffed’ pleat. Mike suggested using a skateboard wheel as the female side of the roller. The softness of the wheel would allow for the definition of the pleat. However, we played around with the pressure and found that three turns adjusting the rollers together worked, but we had to roll through then back it off immediately to ensure continuity.


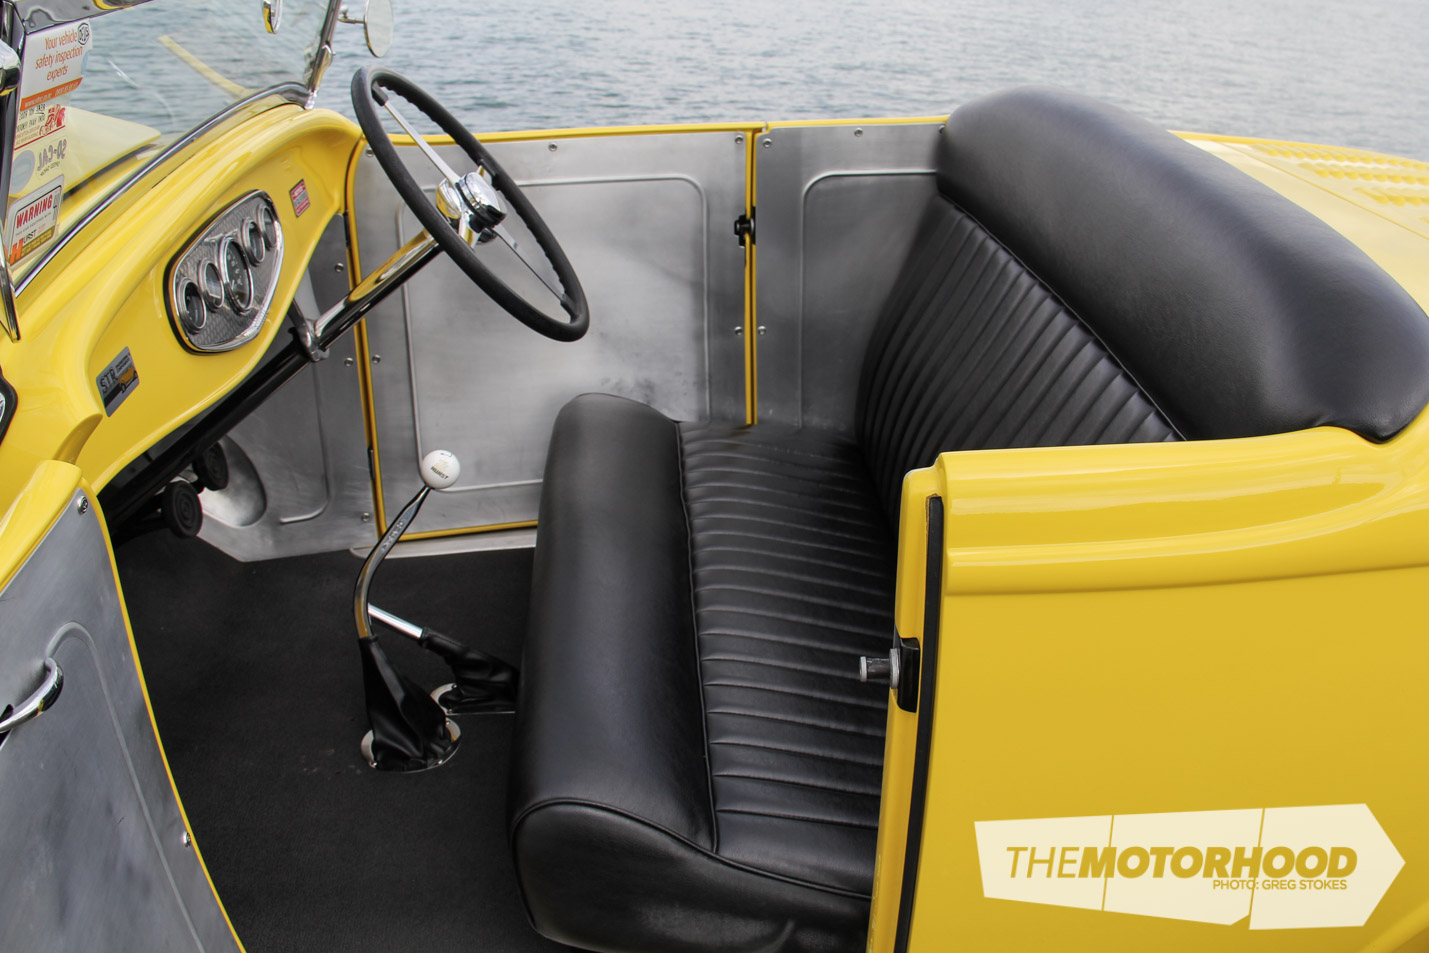
The finished panels are shown here — quite a bit more thought required to achieve the right result, as it was mistaken for airbrushed panels or upholstered panels.
This close-up of the detail around the blister in the drivers kick panel shows the piped edge of the ‘pleated’ panel.
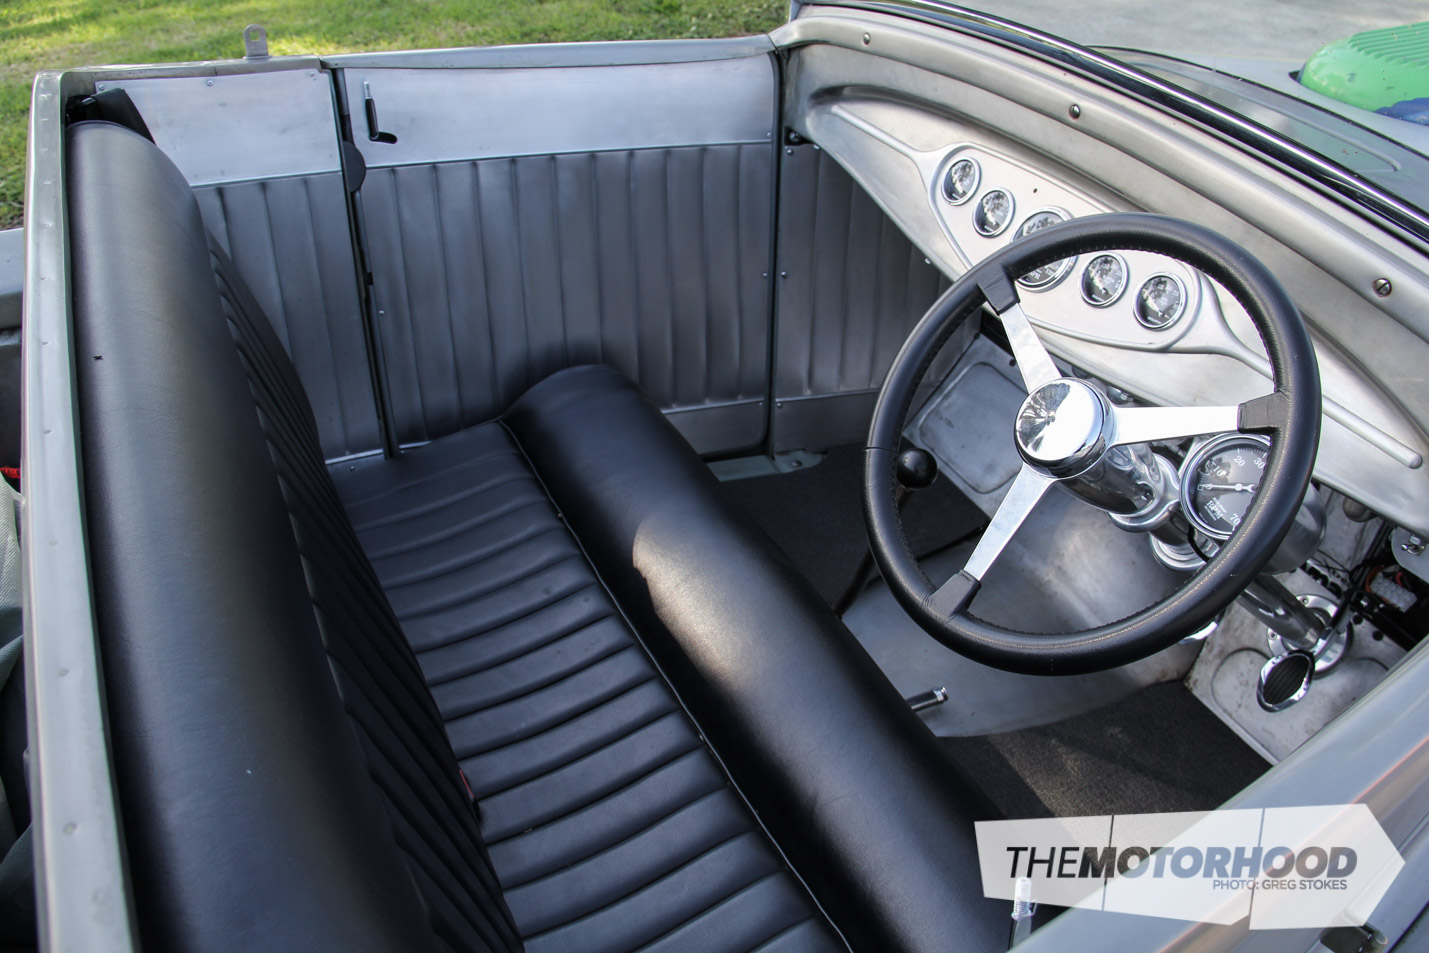
The Model A hit the road in a bare-metal state with an unknown time to be painted, so it was suggested that the car be as ‘finished’ as possible despite no paint. The pleated alloy panels are the icing on the cake for this car and suit the upholstered seat perfectly.
This article was originally published in NZV8 Issue No. 110. You can pick up a print copy or a digital copy of the magazine below: