
data-animation-override>
“We investigate how to test your boost system to make sure each and every psi is reaching the combustion chamber”
Welcome to the Weekend Workshop, a place where you can save some cash by getting your own hands dirty. These tech guides aim to arm you with the necessary info and knowledge to get out there and give it a go yourself — no professionals needed — and at a price that won’t break the bank.
This month we delve into the world of boost leaks. This often silent thief has been robbing many performance car owners since the first turbocharged car came off the production line. Perhaps you just completed a turbo conversion, or added in a boost controller, or you have an old factory turbo car that’s lost its puff. This very quick diagnostic method is simple, foolproof, cheap as chips, and nine times out of ten the fix is as simple as tightening up a rogue hose clamp. If your car is leaking boost, then your turbo will be working overtime attempting to compensate for that loss of pressure. If your car has an air flow meter it will have accounted for that air coming in causing an over-fueling issue or if it’s map-based engine management then both the injector cycle and timing will be out, all of which are robbing you of those precious kWs. Who knew it could all be so simple? You’re welcome.
Time
The entire project came in under 1 hour, although it will vary from system to system
Cost
We made a slightly more expensive tester, and had a $200 boost gauge just lying around. Boost gauge costs aside, we put the kit together for under $20. You could further cut costs by not running a tap.

Constructing the tester

Part one
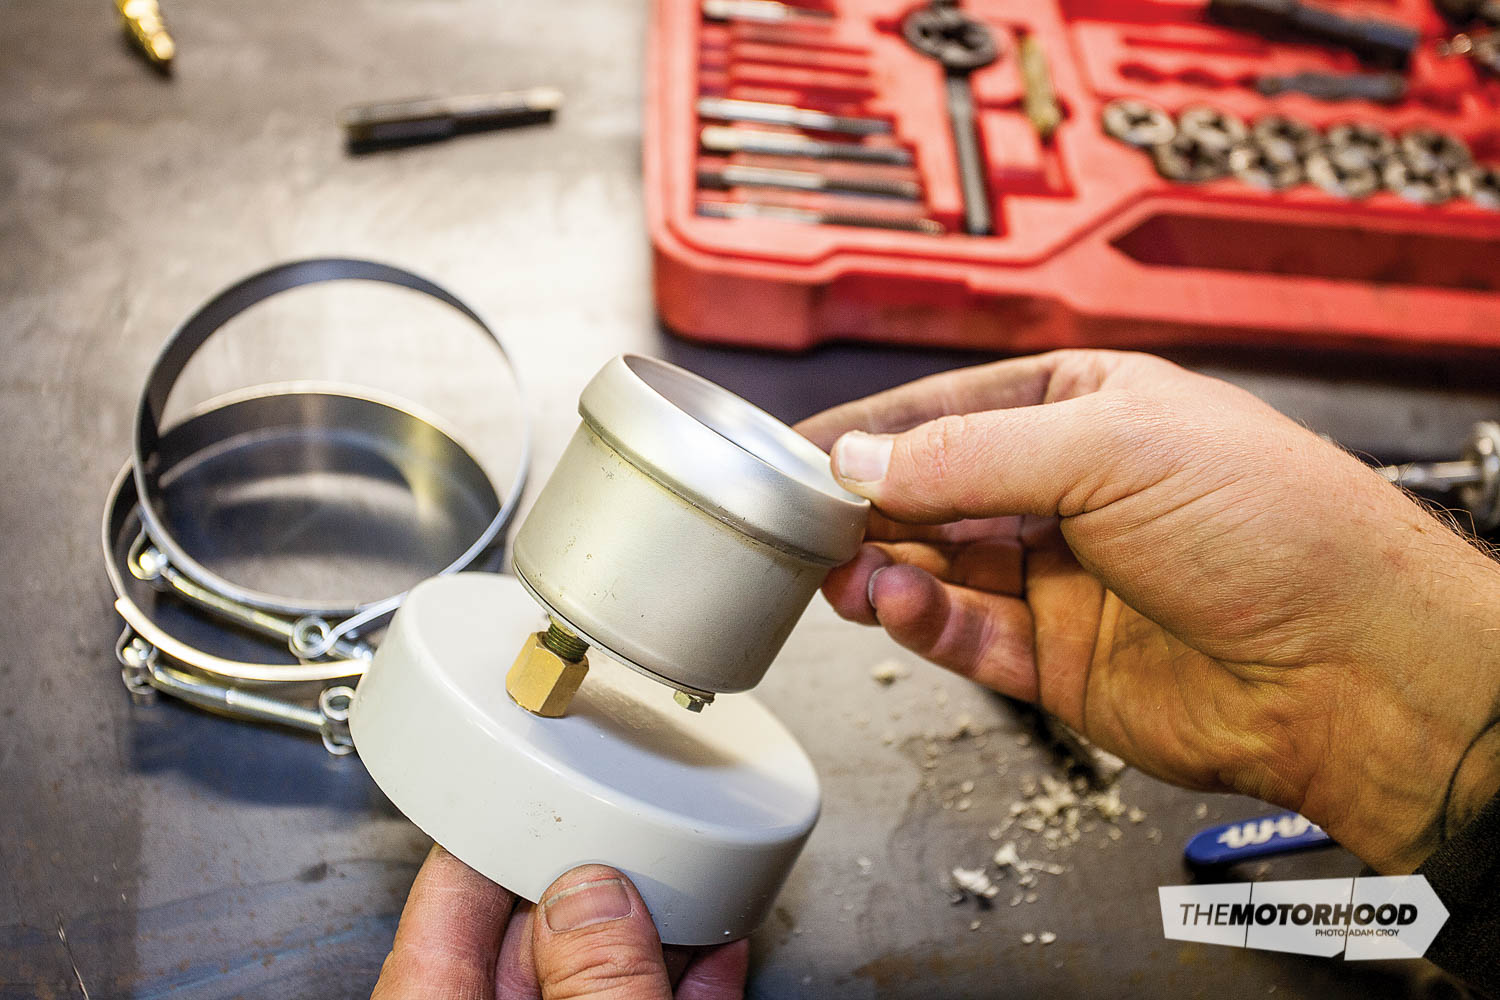
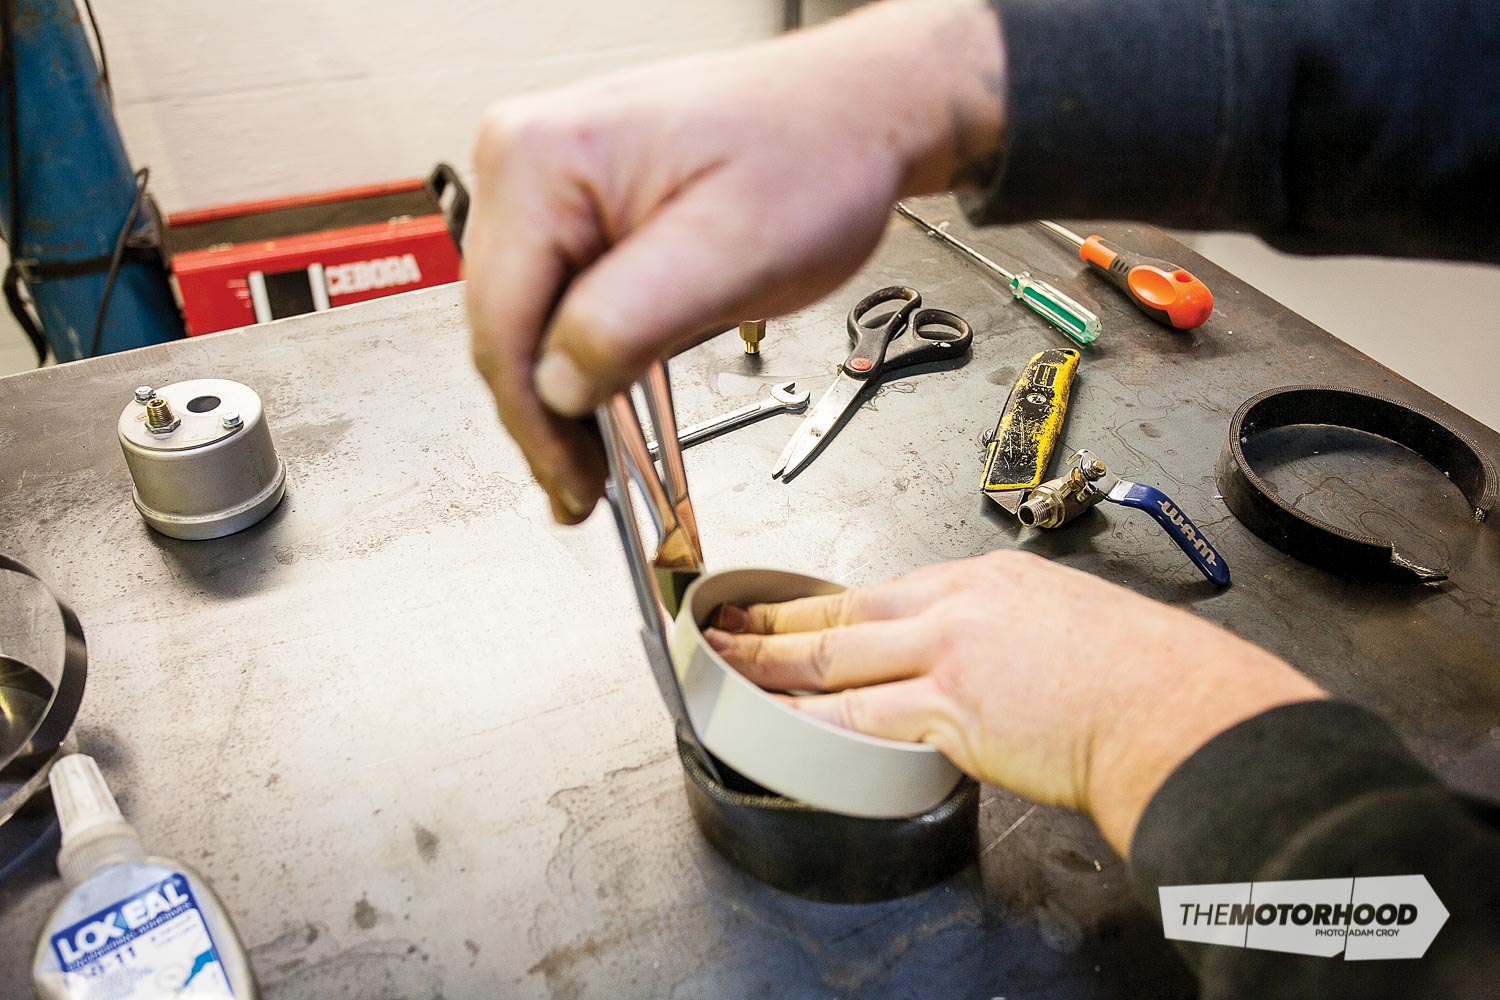
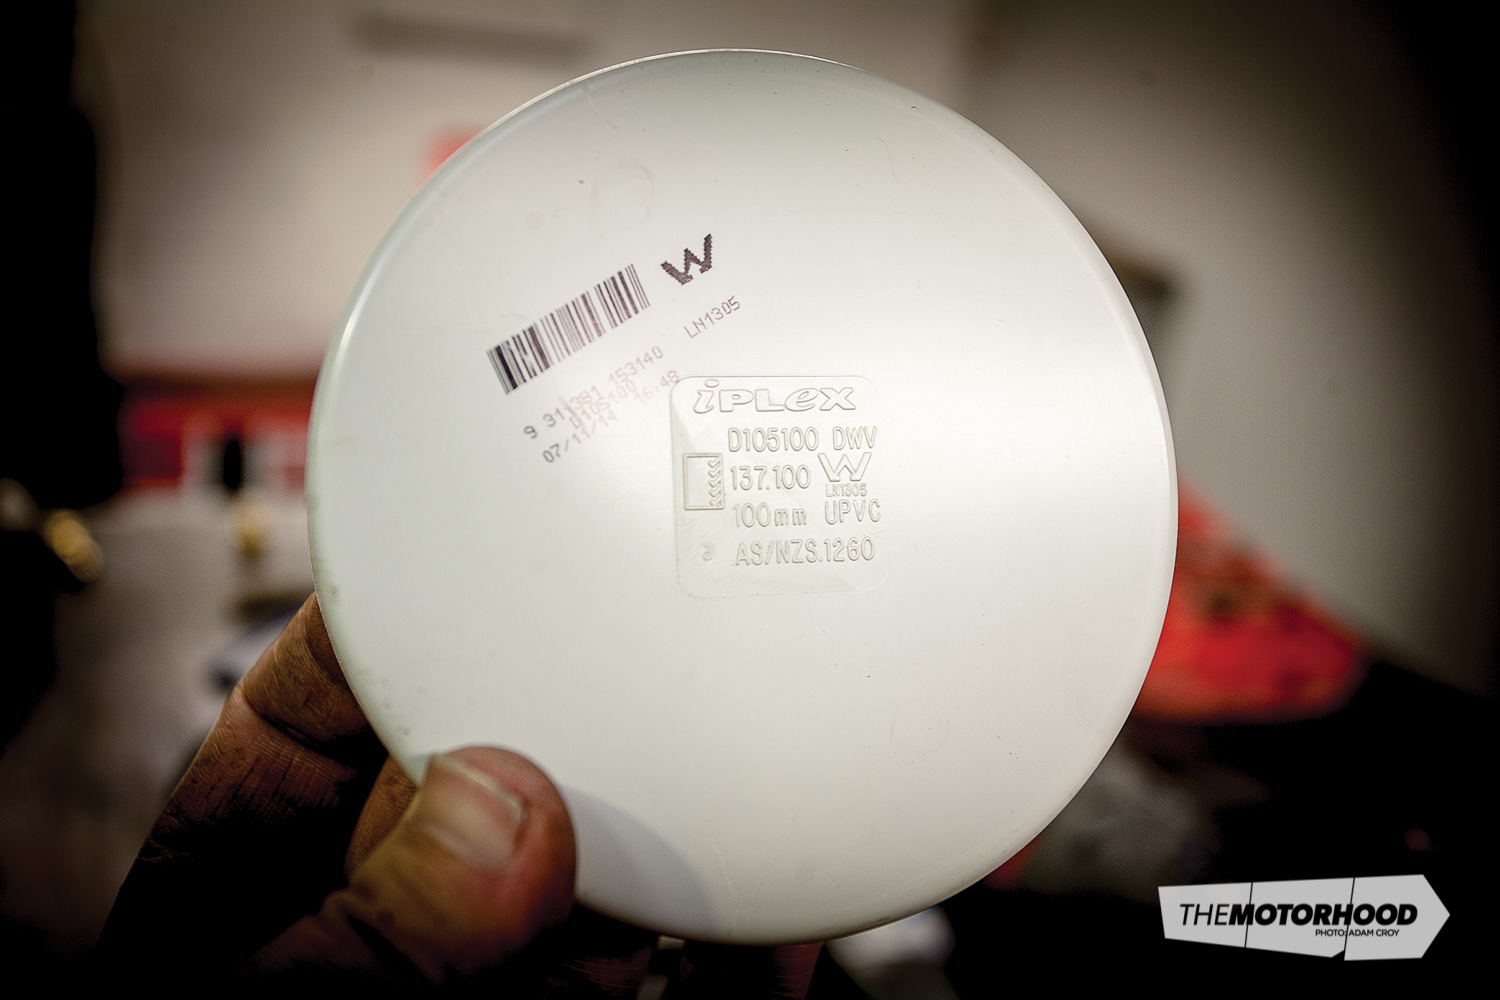
Your local plumbing supplier will have everything you need to build your tester. The exact pieces to do your job may differ to what we required, as different turbo systems will have different sized intakes. Our BorgWarner SX300 has a 4-inch intake so we used a 100mm spouting cap. These caps come in sizes ranging from 20mm upwards and are used to cap a 100mm pipe, so their size is more like 104mm. We also picked up an 80mm one for a 3-inch block off — more on this later.


Part two
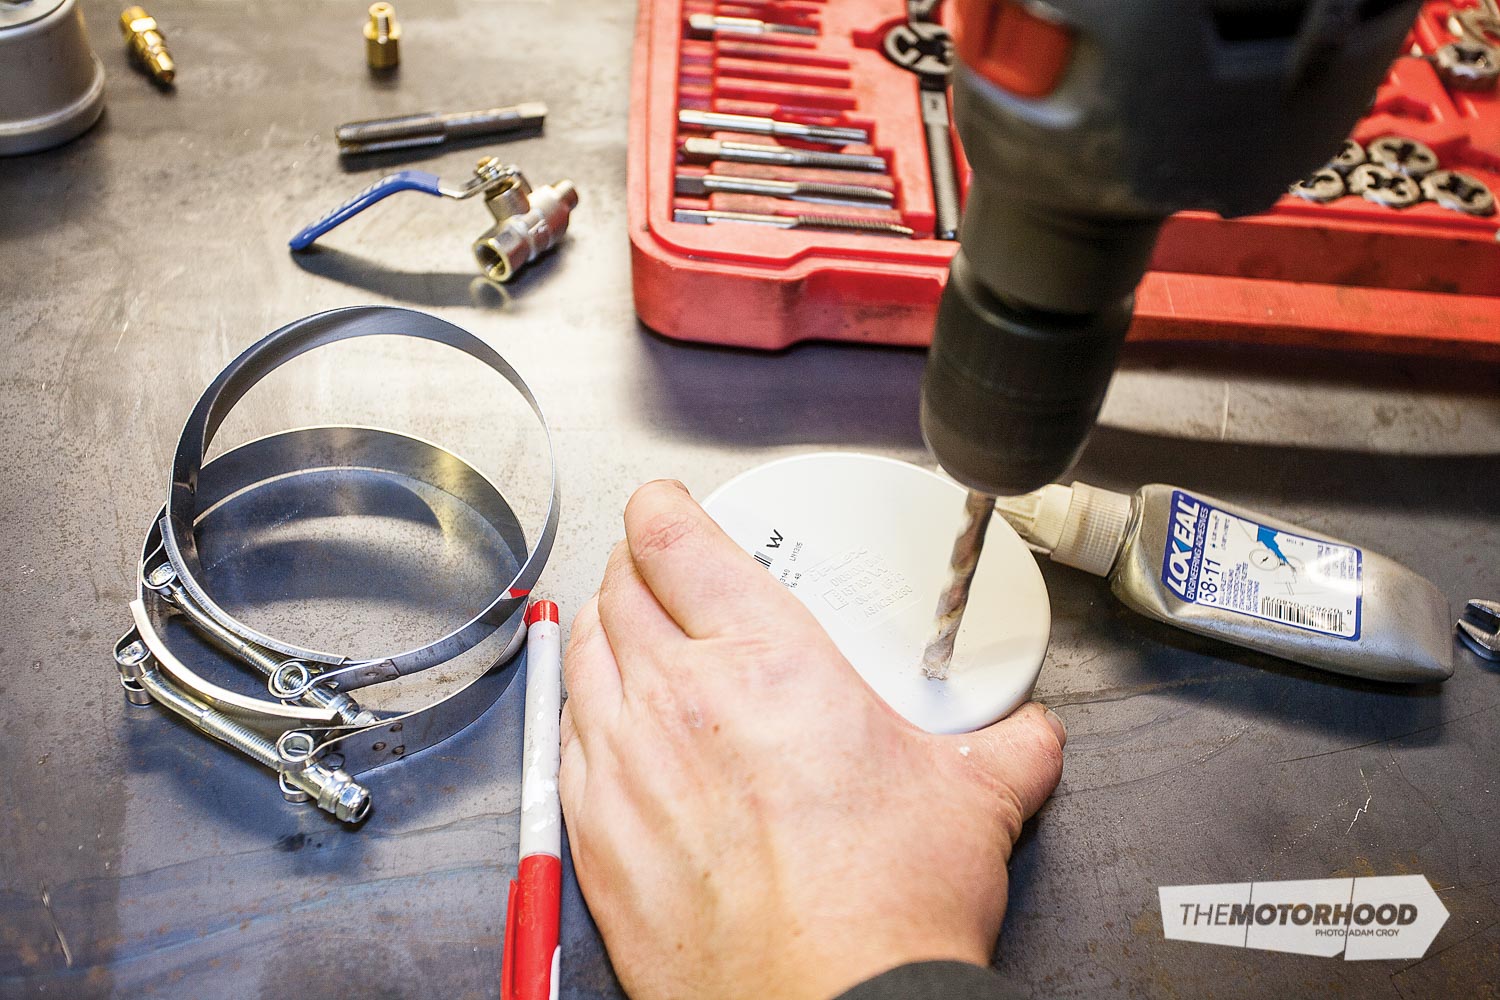
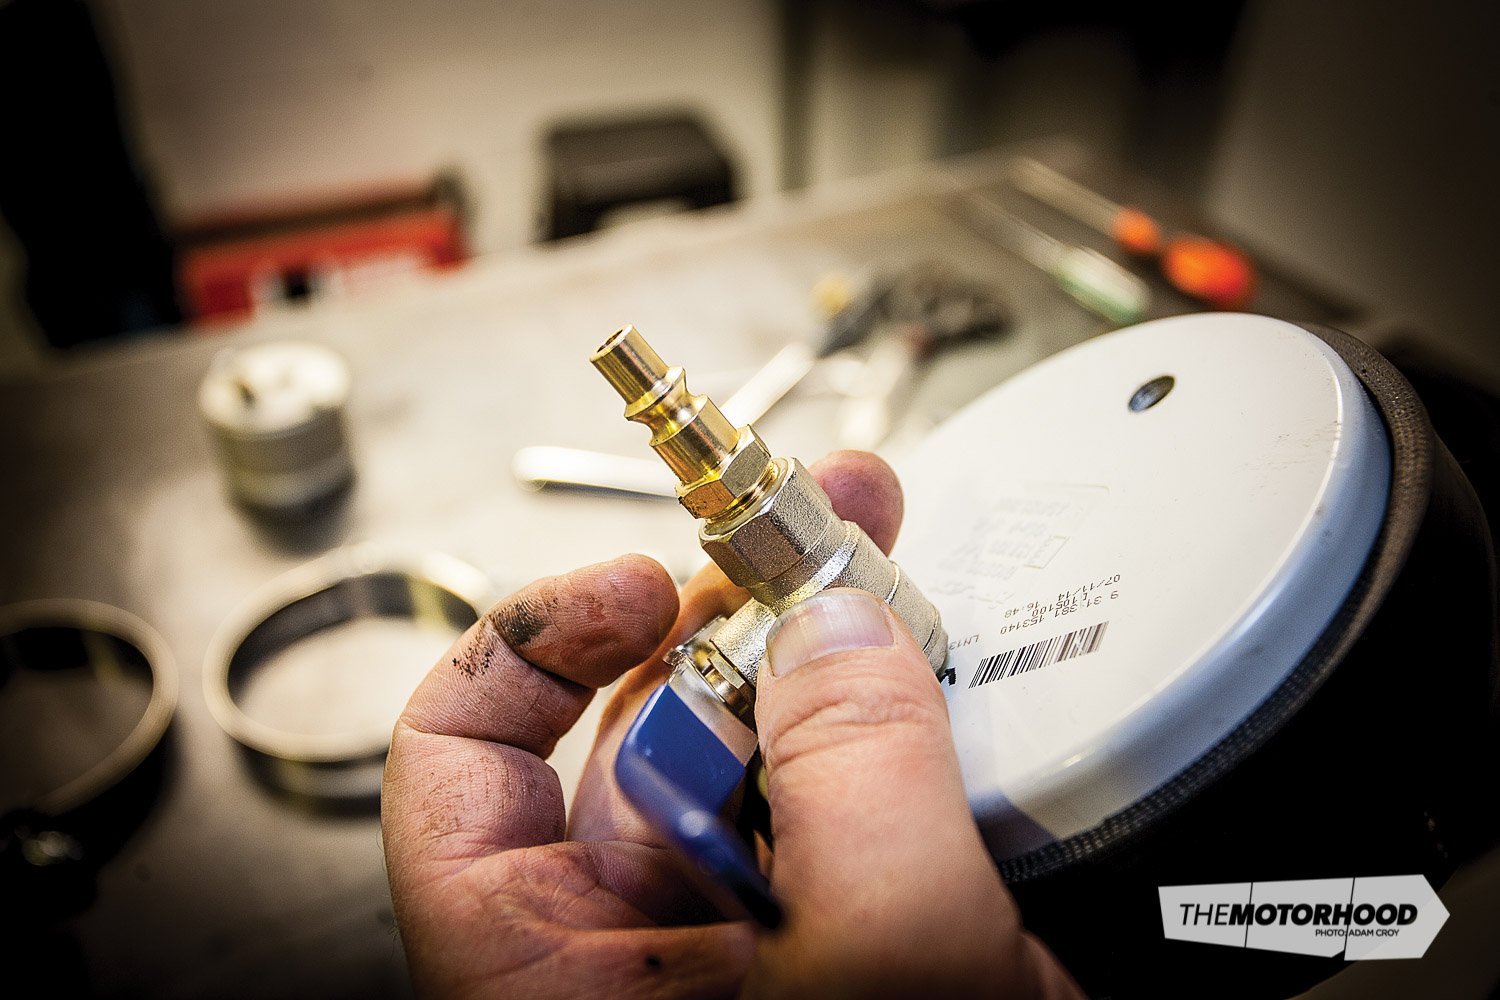
You will need to add two fittings to your cap, first, a pressure gauge. We had an old Autometer Ultra Lite gauge lying around, so we used this, although a cheap $2 gauge will be fine. You will need to drill and tap a thread. Make sure you use thread tape, or, like us, liquid thread tape on all threads. If you don’t have a tap and die set you can get away without a tap, although the risk of damaging the thread and having a leaky fitting is high, so a tap is recommended.
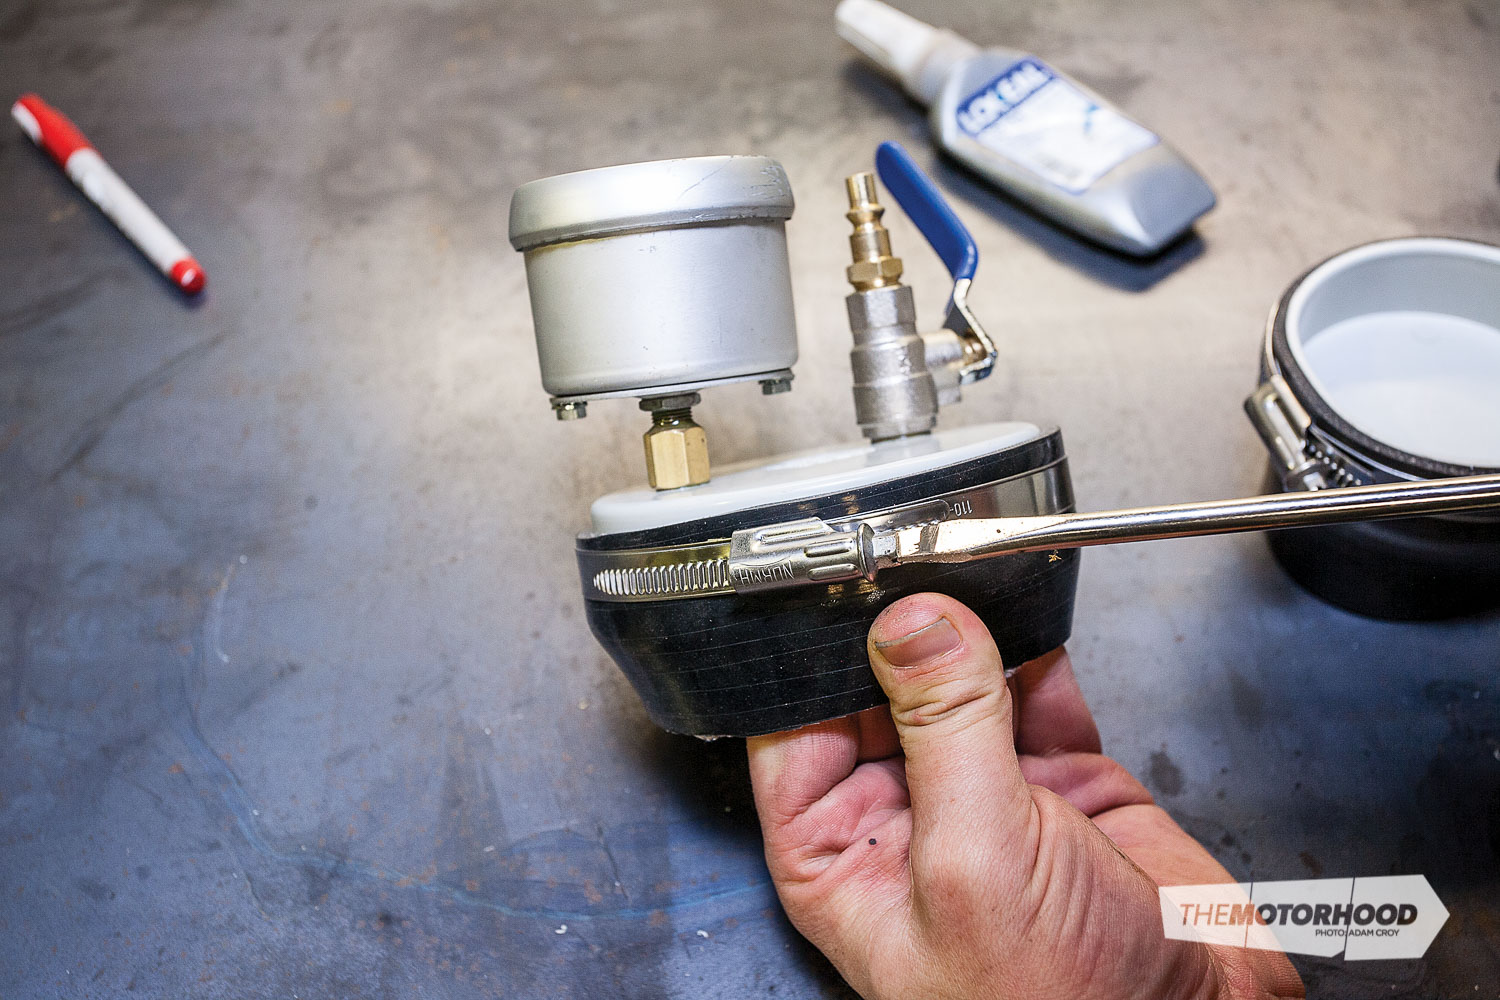
Part three
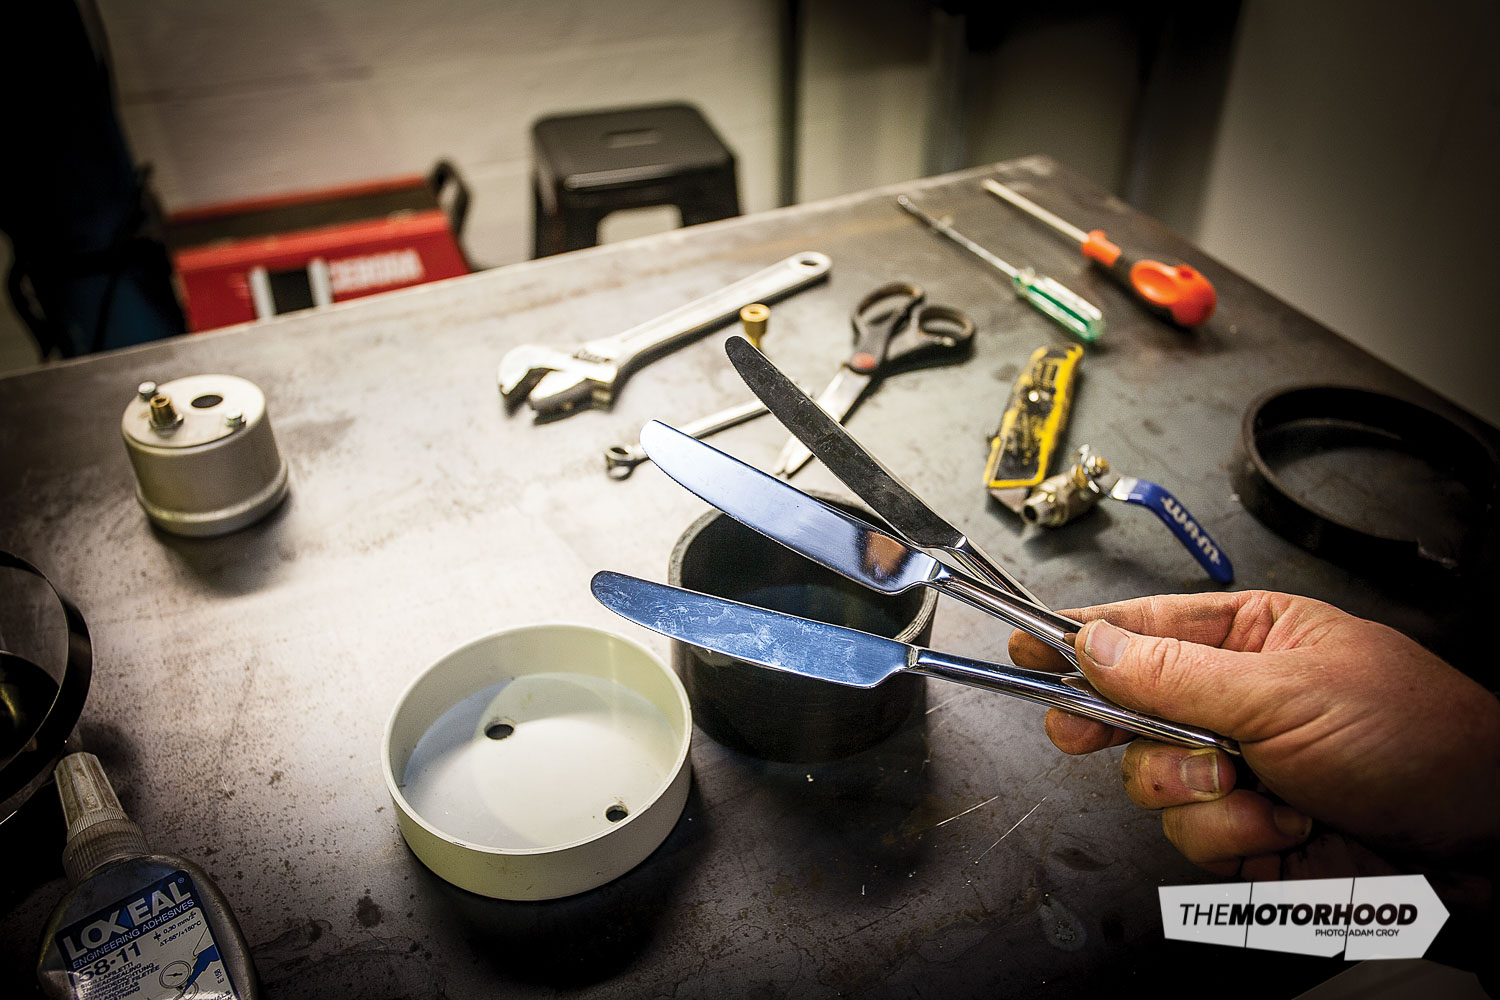
We then purchased a four-inch silicone joiner, which will join the test cap to our turbo and also two decent hose clamps. You can also use a silicone sealer to permanently join the cap and joiner, as the last thing you want is a leaky boost tester. Sadly, getting the silicone joiner onto the cap is tricky, and because we were too cheap to source a 4.5-inch to four-inch silicone reducer, we just made it work, recalling our BMX tyre-changing days where we used bread knives to help slip it on. Once on, we tightened up the hose clamp.

Part four
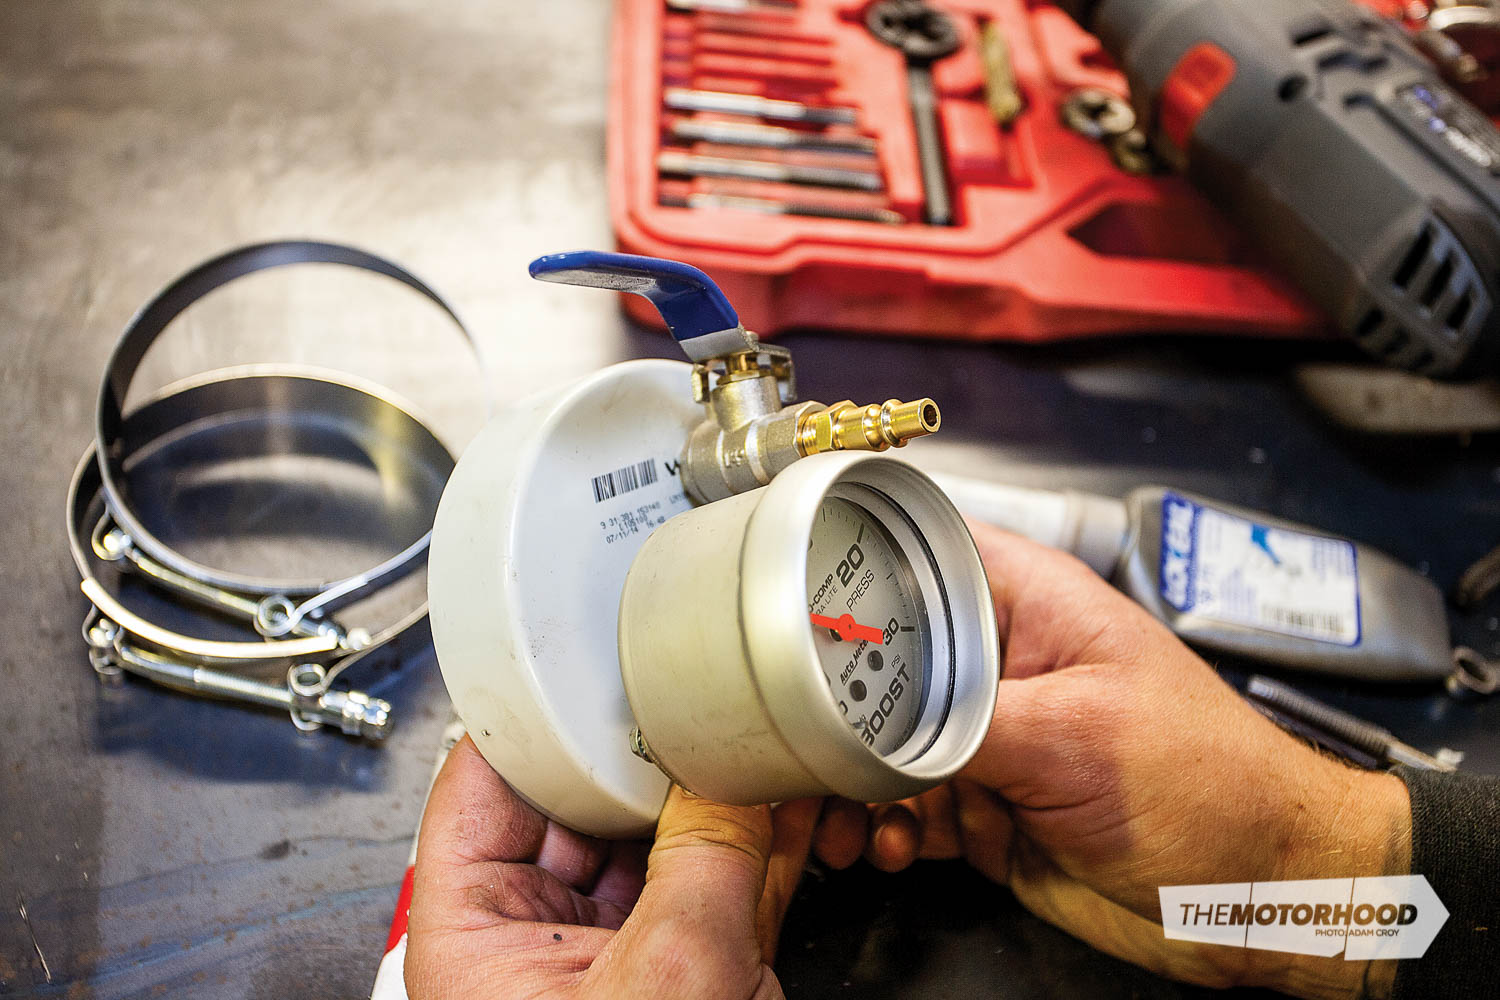
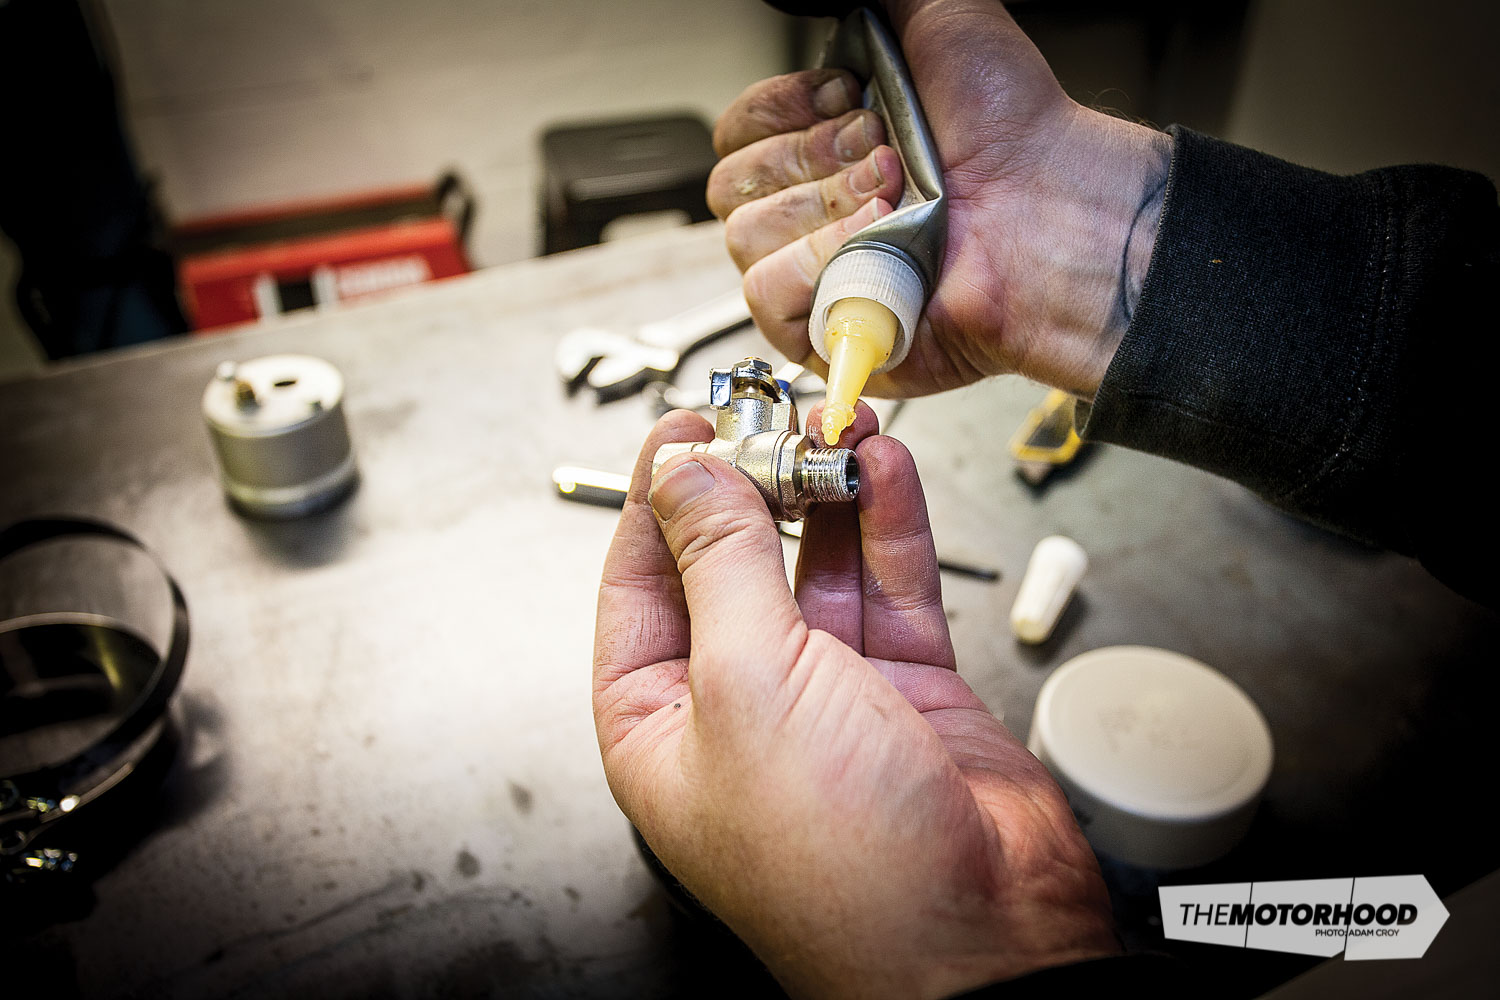
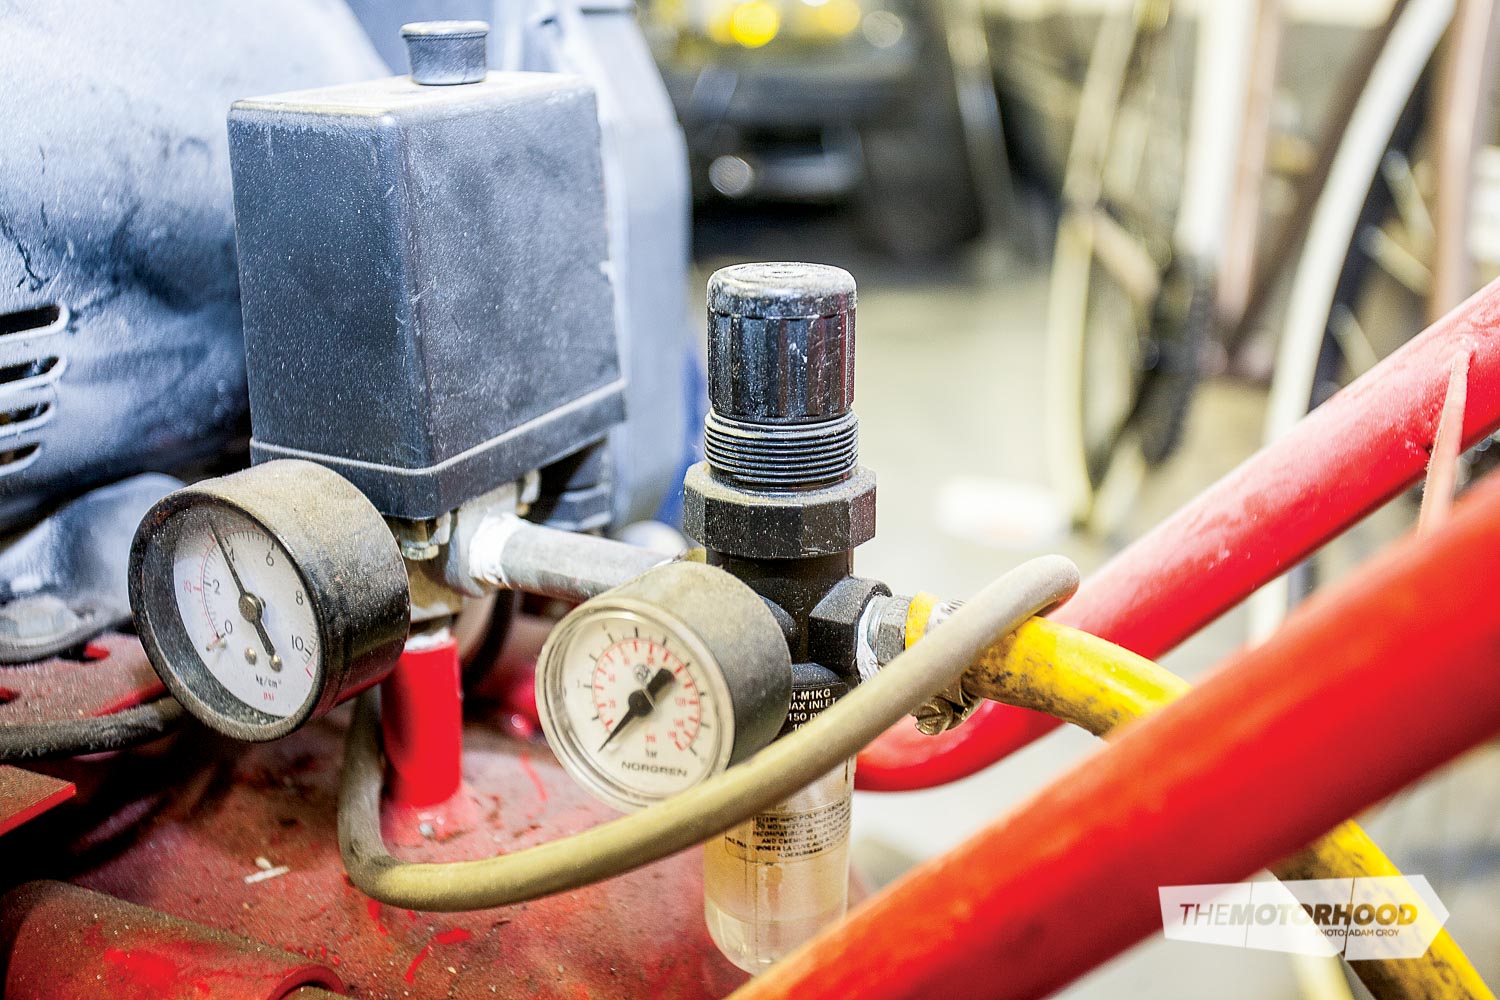
You need compressed air for the test to work, so if you don’t own a compressor you will need to fit a tyre valve to your cap so you can head to the gas station to conduct the test. We don’t recommend this situation, however. Drill a hole, and bolt on a metal tyre valve using the rubber washers it should come with. If you have compressed air at home, then an air fitting will need to be fitted. Drill and tap the hole and screw in a compressor fitting. We opted to add in a ball valve so we could control the air better and shut it off inside the system to test the time it takes to leak down. This fitting is optional and you could just leave the compressor hooked up. Don’t forget to use thread sealer.

Carrying out the test
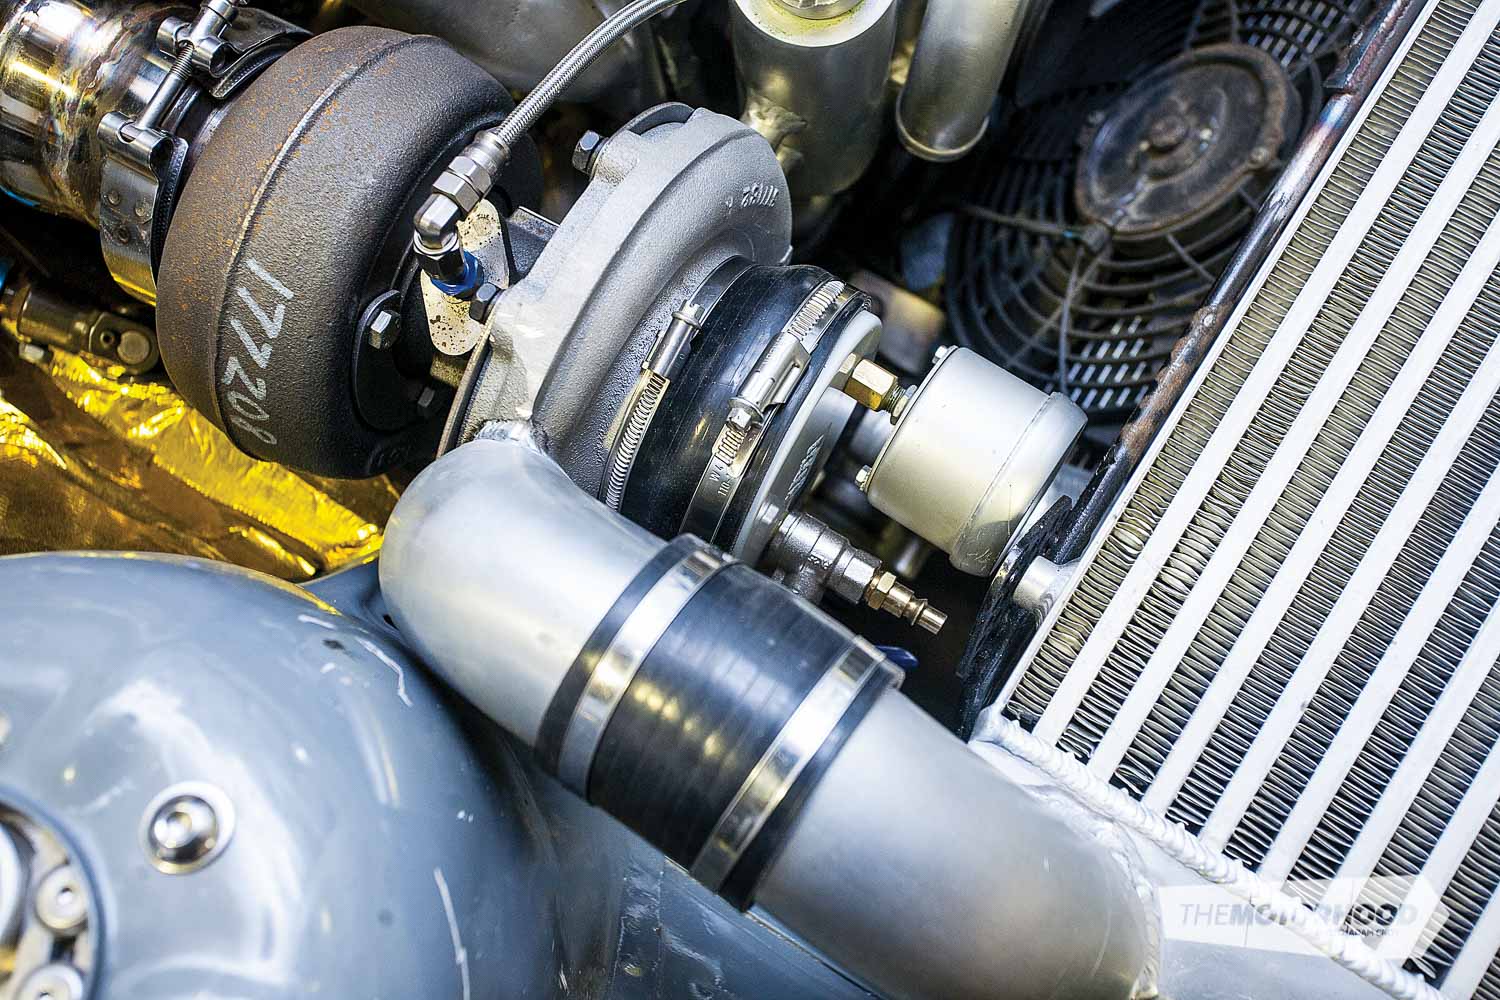
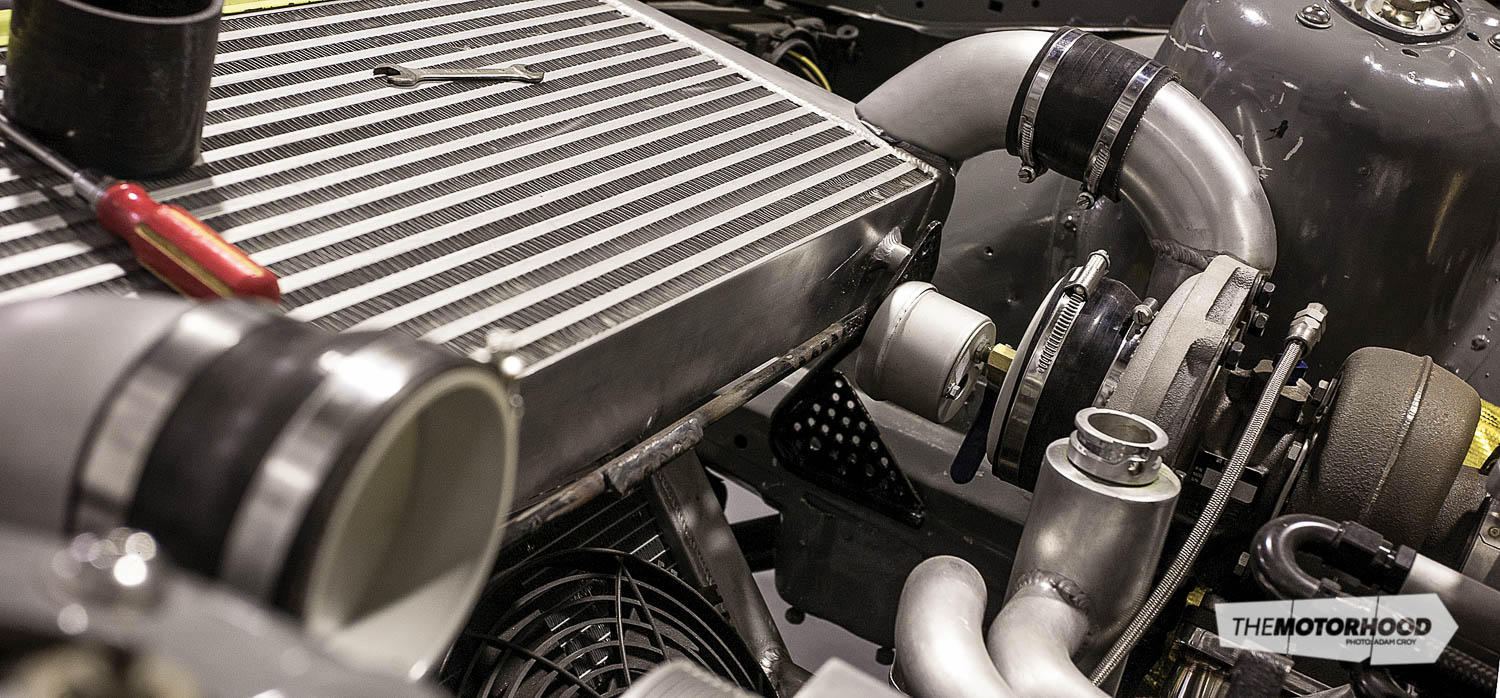
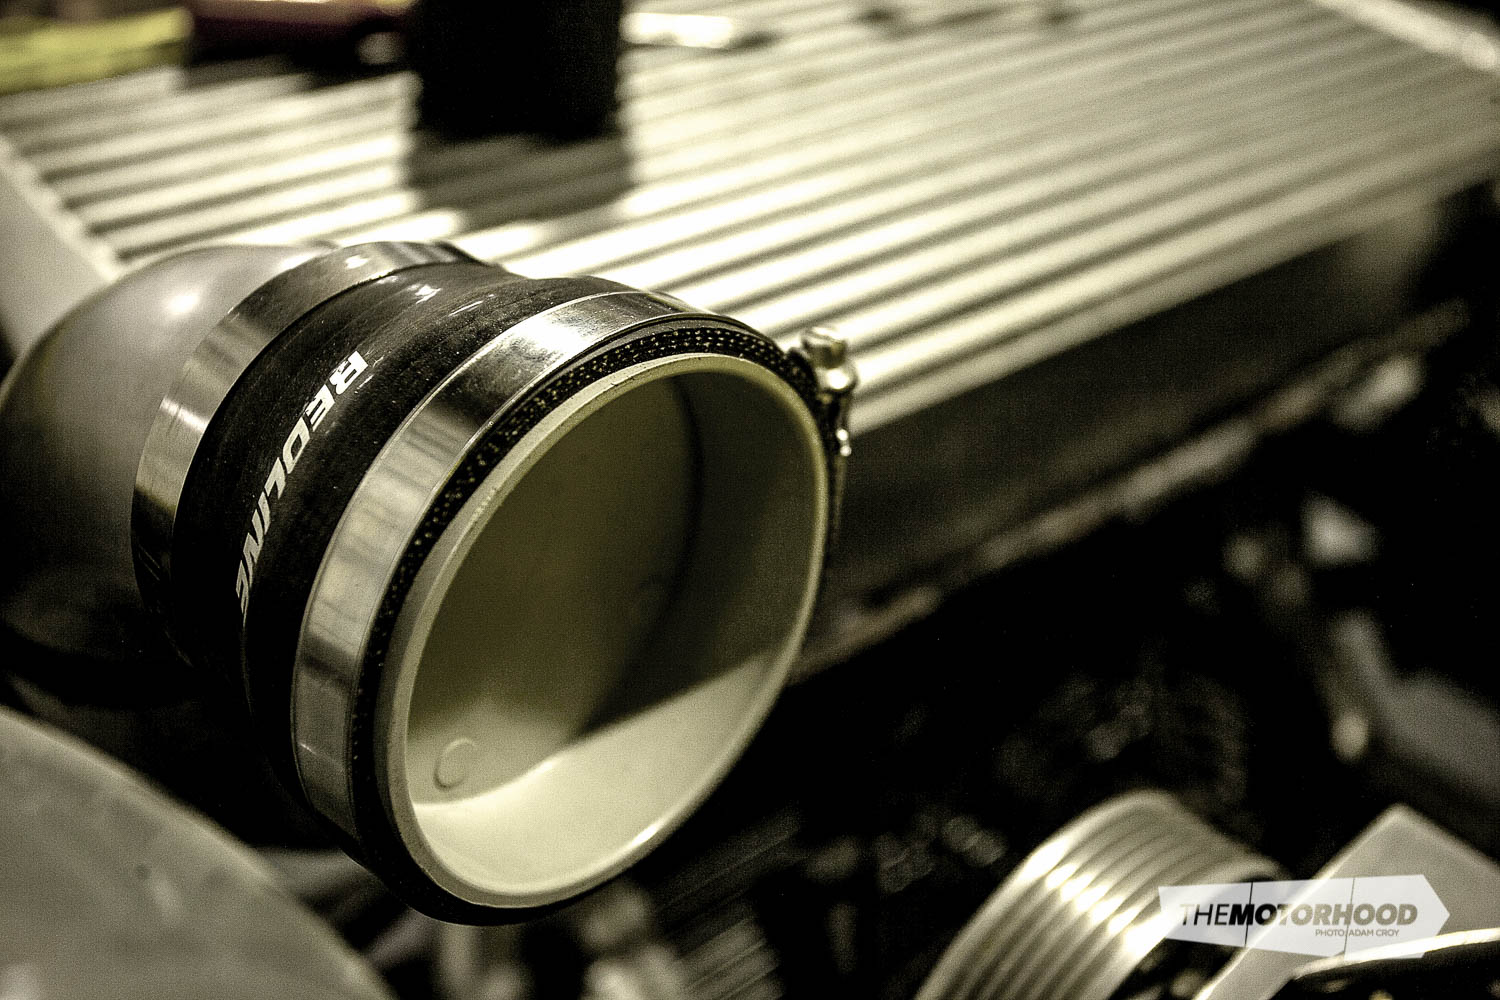
There are a few locations where to carry out the test and it will really depend on your specific vehicle and what you want to test. If you’re wanting to test the complete system then directly onto the turbo intake is your best location. If you can’t get access, then the intake pipe is another option, although any breathers that vent into the pipe will need to be blocked off. If you have a twin turbo, then you will need to block off the opposing turbo when doing the test. It is important you remove your oil cap in case boost leaks past and pressurizes your oil system. If your engine has lots of overlap, then you will also need to block the pipes pre throttle body. This can be done with a similar cap and silicone. Or you can simply test a separate section of the system, for example, if you just welded up a new end tank for your cooler, or added in a BOV. It will work great here as a bench tester.

Once you get the tester on, tighten up its hose clamps. Make sure you lower the adjustment on your compressor to around 5psi, give it a test. If it builds up boost, then adjust your pressure setting to around similar boost as you expect to reach in your set-up. If your car is going to run 30psi, then test to 30psi. If you’re going to run 12psi, then that’s all you need to test to. Putting 100psi into the system is not needed. If it won’t build pressure at this point, then you have a serious leak in the system.

Finding leaks
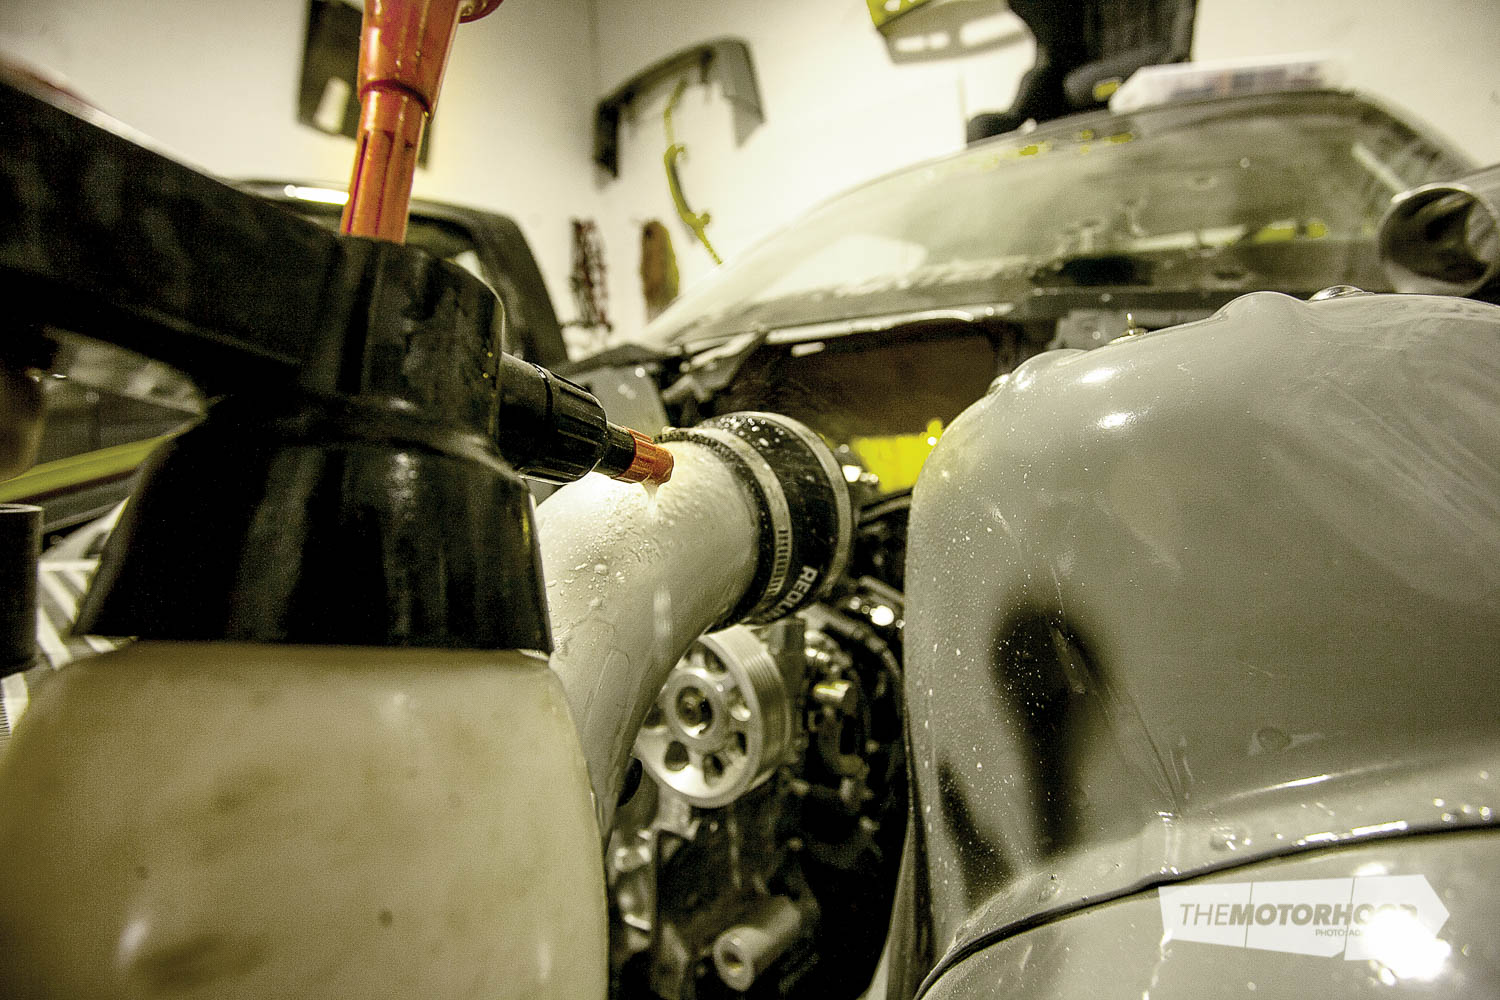
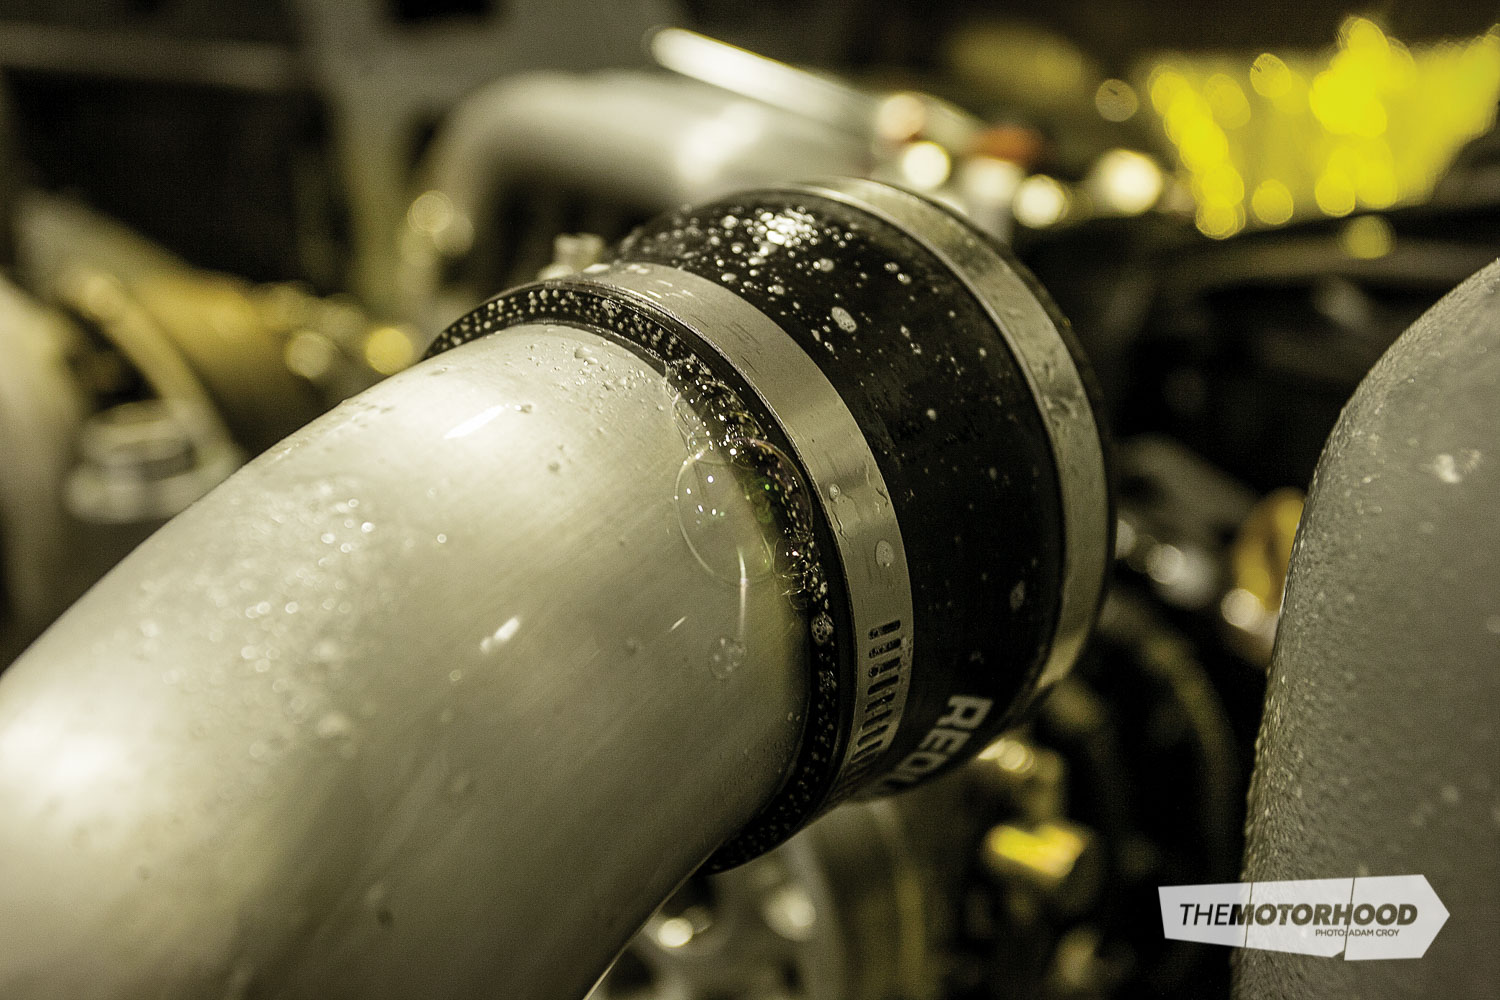
Leaks are quite often discovered because of noise, and are easy to find in this respect. If you can’t hear anything (and your gauge is not reaching your desired boost level), some water and a small amount of detergent sprayed on the joints should show bubbles correlated to the leaks. Tighten up those affected hose clamps until the bubbles stop.

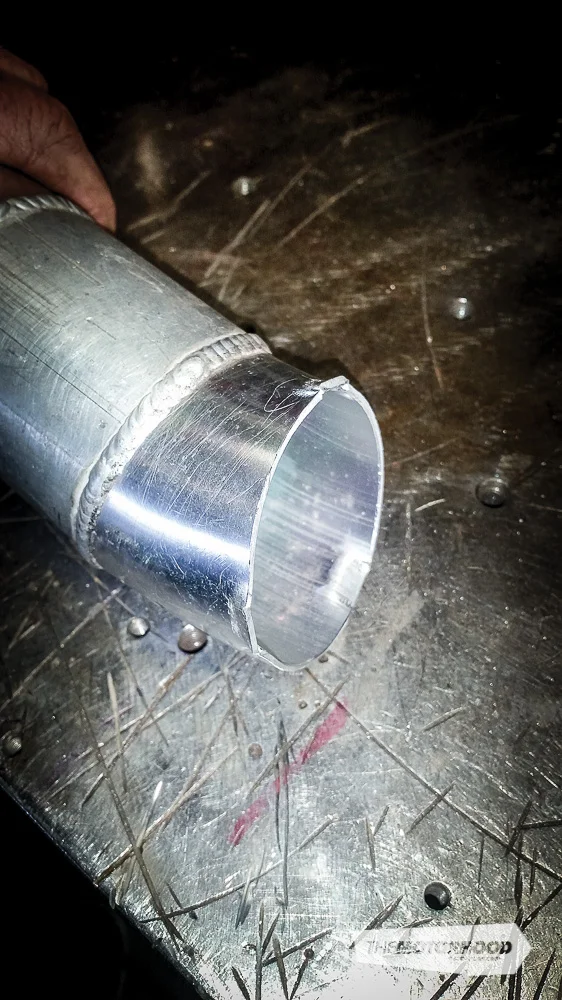
If tightening simply does not get the job done, it could also signal the pipe is incorrectly made. This is a common fault with homemade alloy pipe work where there is not enough straight pipe left after a bend and the person has tried to bead-roll the edge. So many pipes have popped off for this reason. A new pipe should be fabricated in this instance.
Other possible leak points are through-welds, the intercooler core, or a pinhole or split in your joiners. The spray technique will locate any of these. If your leak is small then watching the gauge will reveal the truth. Anything over a 1psi per second is an unhealthy leak when testing the complete system. If testing on a particular component, then a zero leak should be achievable.
So, there are your instructions. It’s pretty logical, once you work through our steps. Make sure, if you try this Weekend Workshop out, to share your results with us!


This article was originally published in NZ Performance Car Issue No. 225. You can pick up a print copy or a digital copy of the magazine below: